
 Pin it
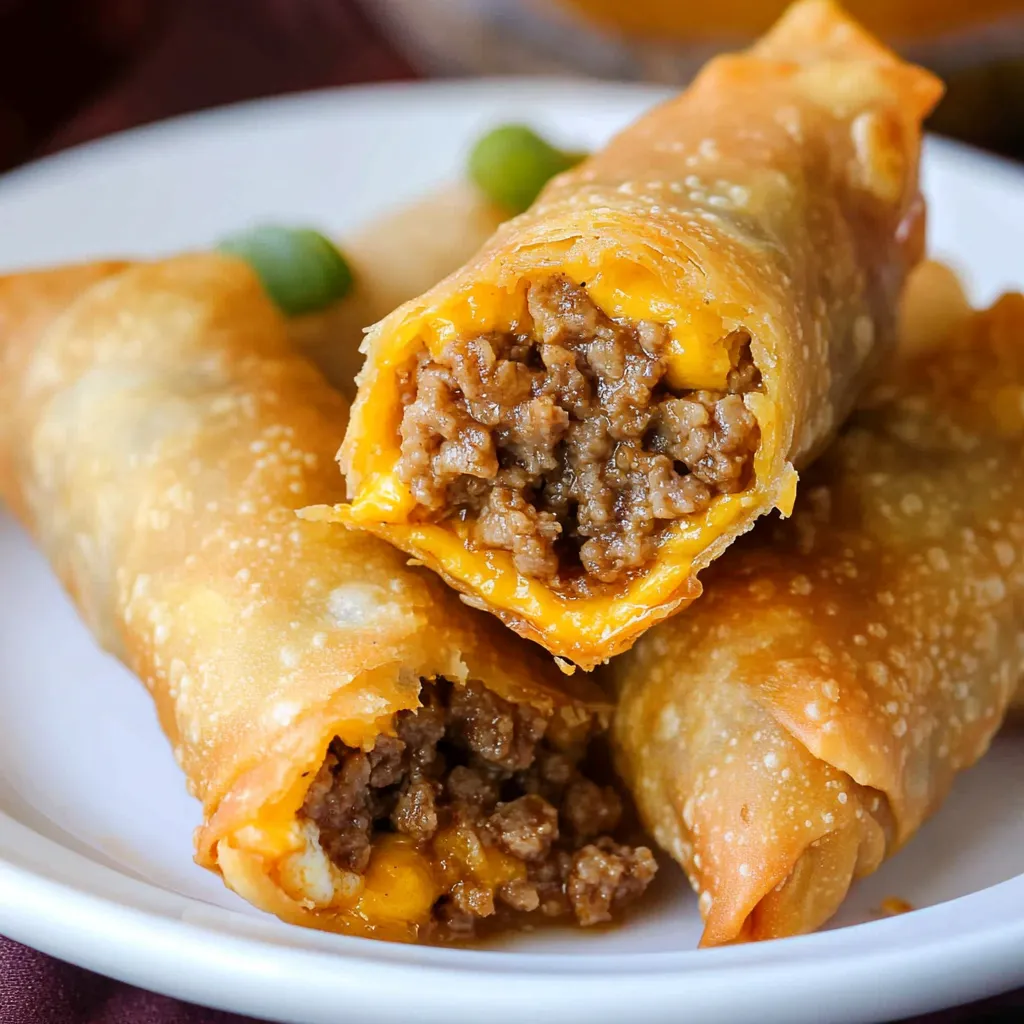
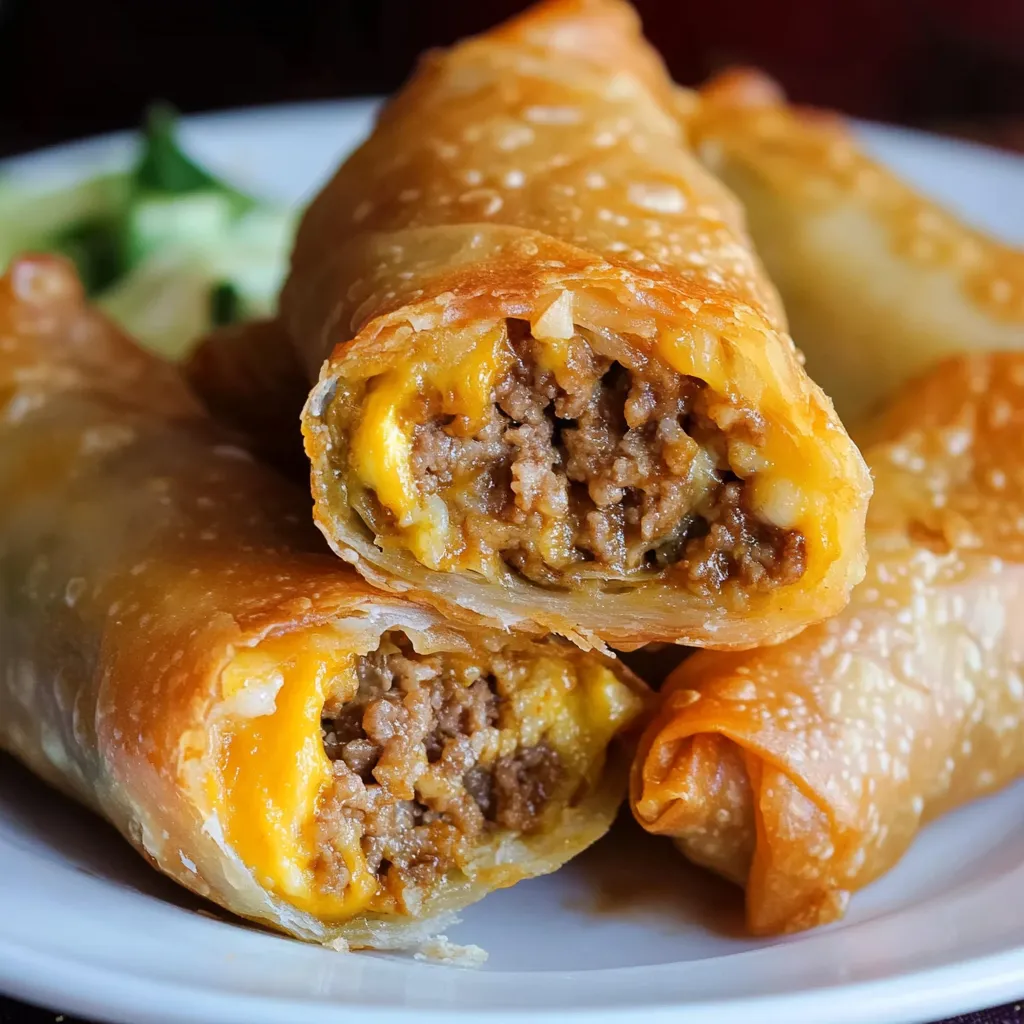
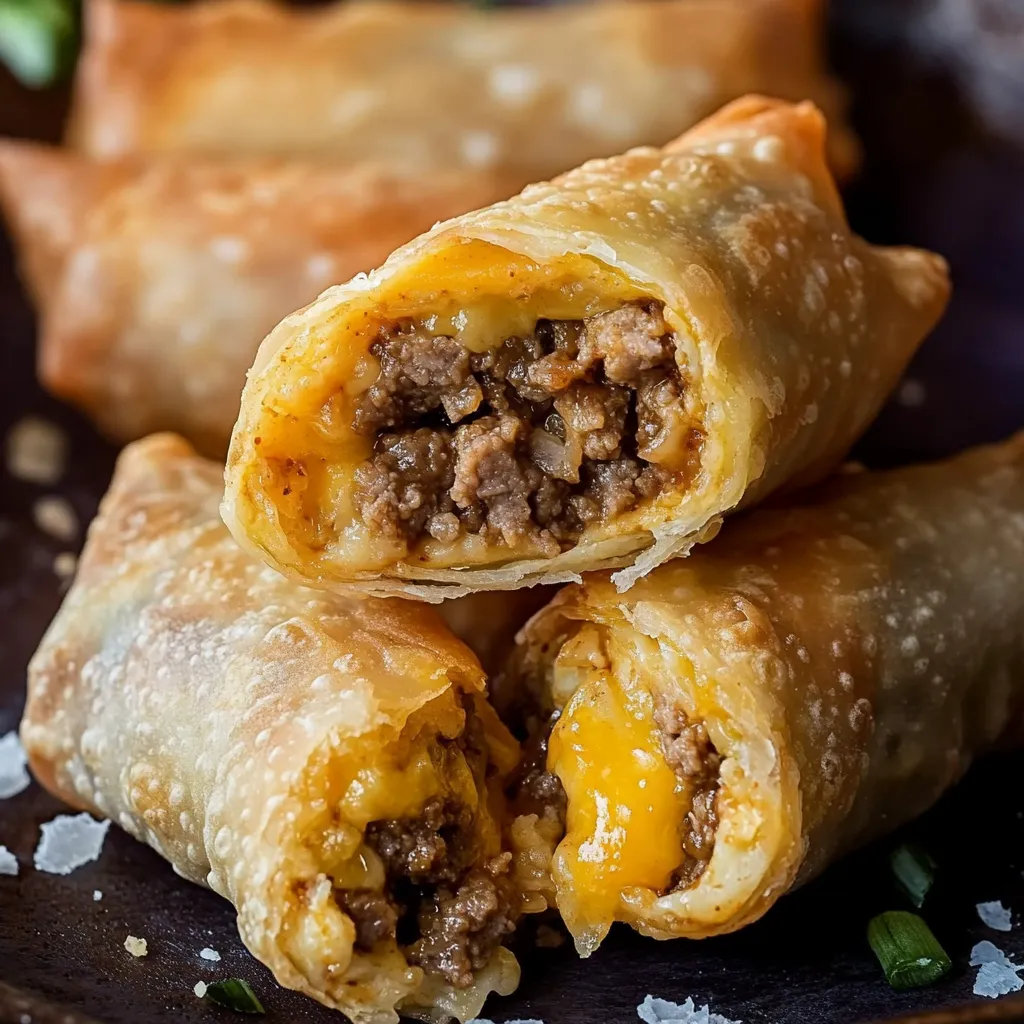
These crunchy cheeseburger rolls take your basic burger and turn it into a fun handheld snack. Every bite combines savory ground beef, gooey cheese, and zesty pickles inside a crisp wrapper, making them a crowd-pleaser that'll brighten up any party.
I came up with this idea during a stormy weekend when we couldn't decide between burgers or something crunchy. These rolls have now become our Friday tradition, with the whole family jumping in to help roll them up together.
Key Ingredients
- Ground beef: Go for 80/20 mix to get the right amount of flavor and moisture. Pick meat that's bright red with nice fat marbling
- Onion: Sweet varieties make the tastiest base. Look for firm ones with tight, glossy skins
- Pickles: Dill ones give that classic burger zip. Grab crispy ones from the cold section
- Cheddar cheese: The sharp kind packs more punch. Always shred it yourself for better melting
- Egg roll wrappers: Newer ones seal better. Go for ones that feel soft and bendy
- Vegetable oil: You'll want something that can take the heat. Try peanut or canola if you have them
How To Make Them
- Get Set Up:
- Make some space on your countertop for rolling. Put all your stuff nearby, set out a small water dish for sealing, and cover a baking sheet with parchment for your finished rolls. Having everything handy makes the whole job way easier.
- Brown The Beef:
- Get your big skillet going on medium until it feels warm. Toss in the ground beef and break it into tiny bits about the size of peas with your wooden spoon. Keep an eye on it as it cooks, giving it a stir now and then until no pink shows. This usually takes around 8 minutes for good results.
- Throw In Onions:
- After your meat turns brown, dump in the chopped onions. Mix them with the meat and let them get soft and see-through. They should cook until they smell good and feel completely soft, about 5 minutes or so.
- Mix Your Filling:
- Dump your cooked stuff into a big bowl and give it about 5 minutes to cool down. It should feel warm but not hot enough to burn you. Gently mix in your freshly grated cheese so it softens up a bit without melting completely. Sprinkle in your chopped pickles and mix everything up good.
- Start Rolling:
- Put your first wrapper down so it looks like a diamond. Scoop three tablespoons of filling and place it in a line just below the middle. Make sure to leave about 1.5 inches empty on each side.
- Wrap It Up:
- Pull the bottom corner up and over your filling, tucking it in nice and tight. Fold both side corners toward the middle, then keep rolling it up snugly. Wet the last corner with water to stick it down.
- Get Oil Ready:
- Pour three inches of vegetable oil in your heavy pot. Heat it up to exactly 365°F, using a thermometer to check.
- Fry Them Up:
- Carefully put 2-3 rolls into the hot oil, with the sealed edge down first. Cook for 2-3 minutes on each side until they turn a rich golden brown. Flip them carefully with tongs.
- Let Them Rest:
- Lift rolls out with tongs and set them on a wire rack over paper towels. Let them cool off for 3-5 minutes before you dig in.
 Pin it
My grandma always told me that being patient with the oil temperature makes all the difference between so-so and amazing results. I've found this to be true every time I make these rolls.
Keeping Them Fresh
Keep uncooked rolls in the fridge with parchment paper between them for up to a day. If you want to save them longer, freeze them on a parchment-covered baking sheet until hard, then put them in freezer bags.
Warming Them Up
Get that crunch back by putting refrigerated rolls in a 350°F oven that's already hot for 10 minutes. Frozen ones need about 15 minutes instead. Let them sit for 2 minutes after heating before you eat them.
Foods That Go Well
Whip up some fresh slaw for a crunchy contrast, or serve with hot fries for the full burger experience. Setting out different dips lets everyone fix their plate just how they like it.
 Pin it
I've been making these cheeseburger rolls for years now, and they've become more than just food in our house. They show how mixing things up can create something totally comforting. Each batch brings back memories of family get-togethers and the fun of sharing tasty food with people I care about.
Frequently Asked Questions
- → Can I prep these and freeze them?
- Definitely! Freeze uncooked and fry straight from frozen with a bit more cook time.
- → Which cheese works best?
- Go for Cheddar or American since they melt perfectly.
- → Can I toss in extra toppings?
- Sure! Try mixing in chopped pickles, bacon, or diced tomatoes.
- → Is frying or air frying better?
- Frying gives the crunchiest bite, but air frying is a lighter option.
- → What dipping sauces go well?
- Pair them with ketchup, ranch, mustard, or a classic burger sauce.