
 Pin it
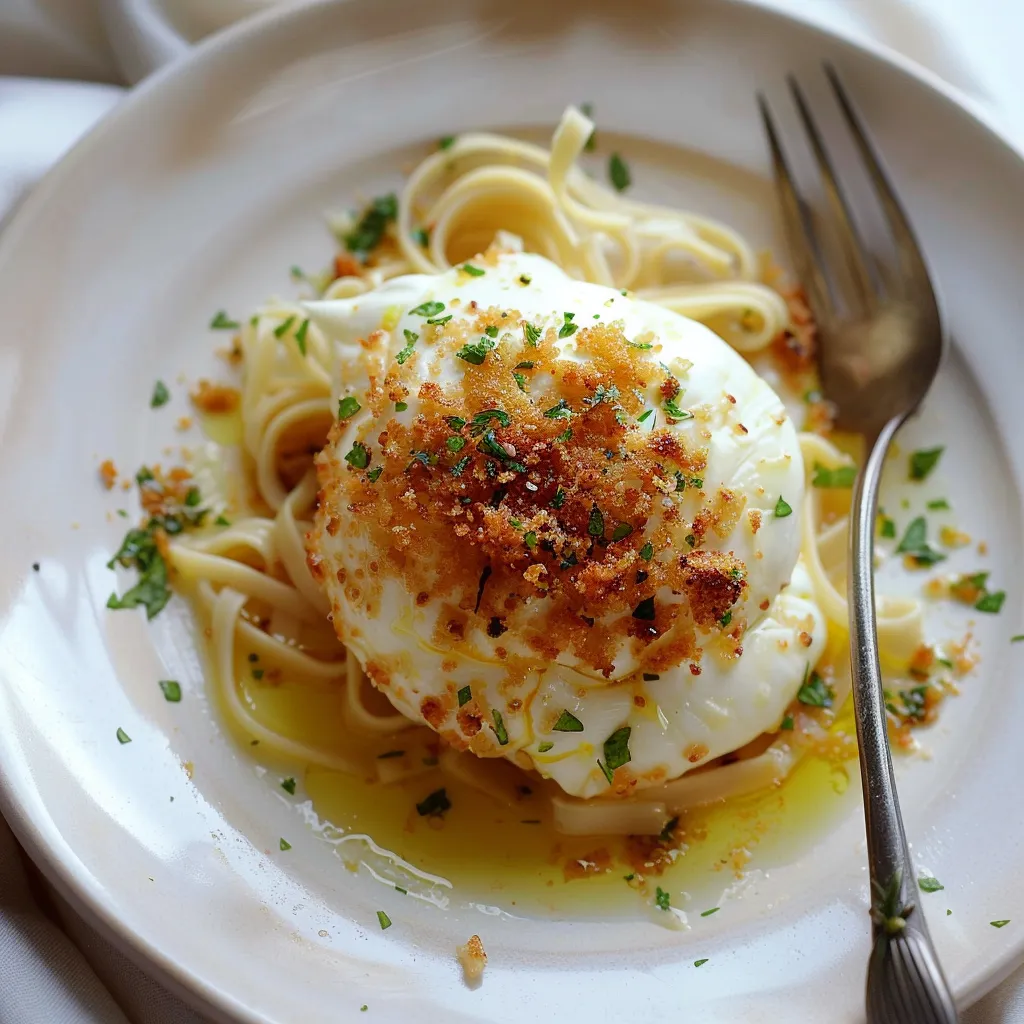
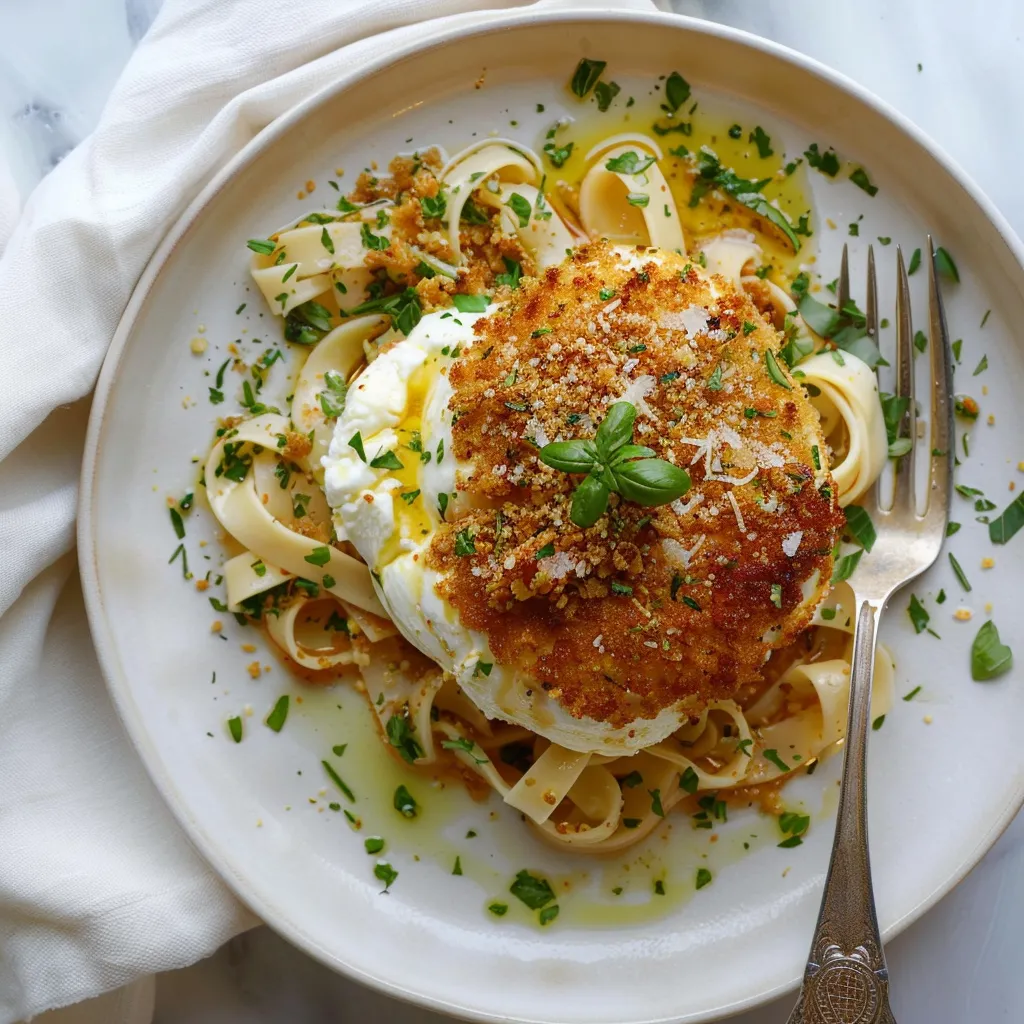
Panko-crusted burrata is an innovative dish that combines the creamy richness of Italian burrata with the ultra-crispy texture of Japanese breadcrumbs. This fusion creation perfectly marries Mediterranean tradition with Asian technique, resulting in an exciting contrast of textures that enhances the cheese's natural smoothness.
This recipe emerged from experimenting with traditional burrata preparation. The results exceeded expectations, creating a moment of pure indulgence where the crunchy coating reveals an irresistibly creamy center.
Essential Ingredients
* Burrata (1 piece, 125g): Select fresh burrata, preferably buffalo milk for enhanced flavor
* Egg (1 large): Room temperature for better breading adhesion
* Panko breadcrumbs: The key ingredient, with larger crumbs than regular breadcrumbs for superior crunch
* Flour: All-purpose for a thin, even coating
* Dried oregano: For subtle flavor infusion
* Frying oil: Neutral oil with high smoke point like grapeseed
* Salt and pepper: Fine salt and freshly ground pepper
Step-by-Step Instructions
- 1. Initial Preparation
- - Remove burrata from refrigerator 15 minutes prior
- Set up three shallow dishes for breading
- Place flour in first dish
- Beat egg with pinch of salt in second dish
- Mix panko with oregano, salt and pepper in third dish
- Prepare plate with paper towels for draining - 2. Drying the Burrata
- - Carefully drain burrata liquid
- Pat gently with paper towels
- Avoid puncturing outer layer
- Continue until surface is completely dry
- Critical step for breading adhesion - 3. Breading Technique
- - Coat burrata in flour
- Tap off excess flour
- Dip in beaten egg, turning gently
- Roll thoroughly in panko mixture
- Press lightly to adhere
- Repeat process for thicker crust - 4. Frying Method
- - Heat oil to 340°F in deep pot
- Test temperature with thermometer or bread cube
- Lower breaded burrata carefully
- Turn gently while cooking
- Fry until golden brown, 2-3 minutes - 5. Finishing and Serving
- - Drain on paper towels
- Rest 1 minute
- Sprinkle with sea salt
- Serve while crust is crisp
The first time serving this dish, guests were amazed by the contrast between golden crust and flowing center. It has become a signature appetizer for special dinner occasions.
Perfect Pairings
This breaded burrata pairs beautifully with various accompaniments. Serve over dressed arugula with olive oil and balsamic, alongside roasted cherry tomatoes, or atop garlic-infused pasta. Fresh homemade pesto or marinara sauce also complement this dish perfectly.
Creative Variations
* Mediterranean style: Add herbs de Provence to coating
* Spicy version: Include Espelette pepper in breadcrumbs
* Herbal twist: Mix dried basil into panko
* Luxury edition: Add crushed pistachios to coating
* Citrus enhancement: Incorporate lemon zest in breadcrumbs
 Pin it
Plating Presentation
Serve burrata on a preheated plate to maintain temperature. Finish with quality olive oil drizzle and fresh basil leaves. For maximum impact, cut into the burrata tableside to reveal the flowing center.
This breaded burrata recipe represents the perfect balance of simplicity and sophistication. It impresses through both presentation and flavor while remaining accessible to home cooks. Success lies in quality ingredients and proper technique for consistently impressive results.
Remember that breaded burrata must be enjoyed immediately - the magic happens in those first moments when the crust remains crispy and the center perfectly molten. It's a moment of pure culinary pleasure meant to be savored right away.
Frequently Asked Questions
- → What kind of burrata should I use?
- Pick fresh, high-quality burrata and let it sit at room temperature before you start cooking.
- → Can I prep this ahead of time?
- To keep it crunchy, bread it only right before frying.
- → What sides go well with it?
- Pair it with some pasta, a fresh salad, or a light tomato sauce.
- → How do I nail the frying process?
- Make sure your oil is hot enough (around 180°C) before adding the burrata.
- → Is this recipe hard to make?
- Not at all! It’s super simple and perfect for kitchen beginners as long as you follow the steps.