
 Pin it
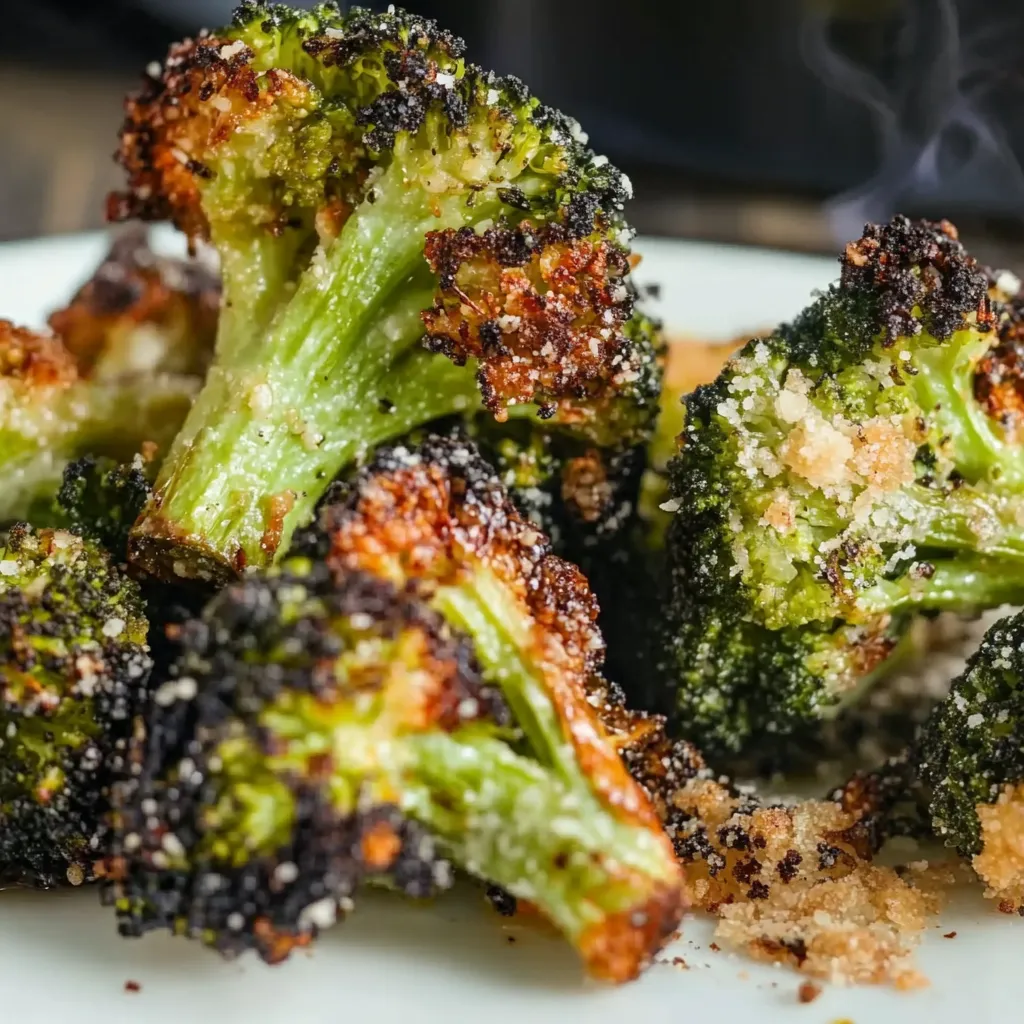
Taking ordinary broccoli to the next level, this roasting trick delivers crunchy edges and soft stems packed with garlic and parmesan goodness. Cooking at high temps brings out broccoli's sweet notes while making a golden, crispy outer layer that'll steal the show at any dinner.
I first tried this when I was totally stuck for ways to make broccoli exciting. The second those crunchy, garlicky bits came out of my oven, I knew steamed broccoli was history.
Smart Ingredient Choices
- Broccoli: Go for tight, deep green heads with sturdy stalks - skip any with yellow bits or mushy parts.
- Parmesan Cheese: Grate it yourself - the stuff in containers won't melt or crisp up right.
- Olive Oil: Pick a good extra virgin type for better taste and browning.
- Fresh Garlic: Find firm, weighty heads with snug cloves - avoid any with sprouts or wrinkles.
- Italian Seasoning: A solid mix will bump up those Mediterranean tastes.
- Garlic Powder: Brings another level of savory flavor that works with the fresh stuff.
- Kosher Salt: Its bigger grains help pull out water for better crispiness.
Crafting Mouth-watering Roasted Broccoli
- Step 1 - Get Your Gear Ready:
- Put the oven rack down low for better air flow. Cover your baking tray with parchment for no-stick cooking and easier cleanup. Have everything measured before you start.
- Step 2 - Fix Up Your Broccoli:
- Chop florets into same-sized chunks so they cook evenly. Pat them super dry with kitchen towels for extra crispiness. Cut the stems into matching pieces - they taste just as good as the tops.
- Step 3 - Add Flavor Carefully:
- Mix with oil first to coat everything well. Sprinkle seasonings bit by bit while mixing to spread them out. Use your fingers to rub the seasonings into all the nooks.
- Step 4 - Place Them Just Right:
- Leave room between each piece to stop them from steaming. Put cut sides down for extra browning. Keep everything in one layer - crowding makes them soggy.
- Step 5 - Watch While They Cook:
- Check them after 10 minutes first. Turn the pan and flip pieces for all-around browning. Look for golden edges and poke stems to see if they're tender.
 Pin it
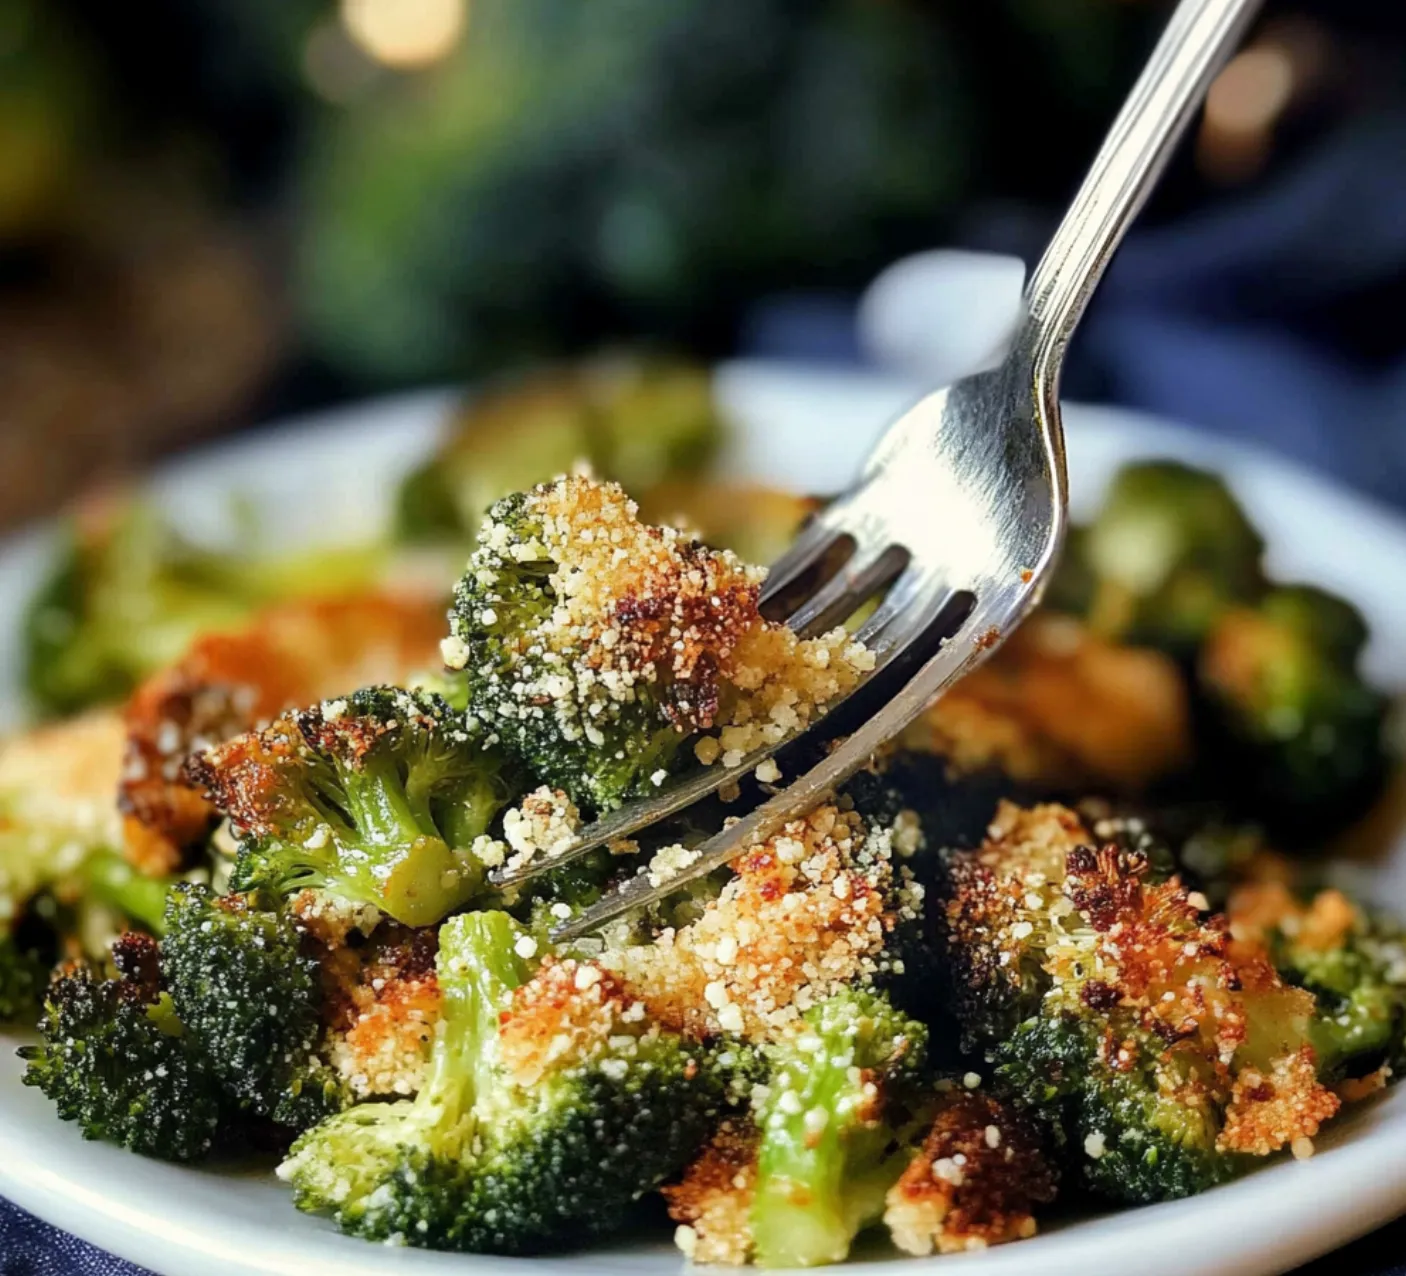
When I was little, my mom always taught me to use every bit of each veggie. Now I smile watching my kids gobble up these crunchy stems, carrying on those kitchen traditions.
This roasted broccoli fits in anywhere. It works just as well with quick weeknight spaghetti as it does at fancy dinner parties.
For my crazy-busy household, this has been a total game-changer. Any leftover crunchy bits are awesome in next-day egg dishes, grain bowls, or cold salads.
This dish changes with the times too. In hot weather, I often cook it in a cast-iron pan on the BBQ so my kitchen stays cool.
Hosting got way easier once I figured out I could partly roast the broccoli early in the day and finish it right before serving.
 Pin it
After making this roasted broccoli tons of times, I'm still blown away by how such a basic method can make something so darn tasty. It's become more than just instructions on a page - it shows that good cooking doesn't need fancy tricks or weird ingredients, just paying attention and treating your food with care.
Frequently Asked Questions
- → Why put the rack in the lower oven area?
- This helps the broccoli develop the right golden edges and avoids burning the tops too fast.
- → Why turn the broccoli midway through cooking?
- It evens out browning and stops one side from getting too dark.
- → How can I check if the broccoli’s done?
- Look for golden edges and use a sharp knife to easily cut the stems.
- → Can I prepare this ahead?
- It’s tastiest right out of the oven, but you can reheat leftovers if needed.
- → What’s the reason for using both garlic types?
- Raw garlic gives fresh flavor, while powder coats evenly for a deeper taste.