
 Pin it
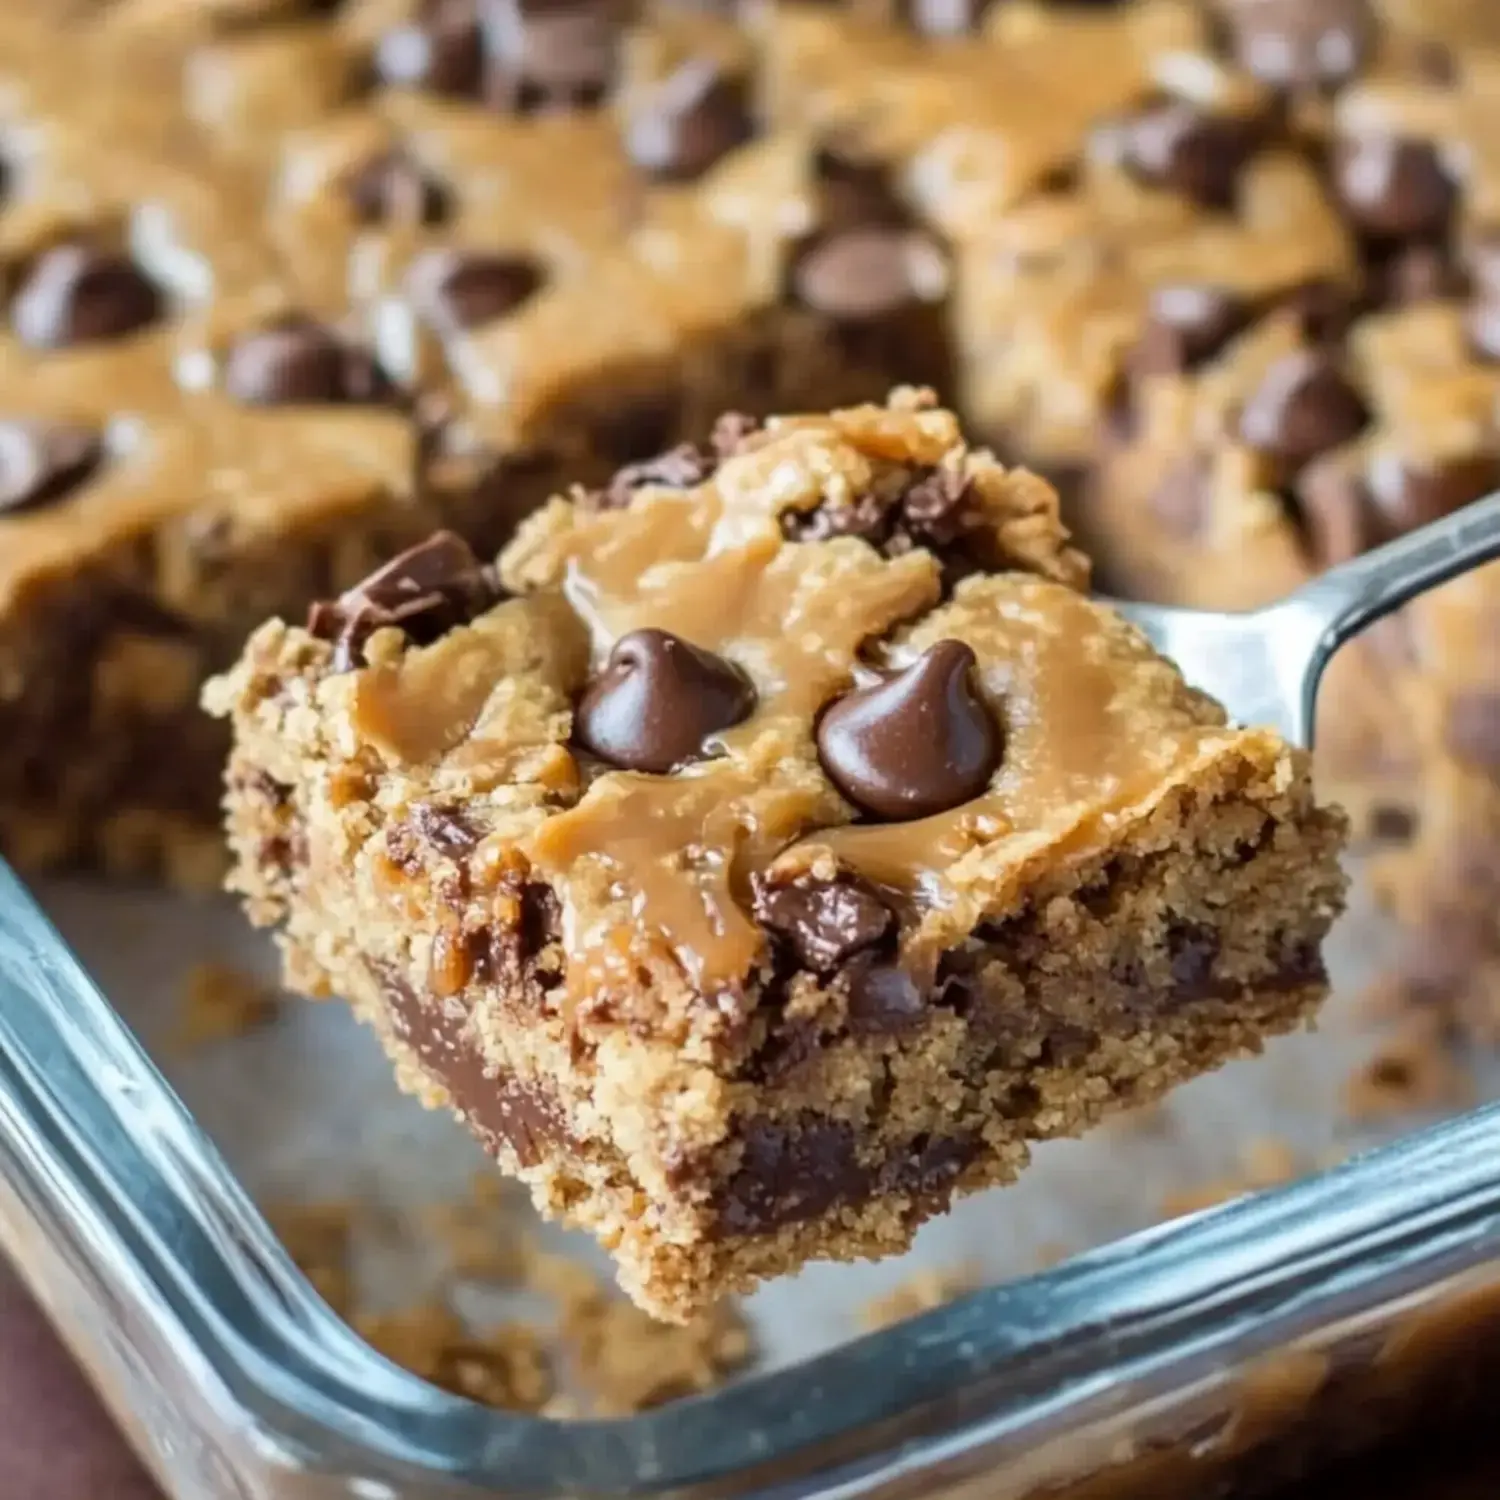
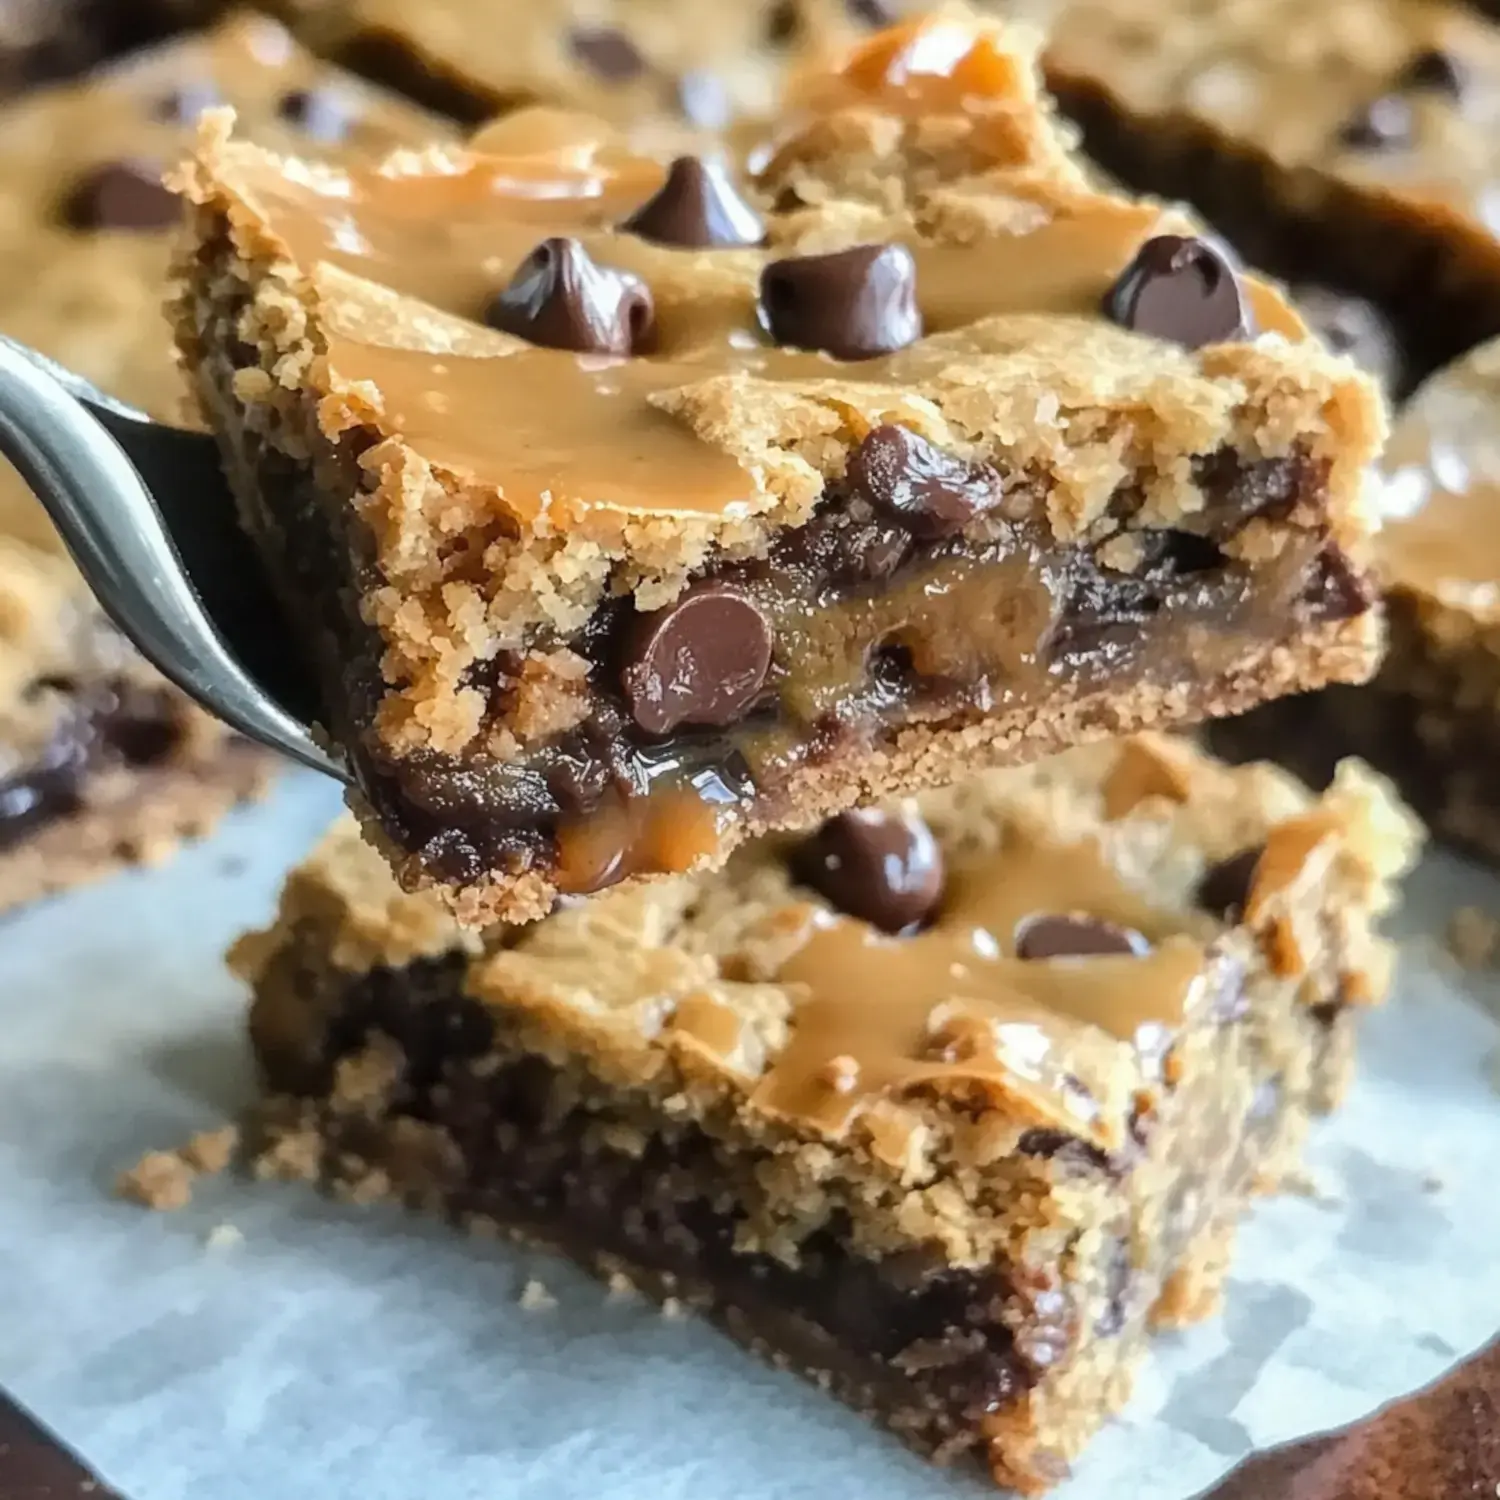
These Irresistible Delight Bars blend gooey caramel, nutty peanut butter and rich chocolate into a treat that'll leave you speechless. True to their name, they're so insanely good they'll make your jaw drop. I've made these countless times and always debate whether to keep them all for myself or let others enjoy them too.
Why You'll Fall For These Bars
The combo of flavors in these bars gets me every time - they're sweet yet salty, sticky and soft in all the right ways. The caramel sinks right into the cookie layer and those chocolate chips add surprising bursts of decadence. I mean to bring them to gatherings but they rarely make it out my front door. When I do save some, they freeze wonderfully.
Your Shopping List
- Flour: The foundation for that soft, chewy base we want.
- Baking Soda: Adds just the right amount of rise.
- Salt: Enhances every single taste element.
- Butter: Delivers that melt-in-your-mouth goodness.
- Sugar: Creates that delicious crispy top.
- Brown Sugar: Brings those wonderful molasses undertones.
- Vanilla Extract: Adds depth to every single bite.
- Eggs: Works as the perfect binding element.
- Semi-Sweet Chocolate Chips: Creates spots of chocolate bliss.
- Evaporated Milk: The secret to ultra-smooth caramel.
- Caramels: The hero of our gooey middle layer.
- Peanut Butter: Adds that perfect hint of nuttiness.
Crafting Your Irresistible Bars
- Ready Your Baking Dish
- Heat your oven to 350°F and don't skimp on greasing that 9x13 pan, you'll thank me later.
- Combine Dry Components
- Mix your flour, salt and baking soda in a bowl and put it aside.
- Create Your Dough Base
- Cream those sugars with butter until light, drop in eggs and vanilla, then fold in your dry mixture and chocolate bits.
- First Baking Round
- Press half your dough into the pan bottom and bake until barely firm, around 8-10 minutes.
- Whip Up Caramel Mixture
- Warm those caramels with your milk, mix in the peanut butter until completely smooth, then drizzle over your base.
- Add Final Layer
- Dot remaining dough in clumps across your caramel goodness, then gently smooth it out.
- Final Bake
- Pop it back in for 15-20 minutes until brown on top, then comes the toughest challenge - letting them cool down properly.
Where These Treats Came From
Whenever I serve these bars, folks always wonder about their unique name - then they take one bite and instantly get it. The magic happens when cookie, caramel and chocolate come together. They're my foolproof choice when I need something that'll wow everyone.
Try These Twists
You can leave out the peanut butter for folks with allergies or try different chocolate chips for variety. Just remember to use evaporated milk instead of condensed - these babies are sweet enough already!
Storage Tips
Let them cool all the way before cutting - you won't regret waiting. They'll stay yummy in a tight container for about 3 days. Stick them in the freezer for up to 3 months and they'll thaw perfectly.
Serving Suggestions
Try them alongside a scoop of vanilla ice cream or some tart berries for balance. They taste amazing with hot coffee or cold milk. When I'm feeling fancy, I'll add an extra caramel drizzle on top for total dessert heaven.
 Pin it
Frequently Asked Questions
- → What type of caramel should I buy?
- Soft, individually wrapped caramels are best, usually in the candy section. Don't use caramel syrup—it won't set right.
- → Why is a double boiler helpful?
- It keeps the caramel from burning by melting it evenly and gently, giving you a perfect texture.
- → Can I prep these ahead of time?
- For sure! Make them in advance and store in a sealed container, layering parchment between bars to stop sticking.
- → Why pre-bake the initial layer?
- It makes a solid foundation to hold up the gooey caramel and the rest of the filling.
- → How can I tell if they’re baked?
- The edges should look slightly firm and golden, while the center may stay a little soft—it’ll firm up as it cools.