
 Pin it
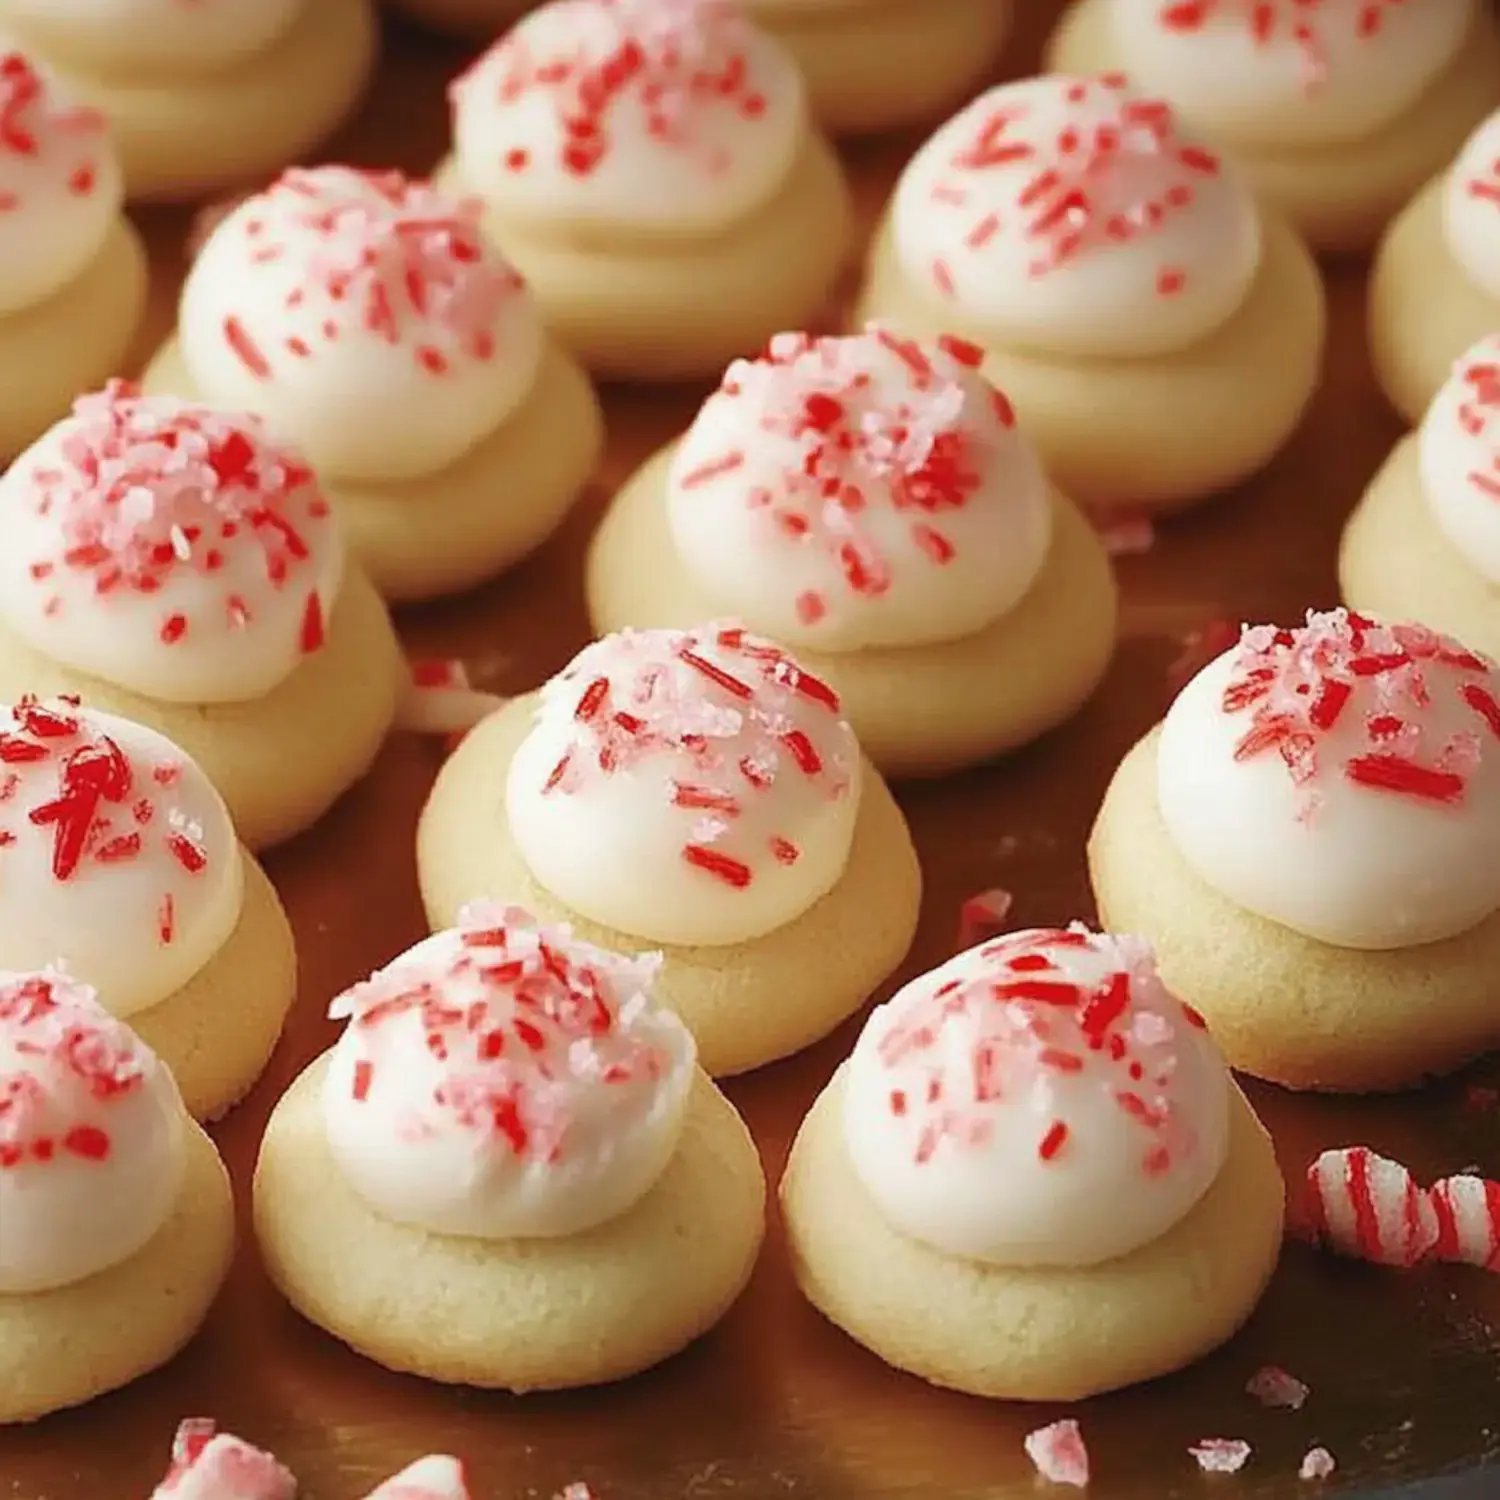
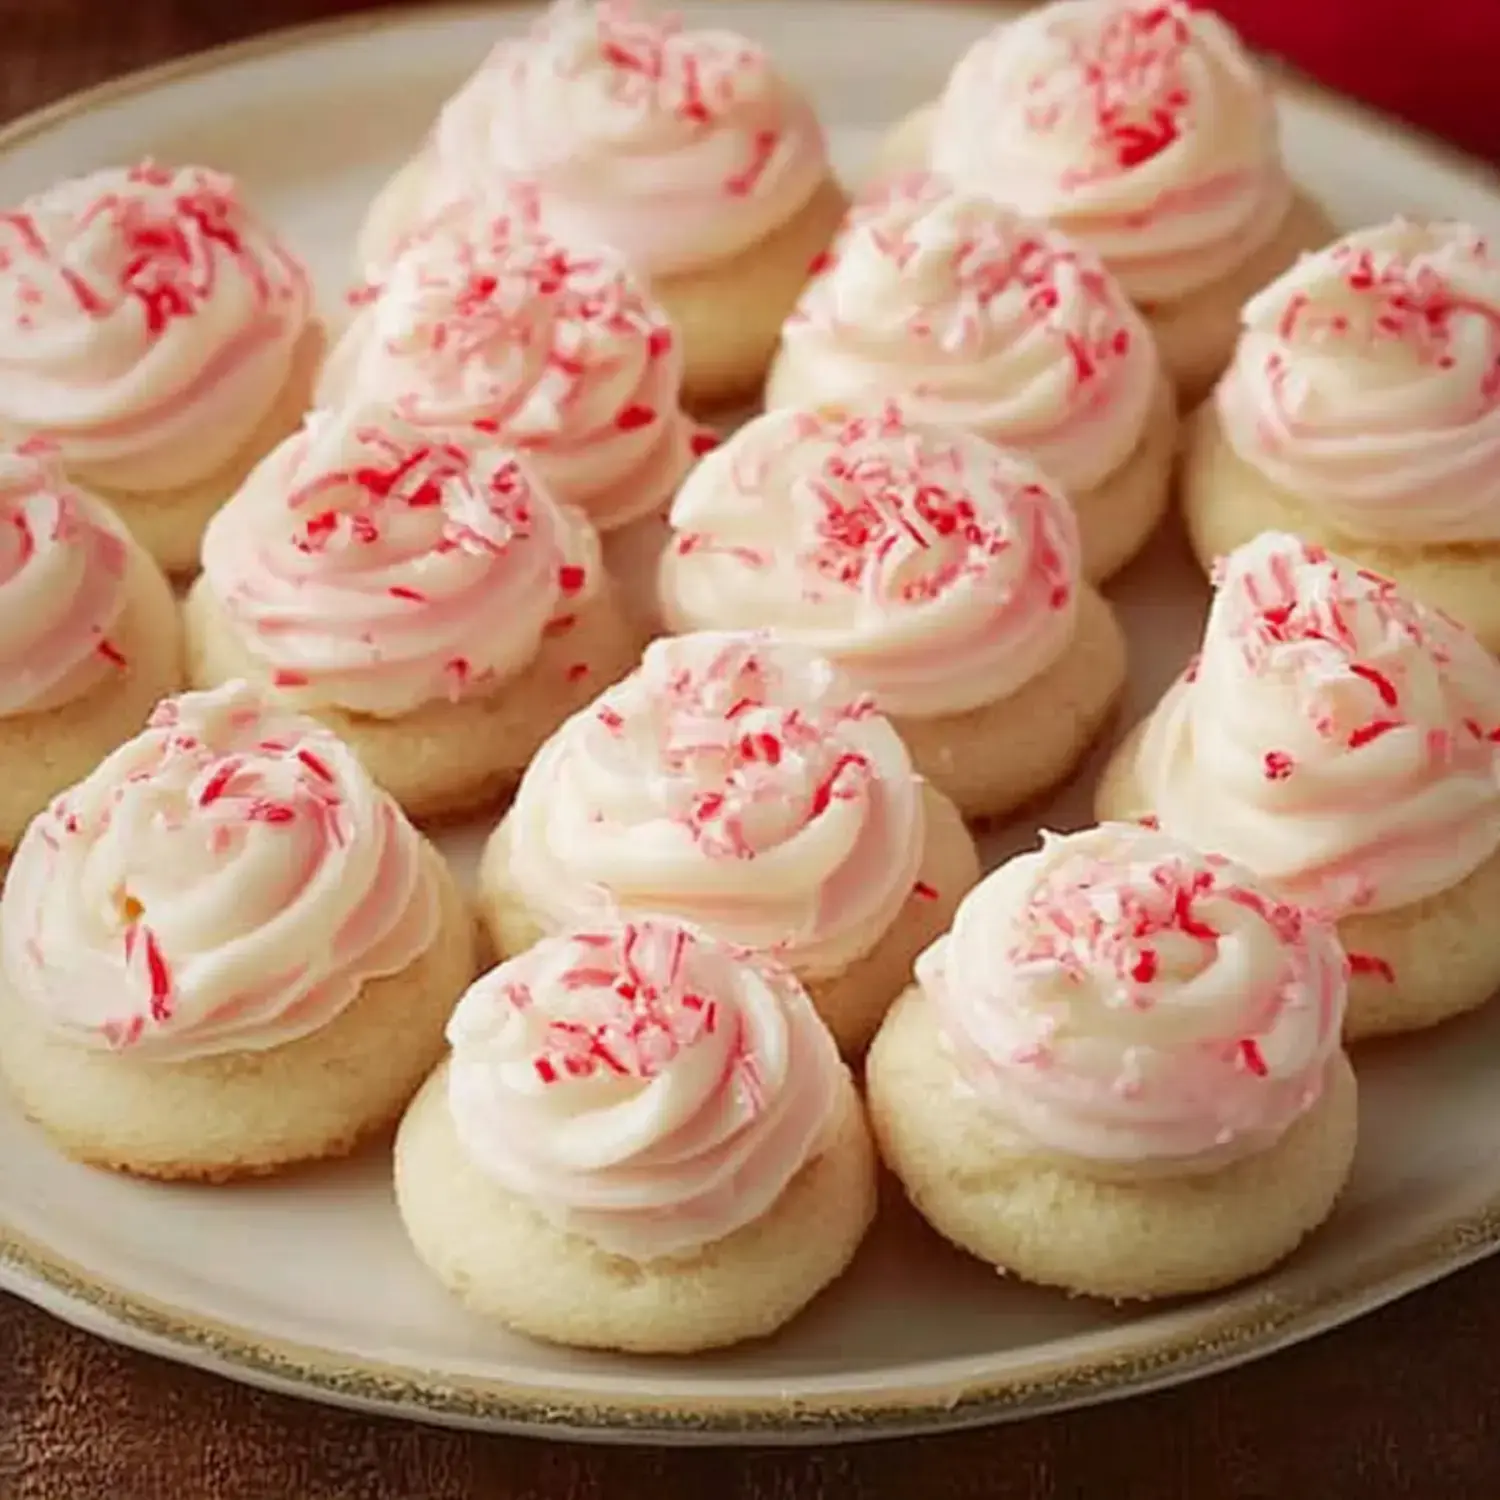
These Peppermint Meltaways bring a touch of wonder to my home each holiday season. They've got this super soft texture that just vanishes in your mouth, and that peppermint frosting with candy bits on top makes them extra special. When I'm baking them, my whole house smells like mint and it always takes me back to Christmas traditions.
What You'll Need
- Confectioners' Sugar: This gives the cookies their melt-away softness.
- Cornstarch: My little trick for that disappearing-in-your-mouth feeling.
- Flour: Give it a quick sift for extra lightness.
- Butter: I pick unsalted so I can tweak the taste just right.
- Peppermint Extract: Just a bit creates that perfect mint flavor.
- Crushed Peppermints: For that pretty sparkle and nice little crunch.
- Confectioners' Sugar: Makes your frosting completely smooth.
- More Peppermint: Boosts that holiday taste we all love.
- Milk: A tiny bit helps the frosting spread nicely.
- More Butter: This makes your topping super fluffy.
Time to Mix Things Up
- Chill and Shape
- Pop the dough in the fridge for a bit, then roll it into small one-inch balls ready for the oven.
- Combine Dry Ingredients
- Mix your flour and cornstarch together, then slowly add them to your wet mixture until you've got a nice soft dough.
- Mix the Dough
- Beat your butter and sugar together until they're fluffy and light, about 3 or 4 minutes. Add a little peppermint extract for that classic taste.
Baking Time
- Cooling Time
- Let your cookies sit on the baking sheet for a couple minutes, then move them to a wire rack until they're completely cool.
- Bake the Cookies
- Warm your oven to 350°F and pop those chilled dough balls in for about 9 to 11 minutes until they're just turning golden on the bottom.
Finishing Touches
- Frost and Decorate
- Spread plenty of frosting on each cooled cookie and sprinkle with crushed peppermint bits for extra flavor and pretty looks.
- Make the Frosting
- Beat butter until it's light and fluffy, then mix in milk, peppermint extract, and powdered sugar until smooth. If you want, add a tiny bit of pink food coloring for a festive look.
Put Your Own Spin On It
I sometimes use a simple glaze instead of frosting or try different flavors for fun. I've cut them into holiday shapes before but honestly, I love the classic round ones best. The crushed candy on top isn't just for looks - it really adds a nice crunch and extra minty sweetness to each bite.
Storage Secrets
They'll stay good for several days if you keep them in a sealed container. I often bake the cookies early and add the frosting just before I need them. If you're really planning ahead, you can freeze the plain cookies for up to three months and frost them after they thaw out.
Handy Hints
- Always make more than you think you need - they go fast!
- Let the flavors develop by making your cookies a day or two early.
- Pop the dough in the fridge for a short time to get better shapes.
- Add sugar or milk to your frosting bit by bit until it spreads just right.
 Pin it
Frequently Asked Questions
- → What makes them 'meltaways'?
These cookies soften when eaten because of the butter and cornstarch. Handle carefully for the best texture.
- → Can I prep them in advance?
Yes, freeze the plain cookies for up to 3 months. Add frosting and candy just before serving.
- → Why chill the dough first?
Chilling firms the butter so the dough is easier to shape and stops them from spreading too much while baking.
- → Can I use other flavors?
Sure, swap peppermint with vanilla or almond, but it won't have the same holiday vibe.
- → How should I store them?
Keep them airtight for 5 days max. The candy topping might soften over time but they'll still taste great.