
 Pin it
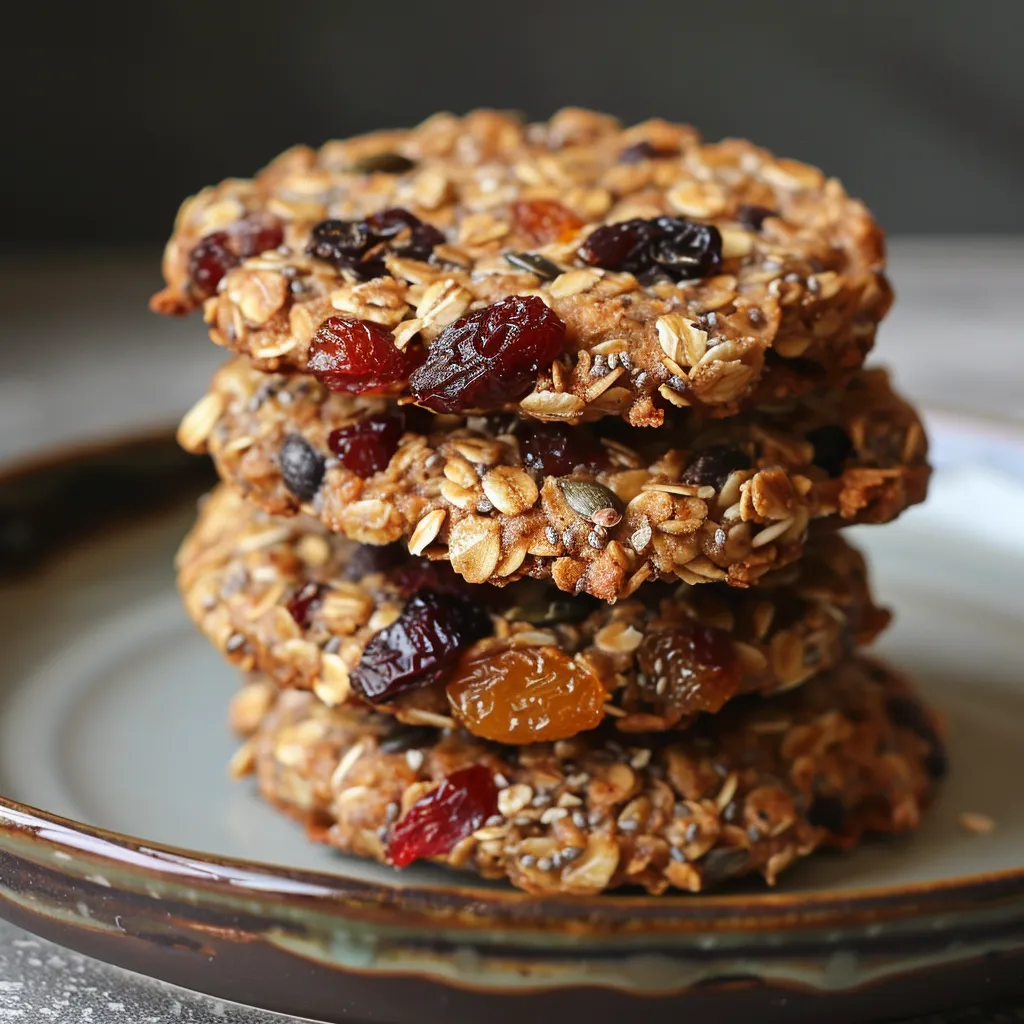
Whip up these homemade granola cookies—awesome for keeping your energy up, snacking smart, or grabbing a fast breakfast any time the family runs out the door.
Tasty Ingredients
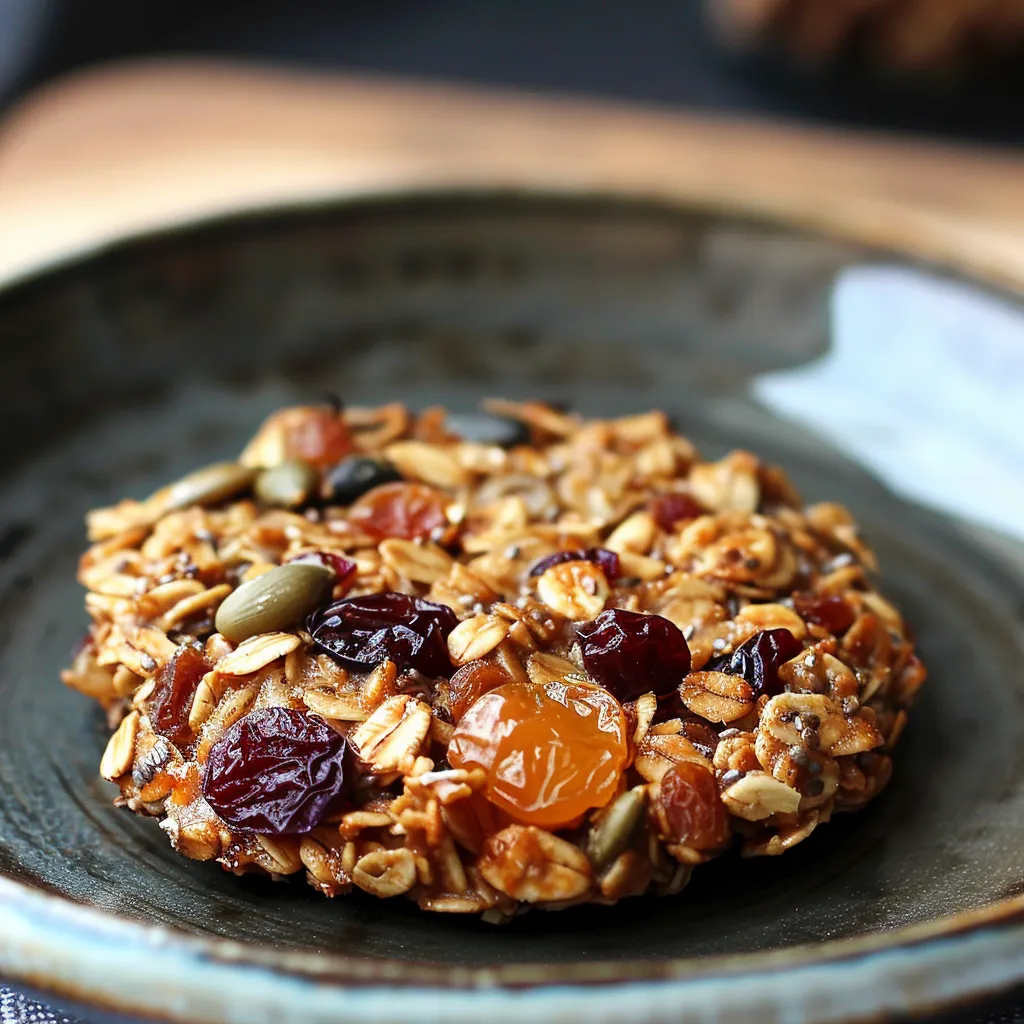
- Seeds: They pop in a little protein and healthy fats
- Dried fruits: Toss in whatever’s lying around for extra flavor and vitamins
- Melted butter or coconut oil: Gives them that unforgettable chewy bite
- Cinnamon (if you want): Adds a cozy kick and is loaded with antioxidants
- Honey or maple syrup: Keeps things sweet and sticky so everything sticks together
- Oats: Brings plenty of long-lasting energy from those hearty fibers
- Vanilla extract: Makes the smell and taste extra yummy
Step-by-Step Directions
- Let Them Cool:
- Just leave the cookies right on the tray until they’re totally cool. That’s how they get that tasty crunch you’re after.
- Bake 'Em:
- Spread them out on a lined baking sheet and pop them in the oven for about 12 to 15 minutes. Just watch, they brown super fast.
- Shape the Cookies:
- With damp hands, roll the dough into balls and gently squish them down. You're aiming for about a two-inch round.
- Mix in the Flavor:
- Drop in the vanilla and cinnamon, stirring carefully so those flavors are even in every bite. They’ll get extra awesome as the cookies bake.
- Pour in the Wet Stuff:
- Add in your melted fat plus the honey or maple. Stir it all good and long until the mix looks shiny and every bit's covered.
- Stir Up the Dry Goods:
- Grab a big bowl and toss in oats, dried fruit, and seeds. Mix until they're spread out nice and even so you don’t get clumpy bites.
- Heat Up the Oven:
- Crank your oven to 180°C so it's hot when your cookies go in. Cooking them right away means they bake up just right.
I’m a big fan of dried cranberries mixed with sunflower seeds for that perfect sweet and salty bite. My kid calls them ‘magic cookies’—they always vanish from the snack jar way too soon!
Storing Tips
Keep these granola cookies sealed tight at room temperature and they’ll last a week or two. You can toss them in the freezer in a good container for up to three months, too. I usually double up so there’s always a stash handy when the kids need a quick treat.
 Pin it
Swap Ideas
This one’s totally customizable. Oats can switch out for puffed quinoa or buckwheat flakes if you’re feeling wild. Want it vegan? Go for agave or maple syrup instead of honey. Allergic to nuts? Stick to seeds only. I’ve even chucked in some diced dark chocolate for a special treat and, wow, it’s a hit!
Ways to Enjoy
Munch them straight up with a mug of coffee or tea. Crumble over yogurt or some applesauce if you’re in a hurry. For an easy but fancy dessert, top with a scoop of plant-based vanilla ice cream and a handful of fresh fruit—so good!
Frequently Asked Questions
- → What can be used instead of honey?
You can swap out honey for maple syrup if you want a vegan option or a slightly different flavor.
- → How can I make this gluten-free?
Just use oats that are certified gluten-free to make sure your biscuits fit a gluten-free diet.
- → Can I change the dried fruits and seeds?
Totally! Pick your favorite dried fruits and seeds like almonds, walnuts, or pumpkin seeds to adjust the flavor.
- → How do I make the biscuits crunchier?
Bake them a couple of minutes longer and let them cool down completely for a crispier finish.
- → Can I replace butter with another fat?
Sure! Melted coconut oil works great as a replacement for butter and gives you a dairy-free option.