
 Pin it
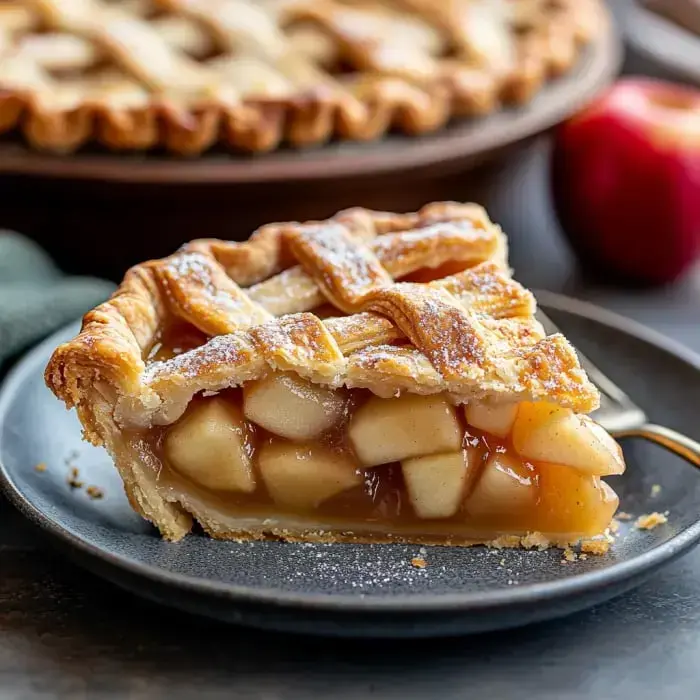
As soon as fall hits and apples are everywhere, I can't help but crave this timeless apple pie. Soft spiced apples tucked inside flaky, buttery layers is pure nostalgia. It always reminds me of cozy days at my grandma's, especially when that warm pie slice melts into cold vanilla ice cream. Honest comfort, right?
Why You'll Love This Pie
This pie really shines because the filling is packed with loads of thin apple slices for a gorgeous, sky-high middle. I lightly cook the apples first, which keeps the bottom nice and crisp and helps all those spices pop. The two layers of pastry make every bite tender and flaky at the same time.
What You Need
- 2 pie crusts: Grab them from the store or make your own—you’ll need a top and bottom.
- 8 large apples: Go for 4 Granny Smiths plus 4 Honeycrisps or Pink Ladys for a sweet meets tart bite.
- 2 teaspoons cinnamon: Use the freshest ground you can, it really brings that fall flavor.
- 1/4 cup flour: This thickens up your apple filling just right.
- 3/4 cup sugar: Taste your apples and add a little more or less if you like.
- 1 lemon: Squeeze out the juice and add the zest for a fresh kick.
- 1/4 teaspoon each nutmeg and allspice: These give depth without taking over.
- 1 egg plus a splash of water: Brush it over the top for that pretty golden look.
- 2 tablespoons coarse sugar: Totally optional, but it adds a sparkly crunch at the end.
How to Make It
- Bake It All Up
- Pop the pie in a 400°F oven for 25 minutes, then turn it down to 375°F for another 30–35 minutes. The crust should turn golden and the filling will bubble when it’s done.
- Pile Up That Filling
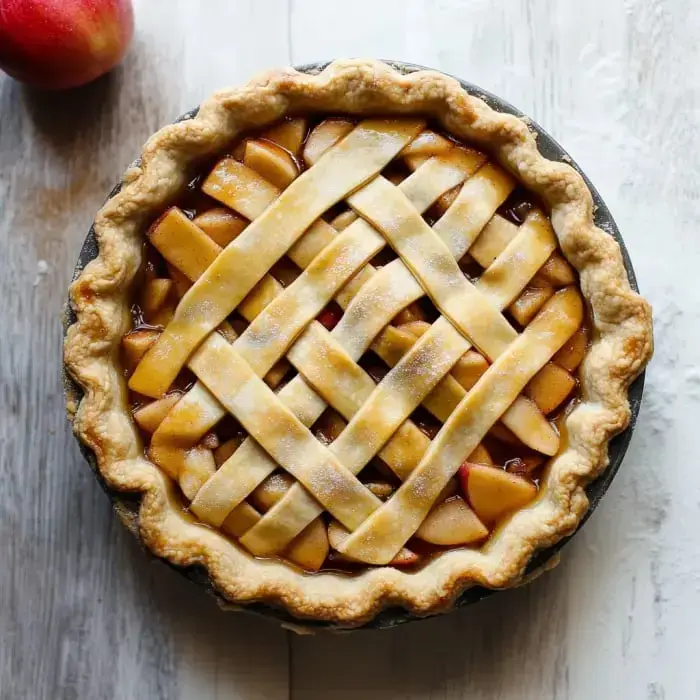
- Spoon the apple mix into your cold crust, packing it in so there’s no empty spots. Throw on a full or lattice top crust, then trim, pinch, or crimp the edge. Brush with that egg wash and dust some coarse sugar over everything.
- Prepping the Apple Filling
- Mix apples, sugar, flour, lemon, and your spices in a big pot. Warm it all together over medium for about 5 minutes, just until the apples soften a little and juices appear.
- Line Your Pan
- Roll the bottom crust out into a 12-inch round. Lay it into your pie plate, leaving an inch hanging over. Chill the whole setup while you get the filling ready.
Handy Tricks
- Let your pie cool for a solid 3 hours or you’ll have a gooey mess instead of neat slices.
- Packing the apple slices in tight is key—they shrink as they cook, and you want a full, tall pie.
- Cut all your apples to 1/4-inch slices so everything bakes through evenly and looks great when sliced.
- If you have one, use a clear glass pan so you can peek at the crust and check for golden perfection.
Stay Tasty
Cover your pie and it'll be fine on the counter for 2 days, especially under a cake dome. If you want to keep it longer, stash it in the fridge for up to 5 days. Heat up slices in the oven when you’re ready—they’ll taste like you just made them. Don’t skip the vanilla ice cream or, if you ask me, salted caramel on top is next level.
 Pin it
Frequently Asked Questions
- → What's the deal with pre-cooking apples?
Cooking apples first ensures they soften and the flavor gets richer. This avoids raw chunks in your pie and keeps the filling juicy and delicious.
- → Why let it cool for hours?
Letting it sit lets the filling firm up. If you slice it too soon, the filling might run out. A cool pie gives you neat slices every time.
- → Which apples taste best together?
Mix tart Granny Smith with sweet Honeycrisp or Pink Lady apples for the best texture and balanced flavor in your pie.
- → Why use a thermometer inside the pie?
The center needs to hit 200°F (93°C). That ensures the apples are totally soft, and any thickener in the filling is cooked just right.
- → What's the secret to shiny, crunchy crusts?
A quick egg wash gives the crust its golden shine, while a sprinkle of coarse sugar adds a nice crunch and sparkle on top.