
 Pin it
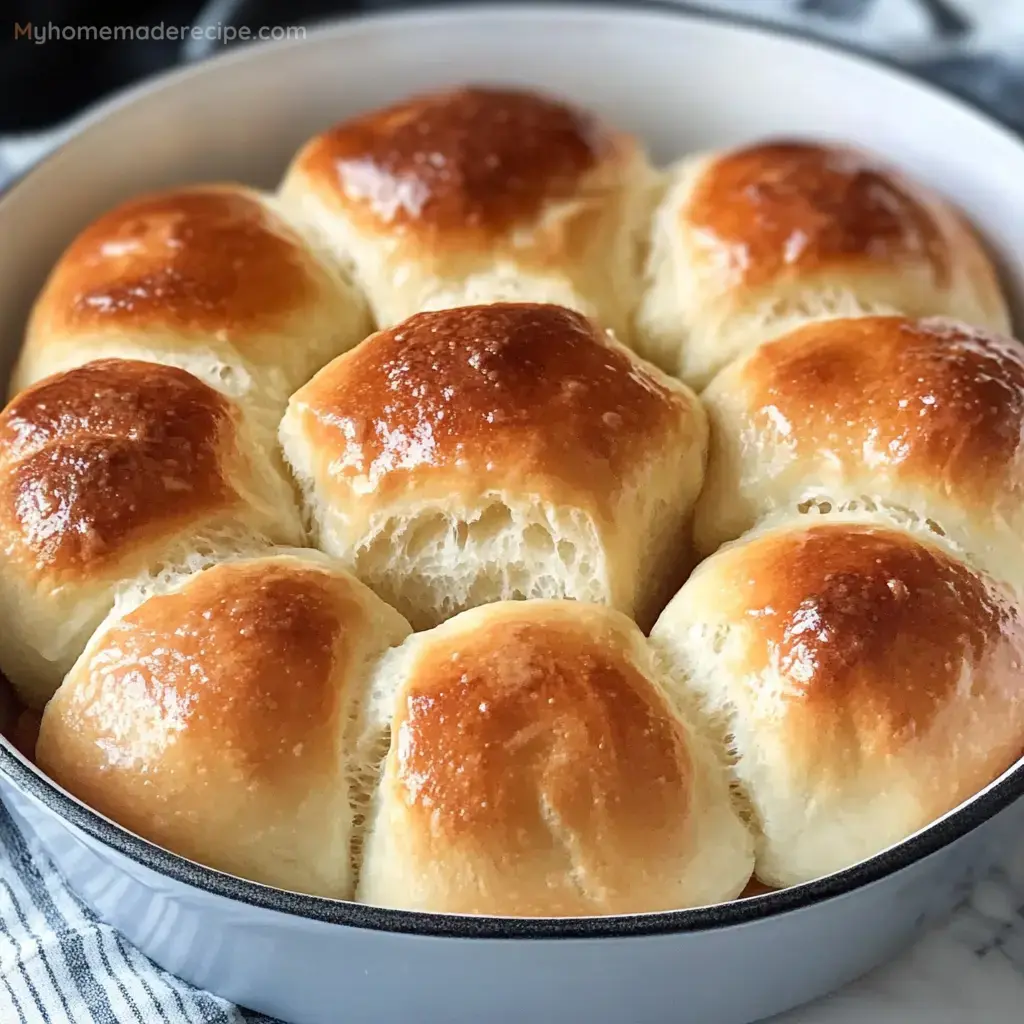
When my family and I found out we had celiac disease, it was tough finding gluten-free dinner rolls that tasted anything like the homemade ones we grew up with. Every recipe we tried for years either turned out super dry, fell apart, or tasted awful. It wasn’t until I took a baking class with Rachel (she used to run Gluten Free Mama) that I finally found an answer.
Rachel shared her original secret with us, and since it’s no longer on the internet, I modified it—with her okay—to pass on to you all. Now, these gluten-free rolls are on our table for every holiday and pretty much at least once a month because they're just so good. They’re not a substitute. They’re something we actually look forward to.
Honest Journey and Discovery
Trying to bake gluten-free rolls before this was a mess. Everything I did ended in failure and rock-hard bread. Rachel showed me another way. Her specific gluten-free flour combo and smart tricks won me over—these rolls taste just like the regular kind and nobody guesses they’re gluten-free.Adapted Approach and Value
What I’m giving you here is a version of Rachel’s original, tweaked so anyone can make soft, craveable gluten-free rolls without stress. These aren’t just something to go on your plate; they’re total comfort food. Each bite is soft and buttery, and you can’t help but smile when you eat them.Inspiration Backstory
Rachel inspired these rolls and her careful style really works. She worked hard to get both the taste and the texture just right so they really feel like the classic ones. The real win comes from picking ingredients carefully and following a method that just plain works.What You’ll Need
- Gluten-Free Flour Blend: 2¾ cups (about 11½ oz.) of your favorite store-bought or homemade blend. For the best texture, look for something like Authentic Foods Multi-Blend, Gluten-Free Mama's Almond blend, or any blend with xanthan gum.
- Xanthan Gum: 1 1/2 teaspoons—skip this if your flour already includes it.
- Yeast: 2 teaspoons of instant yeast, like SAF.
- Sugar: 1/4 cup.
- Salt: 1 teaspoon.
- Warm Water: 1 cup, between 105 and 110°F.
- Butter or Margarine: 2 tablespoons melted butter, dairy-free margarine, or even Spectrum organic shortening if you want.
- Egg: 1 large egg, bring it to room temp if you can.
- Cider Vinegar: 1 teaspoon.
Mixing It Up
- Step 2:
- While you keep your mixer at a slower setting, pour in the warm water little by little. Drop in the melted butter, the egg, and the cider vinegar at this stage. After everything looks mixed, crank up the speed to medium and let it go for about three minutes to get a nice, smooth dough.
- Step 1:
- Grab a big bowl and dump in all your dry stuff—flour blend, xanthan gum if you need it, yeast, salt, and sugar. Give them a good stir or whisk so everything’s mixed evenly.
Forming the Rolls
- Step 2:
- With a 2-inch scoop or a 1/3 cup measure, scoop up mounds of dough—aim for nine total. Pop one in the middle and place the rest in a circle around it in your pan. Wet your fingers in a bowl of warm water and gently smooth the tops, dunking your fingers again when needed so nothing sticks.
- Step 1:
- Grab an 8 or 9-inch round cake pan or pie plate and spray it all over with nonstick spray.
Letting Dough Rise
- Step 1:
- Toss a clean, dry towel over the pan and set it somewhere cozy for about 45 minutes to an hour. This gives the yeast time to work its magic so the rolls turn out super fluffy instead of dense.
Baking Process
- Step 2:
- Slide the pan onto the center oven rack and bake for 25 to 28 minutes, until you get golden tops and the inside heats to 200°F. Every oven runs differently, so keep an eye out near the end.
- Step 1:
- About five minutes before the dough finishes rising, set your oven to 400°F to preheat.
Final Touches
- Step 1:
- Once you pull the rolls from the oven, slather them right away with ½ to 1 tablespoon of melted butter. Makes them shiny and ridiculously buttery-good.