
 Pin it
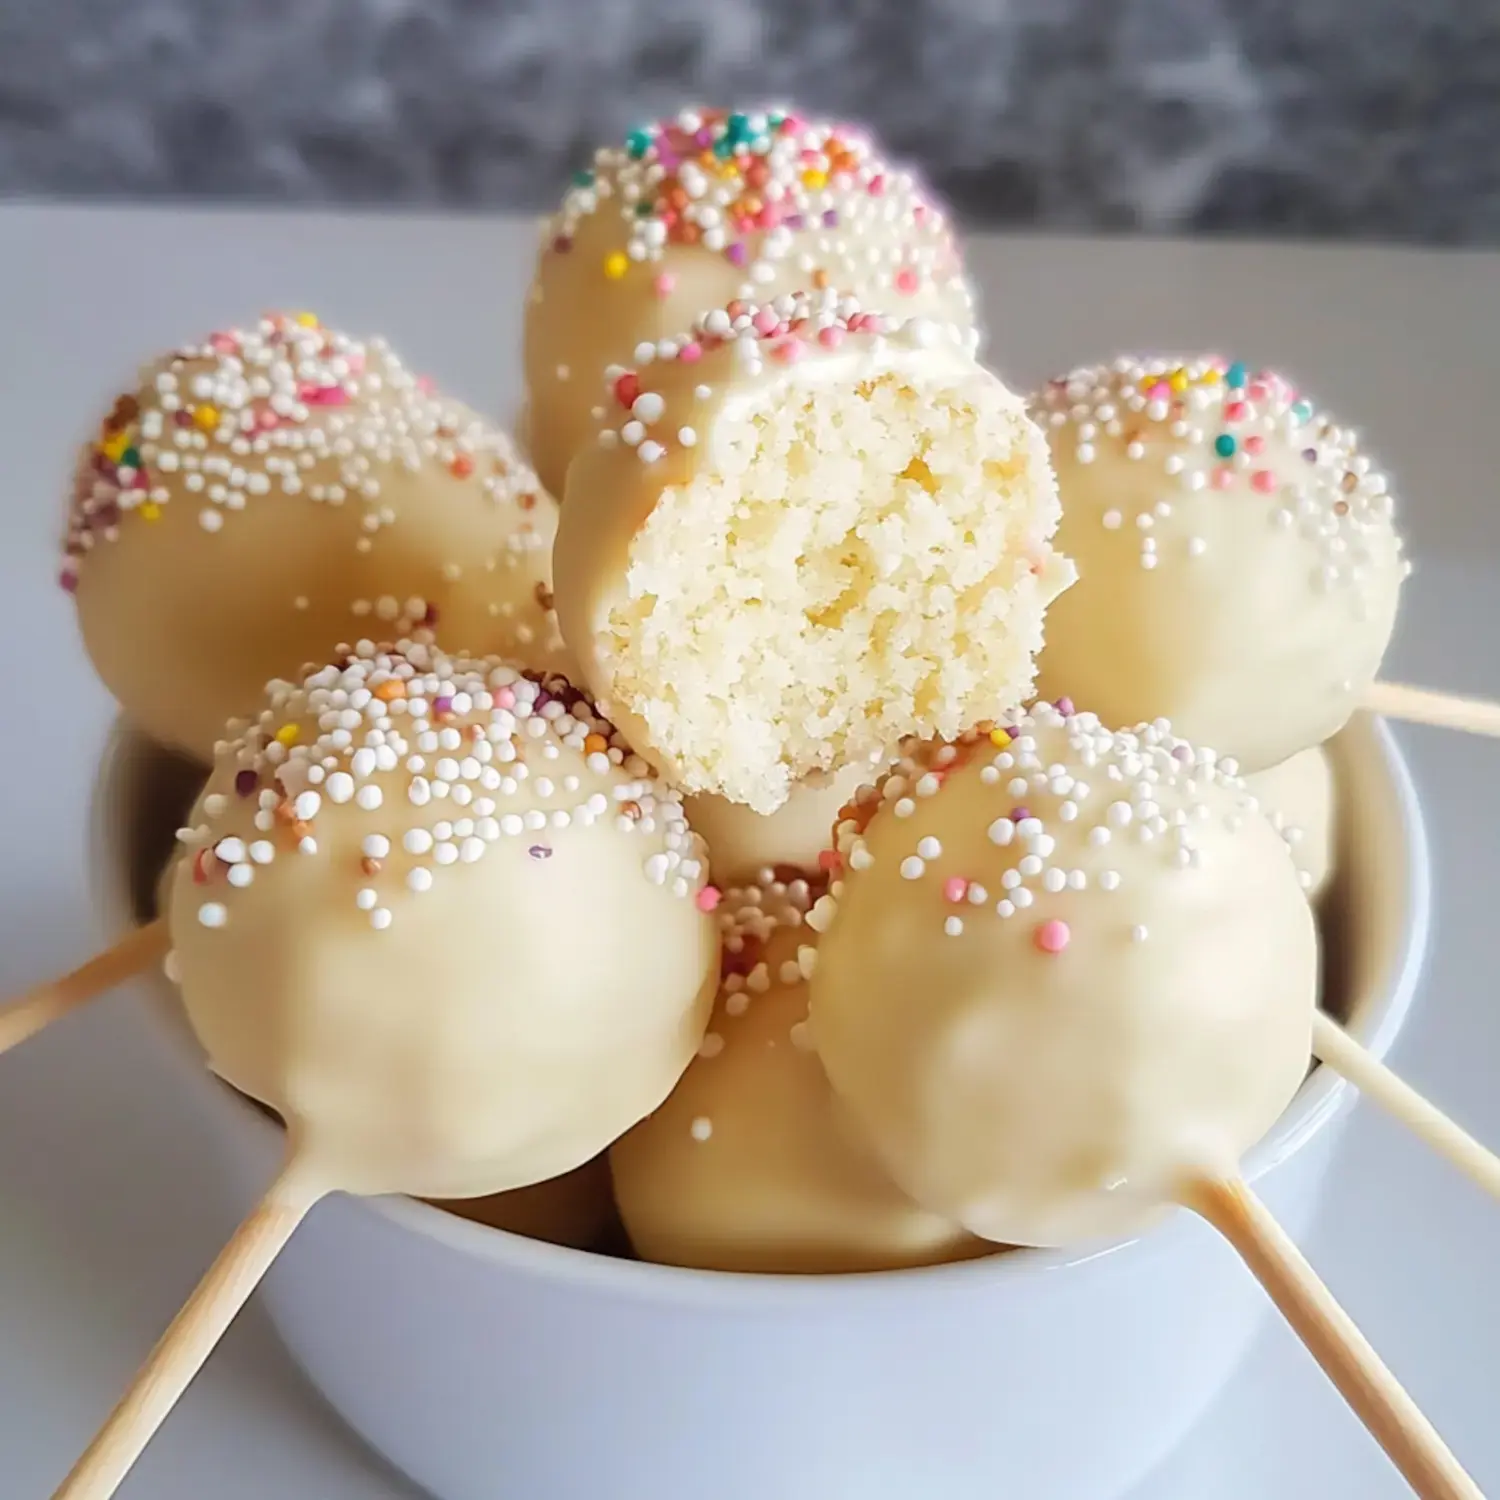
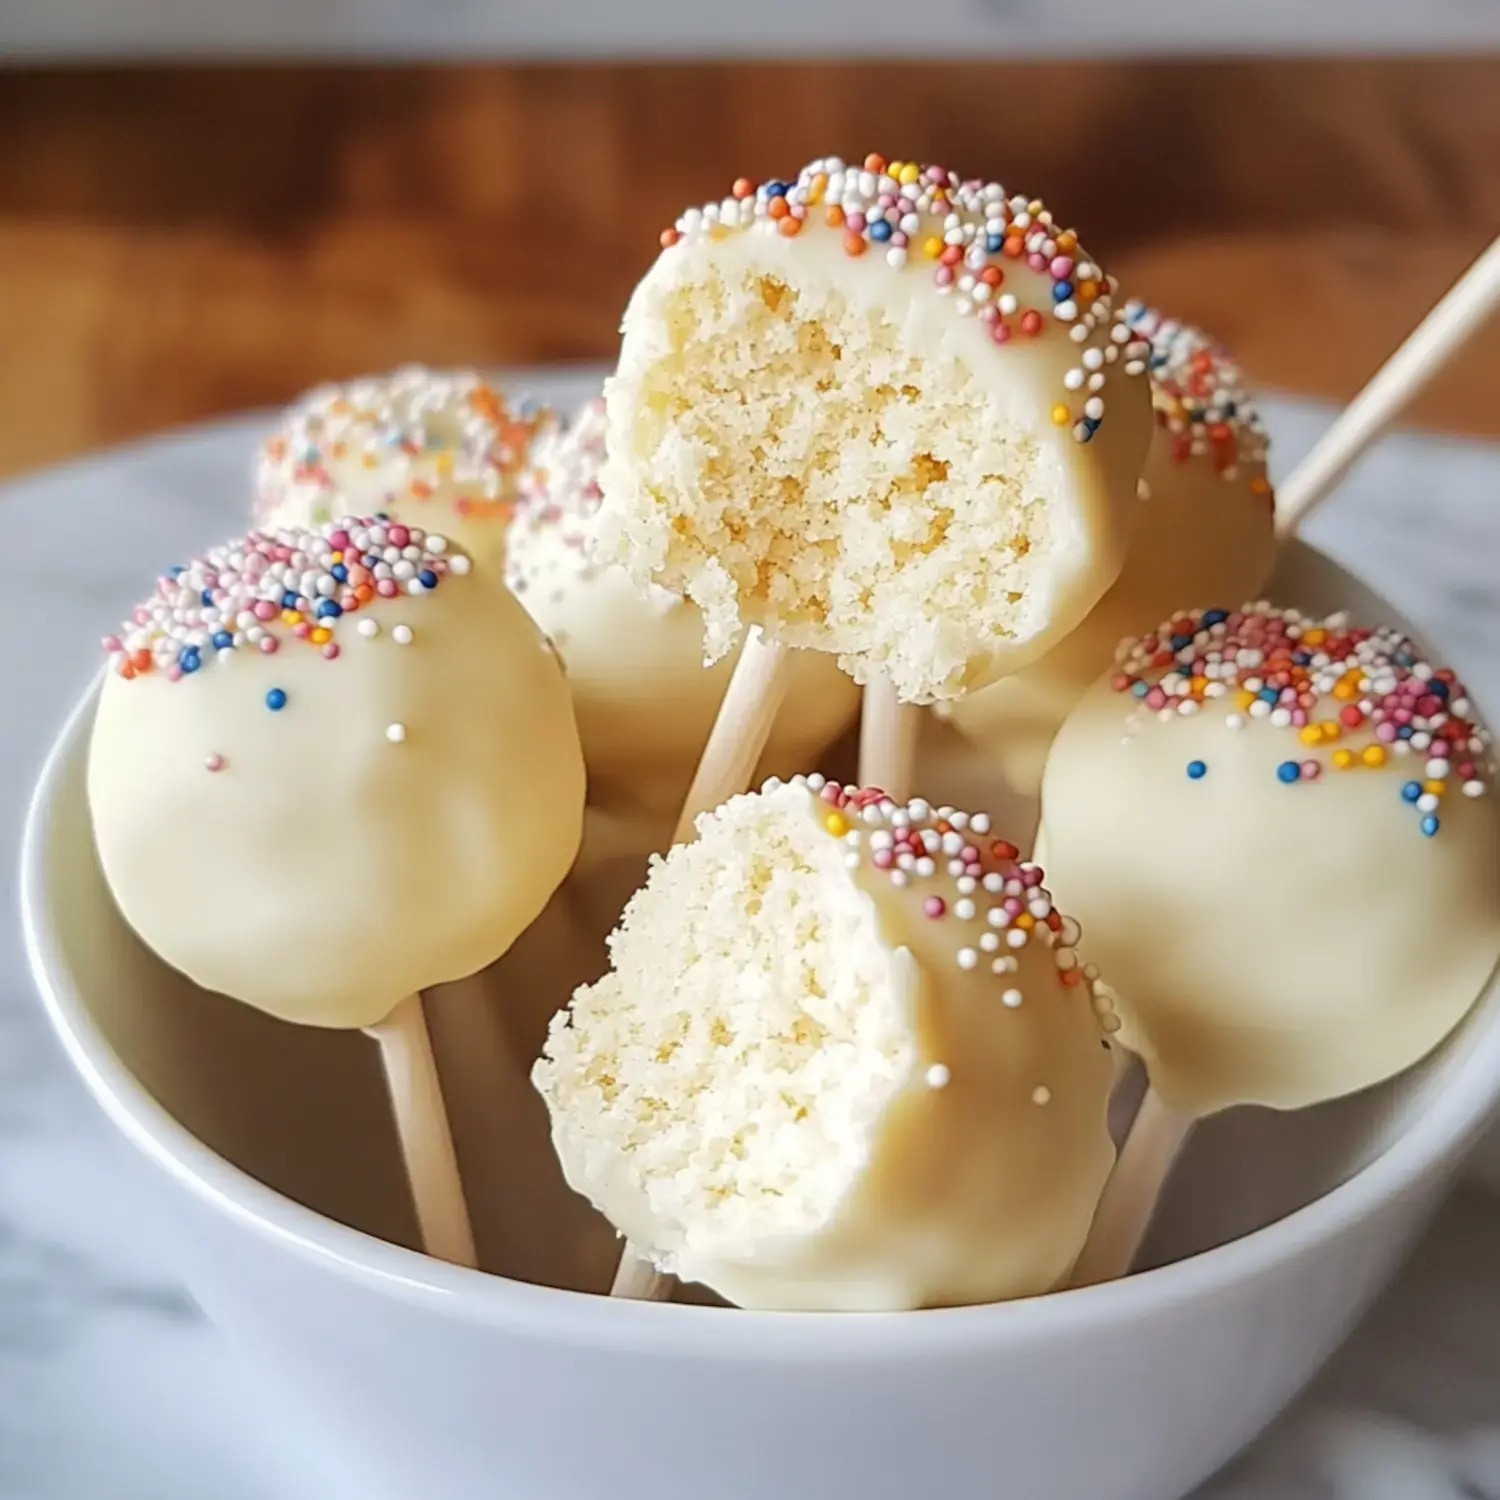
I've spent tons of time in my kitchen playing with cake pop formulas and now I'm super excited to share my no-fail approach. These adorable little goodies mix up crumbled cake with smooth frosting, all rolled into cute little balls and dunked in silky chocolate. My steps will guide you through making these crowd-favorites whether you're whipping them up for a get-together or just want something fun to munch on.
The Wonder Inside These Tiny Treats
You'll quickly get hooked on how flexible these sweets can be. I've thrown them together with store-bought cake mix when I'm rushed and my grandma's old-school cake formula for fancy events. The real wonder starts when that fluffy cake blends with creamy frosting and gets wrapped in a thin, snappy chocolate coating. It's pure joy in every nibble.
Tools and Ingredients You'll Want
- Cake: Any vanilla cake you love works great here. I typically grab my go-to white cake formula but honestly, a box mix works fine too.
- Frosting: My homemade buttercream with actual butter, sugar dust and real vanilla beats everything else.
- Chocolate Melts: These are my top trick for that amazing shell that hardens just right.
- Sprinkles: Grab whatever kinds you like to make these babies uniquely yours.
- Vegetable Oil: A tiny bit helps make regular chocolate thinner if you don't have candy melts handy.
- Cake Pop Sticks: You can grab these at any hobby shop and they're needed for that traditional style.
Creating Your Sweet Pops
- Getting Started
- Cook your cake and wait for it to cool all the way down. Then break it into super small bits in your largest mixing bowl.
- The Good Stuff
- Add most of your frosting. Go bit by bit since you can throw in more if needed until it feels perfect.
- Forming Your Spheres
- Use a tablespoon to grab chunks and roll them in your hands. Toss them in the freezer for 10 minutes, then roll again to make them smooth. Back to the freezer for half an hour.
- Working With Chocolate
- Warm your chocolate in quick microwave bursts, mixing well each time. A tall mug works wonders for dipping.
- Bringing Everything Together
- Stick your wooden handle in melted chocolate, push into a cake ball, then dunk the whole thing. Tap gently to get rid of extra coating.
- Finishing Touches
- Toss on your sprinkles while chocolate stays wet then prop them straight up in foam or a cup filled with uncooked rice.
Insider Baking Tips
The biggest difference-maker is beginning with just a smidge of frosting. Believe me, it's way simpler to put in more than to fix overly mushy cake pops. Make sure your chocolate stays nice and runny while your cake balls stay super cold. Let them dry standing up for that fancy bakery appearance.
Storage Suggestions
Store these cuties in a sealed container and they'll be good at room temperature for 3 days. Want them to stay fresh longer? Put them in your fridge for a week. If you're planning way ahead, you can freeze your uncoated cake balls for up to 3 months.
Why These Stand Out
My approach gives you those dreamy cake pops that have just the right moisture level with the glossiest coating. Once you get these simple methods down, you'll be cranking out treats that look like they came from a fancy shop. Nobody who tastes them can tell they weren't professionally made.
Add Your Personal Touch
This is your chance to get super creative. Sometimes I mix in a tiny bit of food dye to match party colors or toss in smashed Oreos for some crunch. You can decorate them countless ways from simple chocolate drizzles to fancy sparkly sugar.
Ways To Show Them Off
During my food service days I figured out display makes all the difference. Try standing your cake pops in a cute vase with bright tissue paper or set them in an old-fashioned teacup filled with sugar grains. They look amazing wrapped in clear plastic with ribbons for giving as gifts.
My Winning Methods
Don't rush when shaping those cake balls - rolling them twice is how I get perfectly round shapes. When your chocolate gets too thick, just warm it up again quickly. I always handle small groups of pops while keeping the rest cold so they stay firm for coating.
Great For Any Party
Through the years I've created these tiny desserts for so many birthday bashes, baby celebrations and weddings. There's something truly special about these small sweets that gets everyone grinning. After you make them once, you'll be hooked on the happiness they bring to any gathering.
 Pin it
Frequently Asked Questions
- → How does extra oil improve boxed cake mix?
- Adding more oil makes the cake softer and helps keep the crumbs together when mixed with frosting, making it easier to shape the balls.
- → What’s the reason for rolling cake balls twice?
- Chilling and re-rolling ensures the cake balls are smooth and round, making them look great and coat evenly in chocolate.
- → Why is candy melt better than chocolate?
- Candy melts melt thinner and dry faster, making them ideal for dipping. Regular chocolate needs thinning and sets slower.
- → Can these be prepared ahead?
- Sure! The cake balls can be frozen for up to six weeks. Once coated, store them in the fridge for up to a week.
- → What’s the benefit of dipping the stick first?
- Dipping the stick in chocolate before inserting ensures the ball stays secure because the chocolate acts like glue when it hardens.