
 Pin it
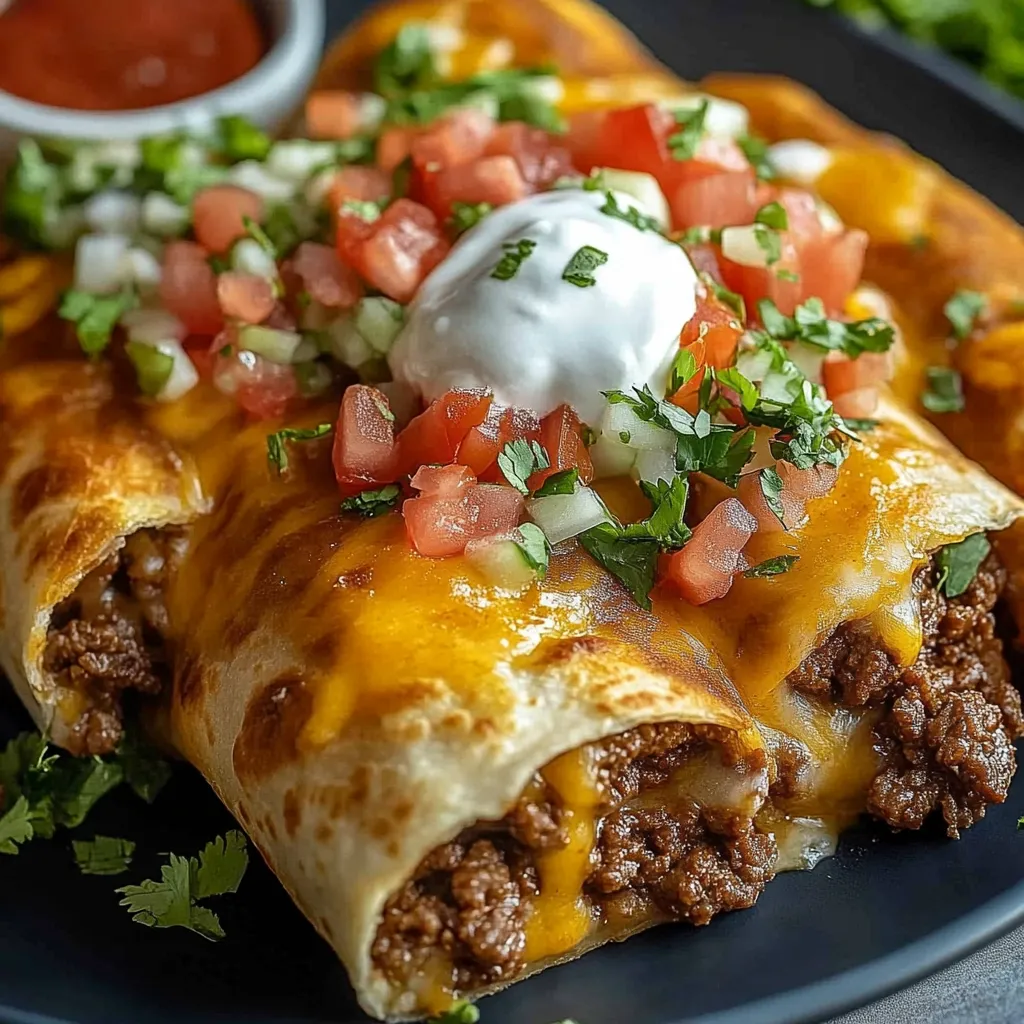
Sink your teeth into these crispy, cheesy beef chimichangas done in the oven. You’ll skip the fuss (and oil) of frying but keep all the flavor. This fun Mexican dish is a sure hit with friends or family, plus it’s easy enough to pull off on a busy night.
I tried making these when I wanted something like restaurant chimichangas, just healthier. Baking them worked out great—they’re now a Friday night favorite. The best part is everyone can top theirs however they want.
Tasty Ingredients
- Sour cream, salsa, cilantro: Finish with these for a pop of fresh flavor
- Flour tortillas (large): Grab them fresh so they're easy to roll up without breaking
- Butter or oil: Brush it on for that crispy oven crunch
- Cheddar cheese and Monterey Jack: Cheddar packs the punch, Jack melts perfectly
- Water: Mixes with the seasoning so everything's just right
- Taco seasoning packet: Quick flavor boost in a pinch
- Onion and garlic: Start here for loads of flavor
- Ground beef: Stick with 80/20 for the juiciest, most tasty filling
Simple Step-by-Step Directions
- Enjoy Right Away:
- Dig in while they’re hot and toss on your favorite cold toppings for a tasty mix.
- Into The Oven:
- Pop the tray in for about 20–25 minutes. Flip them over at the halfway mark. They’re done when golden brown, crispy all over, and the corners start to turn dark.
- Get 'Em Crispy:
- Use a pastry brush to cover every side with melted butter or oil. That’s the trick to bakery-style crunch.
- Wrap Up The Chimichangas:
- Fold your tortillas from both sides, then roll up tight. Set them seam-side down so they stay put while cooking.
- Fill & Roll:
- Heat tortillas just a little (in the microwave or a skillet) so they bend without cracking. Spoon on the beef filling, keeping it in the middle so it doesn’t spill when you fold.
- Melt In The Cheese:
- Mix shredded cheeses into your meat mix while it’s still warm. Just let the heat melt them a bit—you want cheesy bites, not goopy filling.
- Add That Flavor:
- Pour in your taco seasoning and some water. Mix it well and let it cook until it’s thicker and not drippy—about 3 minutes. Wait 5 minutes so it cools off before you add cheese.
- Brown The Beef:
- Cook beef, onion, and garlic together over medium until browned and crumbly (about 7 minutes). Drain off all the fat so things don’t get soggy later.
- Preheat Oven:
- Crank your oven to 400°F. Get your baking pan ready by lining with parchment or lightly oiling it. This gets the outside crispy but not burnt.
 Pin it
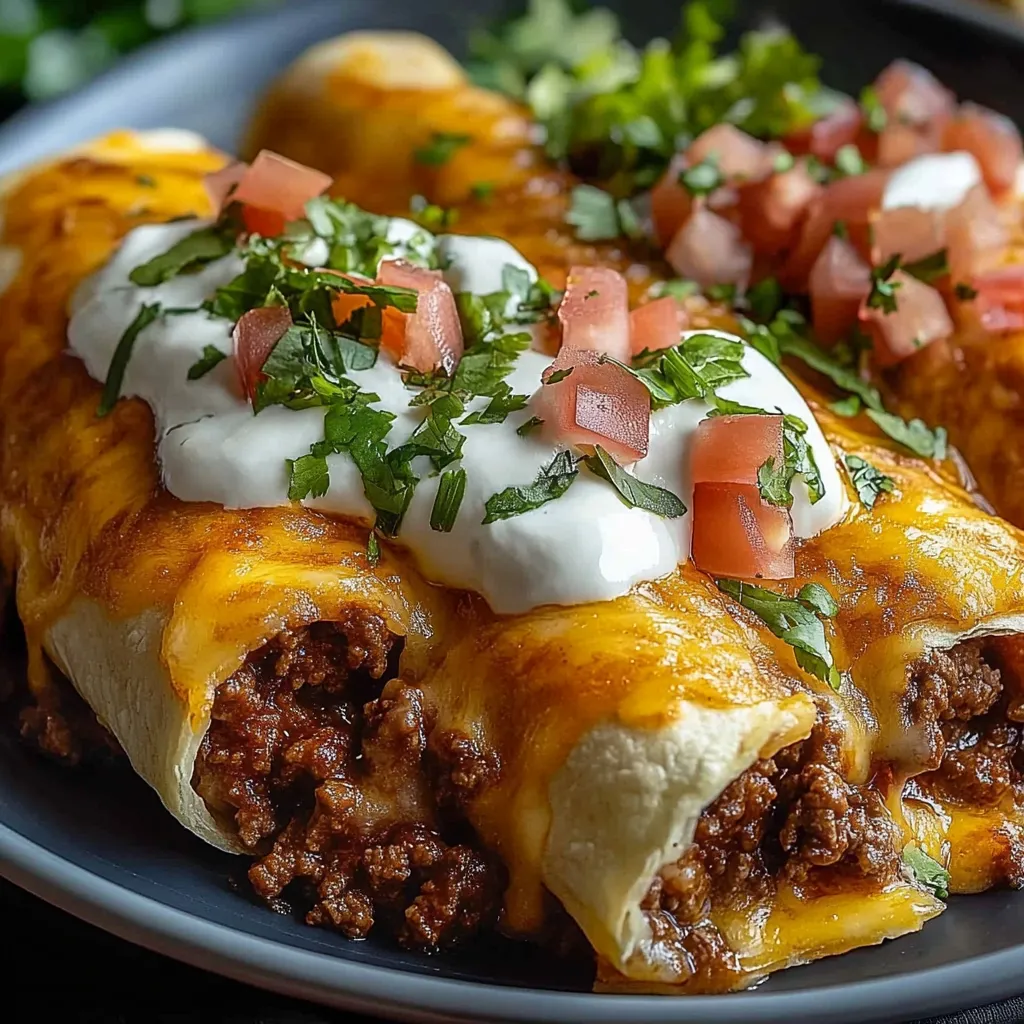
Honestly, the best part is biting through the crunchy outside and hitting that gooey cheese. My kid once asked for these instead of restaurant food for her birthday, so now we do it every year. Cute tradition, right?
Easy Prep Ahead
Chimichangas are great for getting ahead on meals. Make your meat filling up to two days early and stash it in the fridge. You can even wrap them up, keep ‘em uncooked for a whole day, then just brush with oil or butter right before baking. If they’re cold, bake about 5 minutes longer.
Fun Switch-Ups
If beef’s not your thing, use shredded chicken with cream cheese and green chiles for a creamy upgrade. Want it vegetarian? Try black beans, roasted sweet potato, and corn. Same cooking method works for all your fillings.
Serving Up Ideas
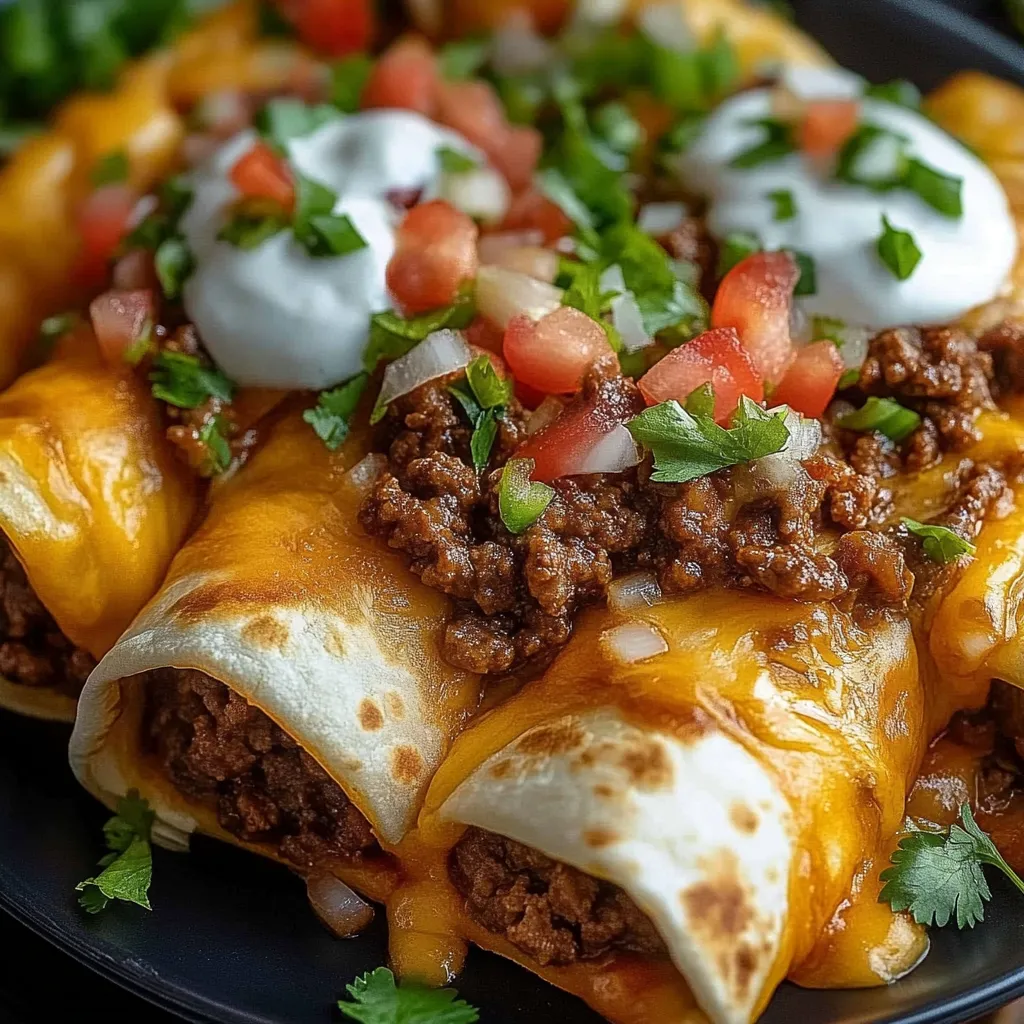
Go for a fiesta: serve these with Mexican rice, beans, and an easy avocado salad. Make it more fun with a topping bar—guac, pico de gallo, spicy sauces, and fresh lime wedges. People love choosing their own combos, especially at parties.
Chimichanga Origins
Chimichangas trace back to the Southwest US, though no one’s totally sure who made the first. One legend says they were born in Arizona when someone dropped a burrito in hot oil and blurted out “chimichanga!” by accident. Either way, this happy mistake turned a regular burrito into a crispy favorite.
 Pin it
Frequently Asked Questions
- → What’s the trick for crispy wraps?
Brushing the wraps with oil or butter before baking makes them golden and perfectly crunchy.
- → Can I swap the cheeses?
Totally! Use mozzarella, pepper jack, or any melty cheese you like to mix things up.
- → Can I prep these ahead?
Sure! Assemble and cover them in the fridge. Just bake later and add a few more minutes to the cooking time.
- → What sides go well with these wraps?
Pair them with fluffy Mexican rice, creamy refried beans, or even a fresh salad for balance.
- → Can I air-fry instead of baking them?
Yes! Pop them in the air fryer at 375°F (190°C) for 10-12 minutes, turning them halfway for extra crunch.