
 Pin it
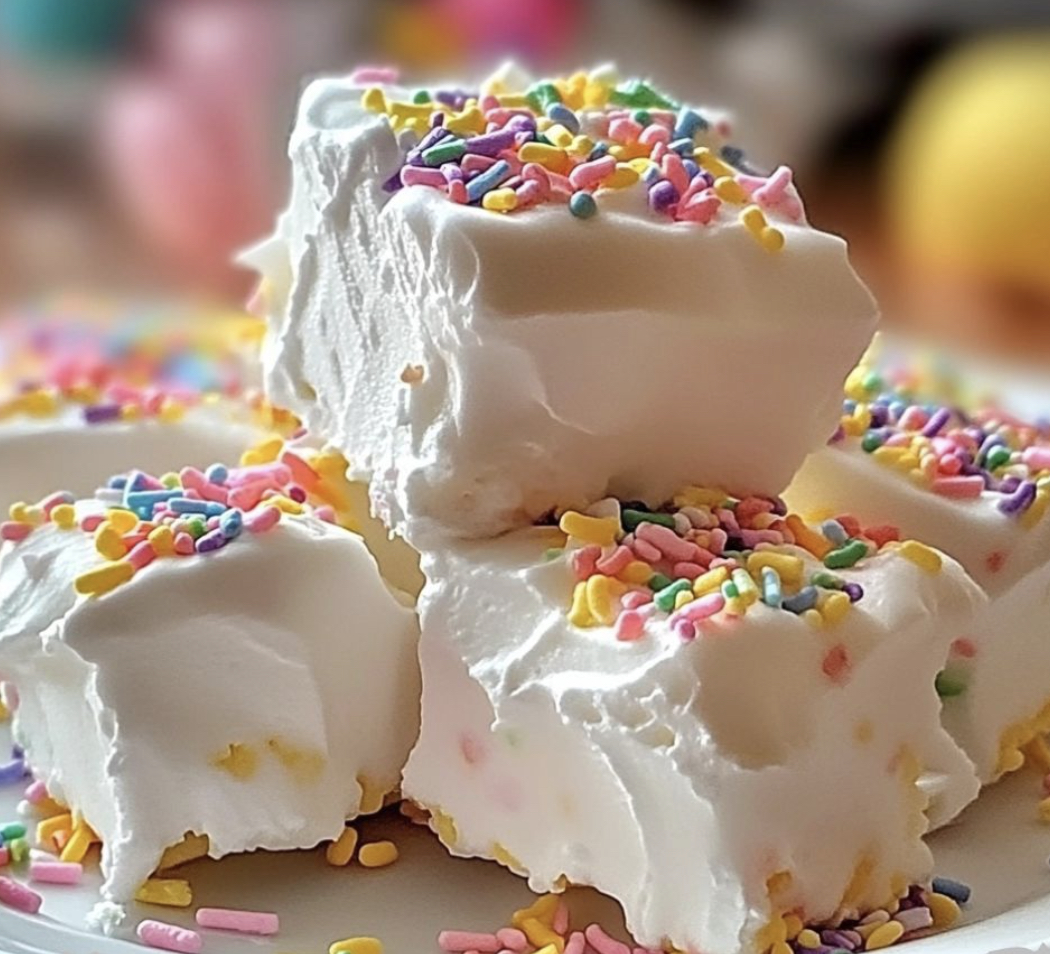
This airy Cool Whip treat blends whipped topping's fluffiness with silky white chocolate, creating a mouthwatering no-bake sweet that everyone loves. Perfect for scorching summer days when you need a quick dessert that'll please both youngsters and grown-ups, this simple fridge candy is the answer you've been looking for.
I came up with this treat during my niece's summer visit when we wanted a fun kitchen project that wouldn't make the house hot. It's now become our must-do activity whenever she stays over, and she gets excited picking different colored sprinkles each time we make a batch.
Ingredients
- White chocolate chips: They form a delicious creamy foundation and help everything stick together. Go for authentic white chocolate with cocoa butter on the ingredient list to get the best outcome.
- Cool Whip: This gives the candy its distinctive light, airy feel. Don't forget to thaw it completely before you start mixing.
- Powdered sugar: Brings sweetness and helps nail the right texture. A quick sift will keep your candy bump-free.
- Vanilla extract: Boosts the overall taste. Stick with real vanilla instead of the fake stuff for better flavor.
- Rainbow sprinkles: Add fun color and a nice little crunch. Pick the long rod-shaped jimmies rather than tiny round ones since they won't bleed color into your white mixture.
Step-by-Step Instructions
- Melt the Chocolate:
- Put your white chocolate chips in a microwave-safe dish. Warm them up in 30-second bursts, stirring after each until they're totally smooth. Watch them closely—white chocolate burns fast. Let it sit for about 2 minutes so it cools a bit and won't wreck your Cool Whip.
- Get the Cool Whip Ready:
- In another big bowl, mix your thawed Cool Whip with vanilla. Stir them together carefully with a spatula using wide, gentle movements to keep all that fluffiness intact.
- Mix Chocolate and Cool Whip:
- Pour your slightly cooled white chocolate into the Cool Whip mix. Use your spatula to blend everything with soft motions until it's all one color with no white streaks left. Work pretty quickly before the chocolate starts hardening.
- Mix in Powdered Sugar:
- Sprinkle the powdered sugar through a sifter to catch any clumps. Fold it in until everything looks smooth and fluffy. You want it light but firm enough to hold its shape.
- Fill Pan and Top with Sprinkles:
- Put parchment paper in your 8x8 pan with extra hanging over the edges for easy grabbing later. Spread your candy mix evenly in the pan using a flat spatula. Cover the top completely with rainbow sprinkles, pressing them down lightly so they stick.
- Freeze Until Firm:
- Stick the pan in the freezer for 1-2 hours until it's hard enough to cut. For best results, let it freeze all the way. It should be solid but still have a bit of give when you bite into it.
- Slice and Enjoy:
- Take it out of the freezer using the parchment paper edges. Cut into 16 equal pieces with a sharp knife. Wipe the knife clean between cuts for neat edges. Serve cold for the tastiest experience.
The white chocolate really makes this recipe special. After tons of testing, I found that good quality white chocolate chips with actual cocoa butter taste and feel way better than cheap white baking chips. My grandma always told me that good ingredients matter most in simple recipes, and this treat proves she was right every single time.
Storage Secrets
These tasty squares stay perfect when kept in the freezer in a sealed container with parchment between layers so they don't stick together. They'll stay good for up to two weeks this way, though at my house they never last that long! When you're ready to eat them from frozen, let them sit out for about 5 minutes so they soften up a bit for that perfect creamy bite. If you keep them in the fridge instead of the freezer, they'll get softer and more fudge-like, which some folks actually prefer.
Flavor Variations
You can easily switch up this candy recipe to fit any occasion or taste. Try using almond extract instead of vanilla for a fancy marzipan-like flavor that works great with the white chocolate. Adding peppermint extract turns these into holiday treats, especially if you top them with crushed candy canes instead of rainbow sprinkles. If you love chocolate, mix in 1/4 cup mini chocolate chips after the powdered sugar or swirl in 2 tablespoons of Nutella for a chocolate-hazelnut version. The Cool Whip base works with almost any flavor you can dream up.
Serving Suggestions
These Cool Whip candy squares look great on any dessert table or at special events. For birthday parties, stack them on a tiered stand with some fresh berries to balance out the sweetness and make everything look pretty. During hot summer gatherings, serve them right from the freezer as a cool, sweet snack. They also fit in perfectly on a holiday cookie plate, adding a different texture among all the baked goodies. For a fancy dessert idea, try using them to make quick ice cream sandwiches with a small scoop of vanilla between two squares.
Frequently Asked Questions
- → Is milk chocolate a good substitute for white chocolate?
Sure, you can swap in milk chocolate. Just keep in mind the taste and color will shift, as white chocolate gives it a smoother, lighter flavor.
- → How should I keep the candy fresh?
Store it in a sealed container in your freezer. It'll stay firm and delicious for longer while keeping its creamy feel.
- → What can I use if I don't have sprinkles?
You could try crushed cookies, chocolate pieces, or colorful sugar for a unique twist in both taste and style.
- → Can I prepare this treat days before serving?
Yes! These bites freeze beautifully, making them ideal for prepping ahead of time for events or celebrations.
- → Can I throw in extras like nuts or fruit?
Definitely! Fold in some chopped nuts, dried fruit, or mini marshmallows for added crunch or chewiness.