
 Pin it
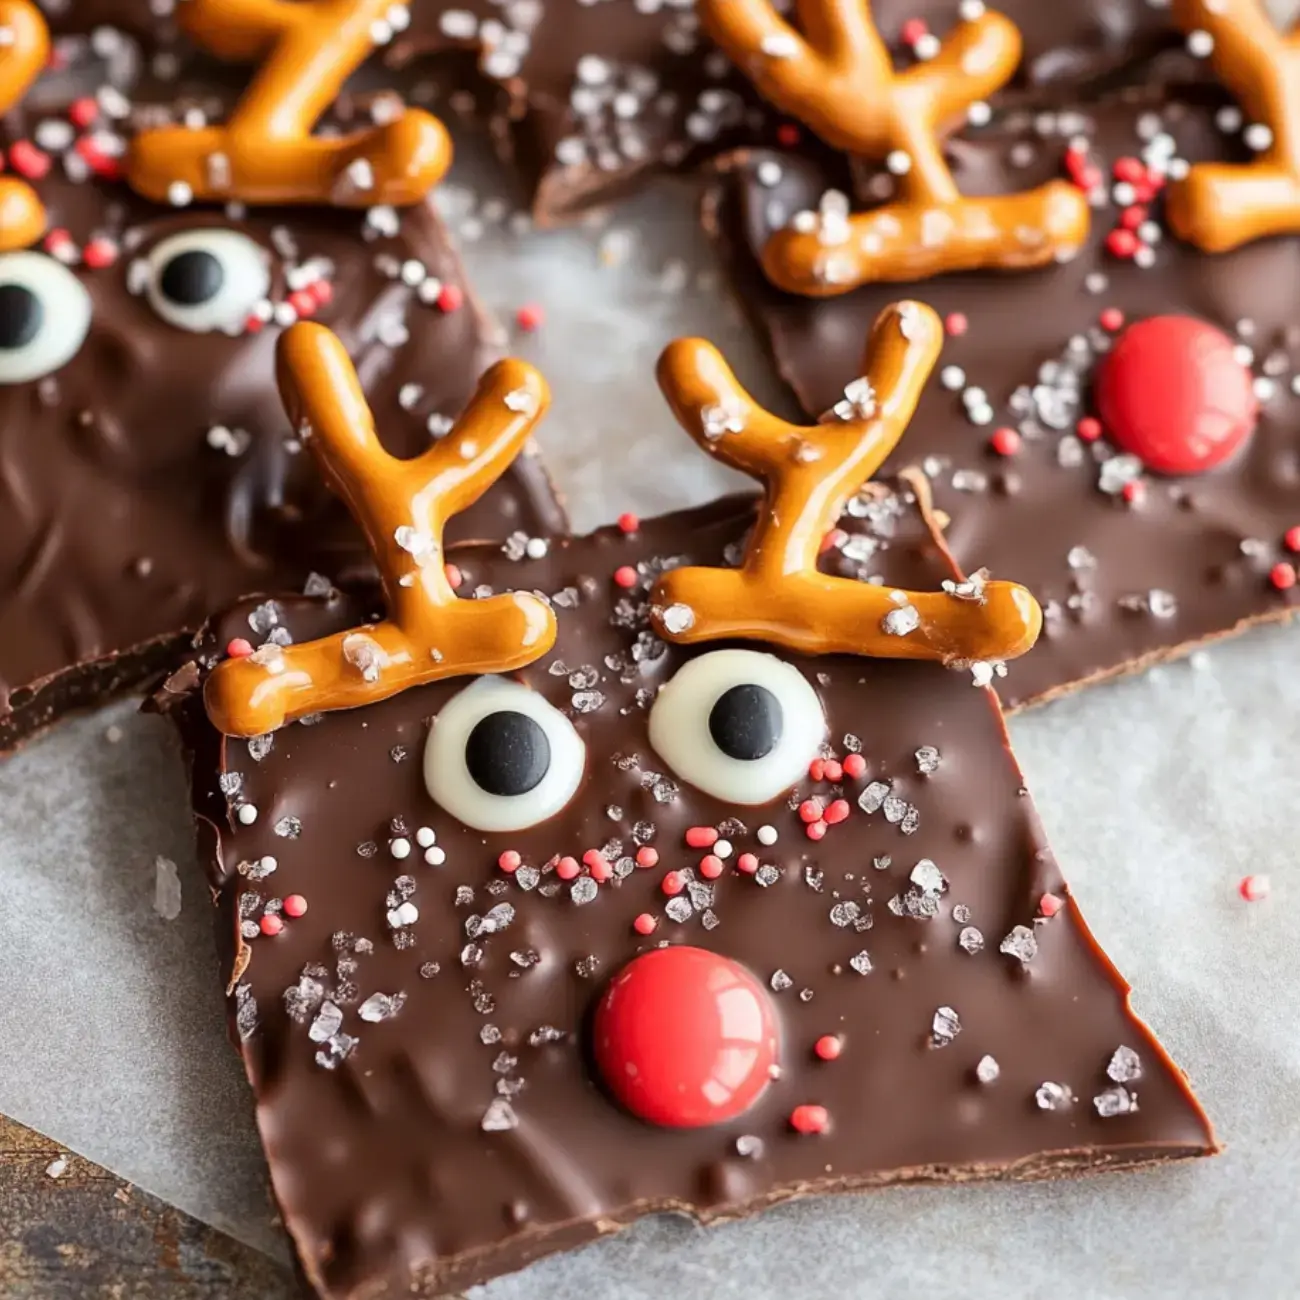
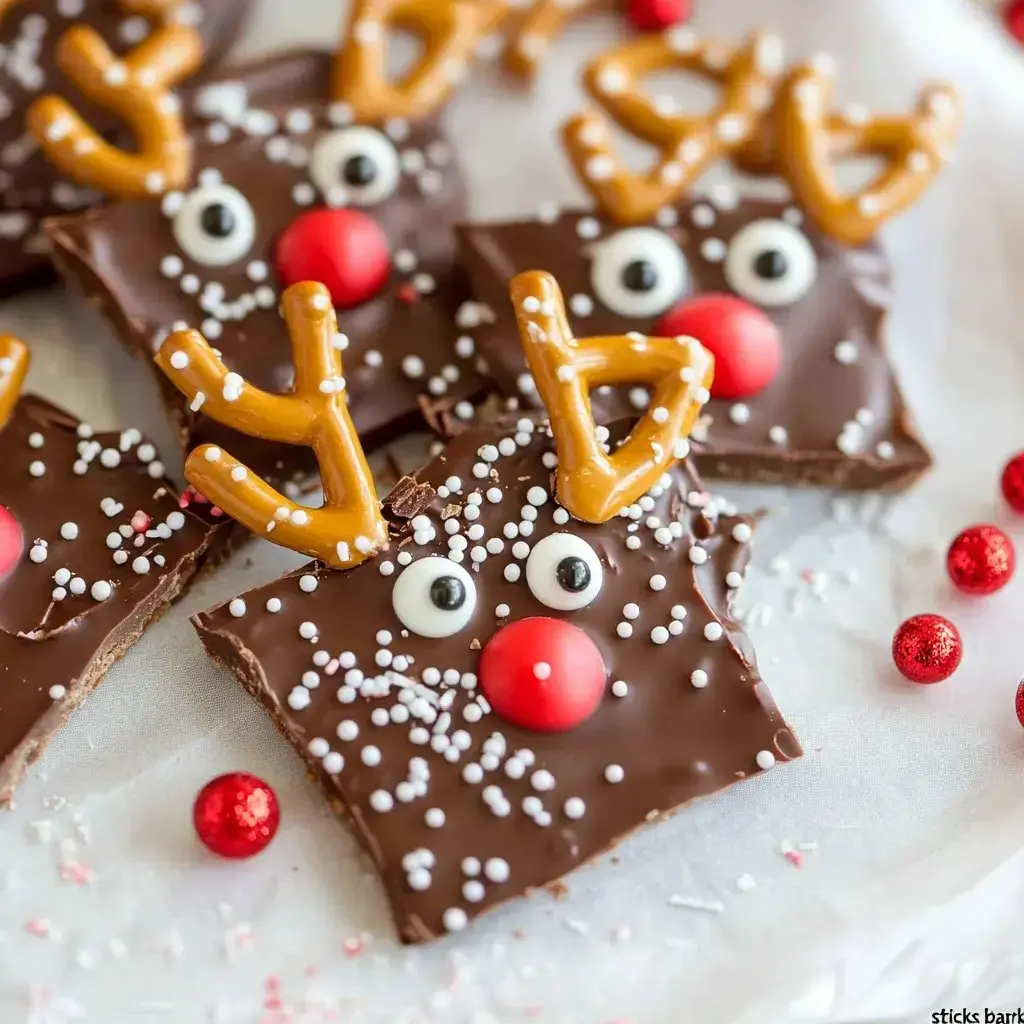
I can't wait to tell you about our Christmas Reindeer Bark! This sweet treat has become such a fun holiday custom at our house. My children and I make these cute goodies every year. There's something magical about how smooth chocolate blends with snappy pretzels and those adorable candy faces that fills our kitchen with holiday happiness.
The Wonder Behind This Sweet Creation
The best thing about Reindeer Bark is how fast and easy it comes together. You'll get hooked on that sweet-salty mix, and nothing beats seeing kids smile when they spot those darling reindeer designs. It's also a fantastic homemade present that won't go bad for quite a while.
Your Ingredient List
- Chocolate candy melts: Go for top-notch chocolate discs for easy melting and tastier results.
- Pretzels: Get whole ones to snap into "antlers" shapes; try to find less salty varieties.
- Clear sprinkles: They give your bark that extra shine and crunch.
- Candy eyes: These make your fun reindeer faces pop; grab ones that fit your design.
- Red candy balls: Small red candies work as noses; tiny M&Ms are perfect for this.
Step-By-Step Guide
- Get Chocolate Ready
- Add chocolate candy melts to a microwave-safe dish. Warm them in short 15-30 second bursts, mixing between each until they're completely melted with no lumps.
- Create Your Base
- Empty the smooth chocolate onto a baking sheet lined with parchment. Use a spatula to smooth it out into a 1/4-inch layer.
- Add Cute Details
- While chocolate's still warm, push in snapped pretzel bits, candy eyes, and red candy balls to make reindeer faces. Finish with a sprinkle of clear sparkles.
- Let It Firm Up
- Put the baking sheet in your fridge. Let everything cool totally so the chocolate gets nice and hard.
- Crack Into Chunks
- After it's set, snap the chocolate into random pieces with dry hands or cut with a knife for cleaner edges and better-looking designs.
Smart Tricks
Don't skimp on chocolate quality or try adding a touch of coconut oil to regular chocolate for better results. I always stick it right in the fridge after adding decorations so nothing moves around. And when breaking it apart, grab a super sharp knife to keep those cute designs intact.
Storage Secrets
Your bark will stay tasty up to three months when kept in an airtight box at room temp. If you're making it as presents, those clear cellophane bags tied with colorful ribbons look amazing. Just store it somewhere cool so it doesn't melt.
Try Something New
We often switch things up for other holidays with different candy colors. It's super fun trying new combos like white chocolate topped with crushed candy canes or dark chocolate sprinkled with roasted nuts. You can make so many different versions!
Common Pitfalls
Watch out for burning your chocolate as it can turn lumpy fast. You need to be quick putting on decorations before the chocolate hardens and always use parchment paper to make cleanup way easier.
Fun For Kids
Getting kids involved in making this bark is amazing. I let mine build their own reindeer faces and they come up with such fun ideas! Just make sure to keep small children away from hot chocolate and everyone will have a great time.
Ways To Enjoy
We grab pieces of our Reindeer Bark while sipping hot chocolate on chilly winter nights. It goes great with other Christmas sweets like cookies and gingerbread houses too. That mix of sweet and salty makes you want to keep reaching for more!
 Pin it
Frequently Asked Questions
- → Why pick candy melts over chocolate?
- They're designed to melt effortlessly and harden properly without extra work. Toss in some coconut oil if using regular chocolate.
- → What’s the point of parchment paper?
- It keeps the bark from sticking and makes moving it easier before it firms up.
- → How do I store it for later?
- Pop it in a sealed container. Room temperature works for three months, or use the fridge to avoid melting.
- → Why keep hands dry when breaking pieces?
- If your hands are damp, the colors might smudge or ruin the finish. Keep everything dry!
- → Why melt chocolate in short steps?
- A little bit at a time avoids burning and helps the chocolate melt smoothly.