
 Pin it
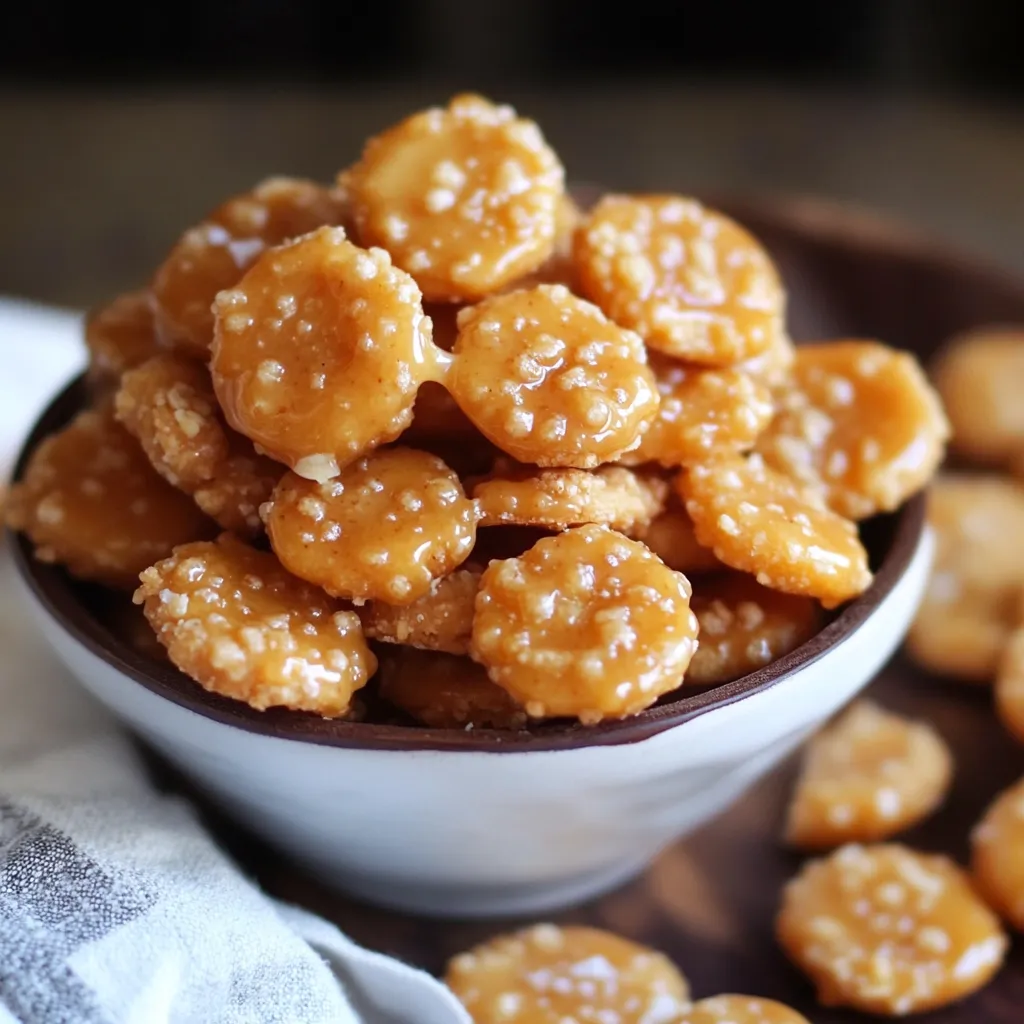
Sweet meets salty in these addictive Caramel Saltine Nibbles. With just a few kitchen staples, you'll turn ordinary oyster crackers into a mouthwatering snack that'll vanish almost as soon as you set it down.
I brought a batch to a Christmas party last year and watched the container empty in minutes flat. The magic happens when you carefully turn butter and brown sugar into a rich coating that completely transforms ordinary crackers into something unforgettable.
Key Components
- Oyster Crackers: These tiny, durable crackers hold up great under caramel and won't fall apart when coated
- Unsalted Butter: Lets you control exactly how salty your final snack turns out
- Brown Sugar: Go for dark brown for a richer caramel flavor profile
- Pure Vanilla Extract: Just a tiny bit adds amazing flavor complexity
- Ground Cinnamon: A small amount brings out the caramel's cozy flavors
- Sea Salt: Sprinkle flaky sea salt on top for bursts of texture and taste
Step-By-Step Directions
- Getting Ready:
- Set your oven to exactly 350°F - the right temperature really matters here. Put parchment on your baking sheet with some hanging over the edges for easy grabbing later. Lay crackers out without any stacking. Have everything measured before you start the caramel - you'll need to move quickly.
- Making The Caramel (5-7 minutes):
- Gently melt butter on medium heat, don't let it brown. Stir in brown sugar constantly so it heats evenly. Wait for bubbles to appear across the whole surface. Look for it to turn deep amber and get slightly thicker. Take it off the heat right when it reaches that perfect color.
- Covering The Crackers (3-5 minutes):
- Drizzle caramel over your crackers in one smooth motion. Mix gently with a rubber spatula until everything's coated. Don't dawdle - the caramel starts hardening fast. Spread everything flat before it cools down. Add sea salt while still hot.
- Oven Time (7-9 minutes):
- Put the tray on the middle rack. Keep an eye on it after 6 minutes since caramel can burn in seconds. Wait for an even golden-brown across everything. Pull it out when you see bubbles all over the surface. Let sit on the tray for 2 minutes.
- Final Touches:
- Add more sea salt if you want. Let everything cool completely. Break into chunks once hardened. Put in an airtight container right away.
 Pin it
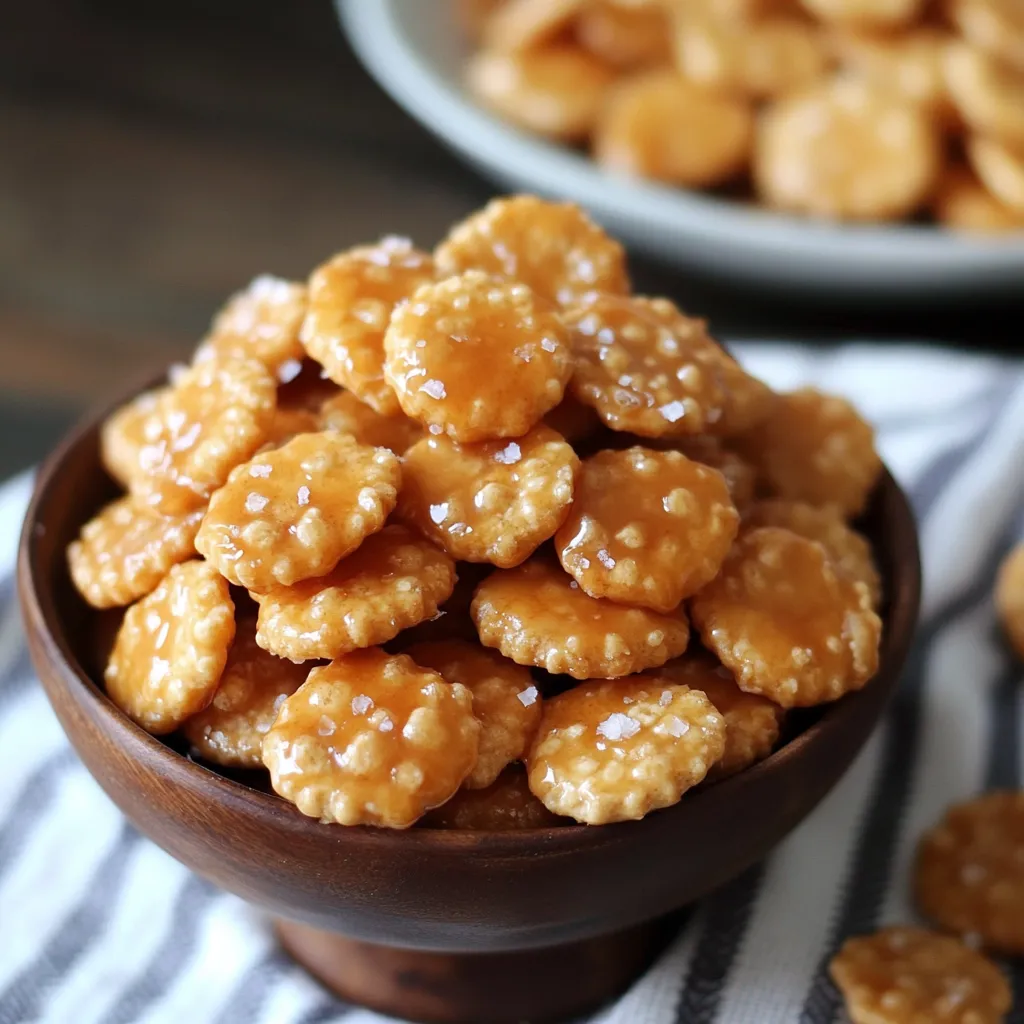
I created this treat during a midnight snack hunt with only basic pantry stuff on hand. My random experiment turned into the snack everyone begs me to make. The big breakthrough was figuring out that the caramel needs to reach exactly the right color before you coat the crackers.
Controlling The Heat
Getting these bites just right depends completely on watching your temperatures. Too hot burns the caramel; too cool means it won't spread properly. I've learned that keeping heat at medium and watching for visual changes instead of just timing everything works way better.
Creating Perfect Crunch
These crackers change like magic in the oven. The caramel soaks slightly into each cracker while keeping the outside super crisp. You end up with bites that crunch perfectly without being too hard or sticky.
Expert Kitchen Advice
- Stick with real butter only - substitutes just don't caramelize right
- Keep a damp pastry brush nearby to wipe away any sugar crystals
- Put parchment in your storage container to stop sticking
- Cook several small batches rather than trying one huge batch
Keeping Them Fresh
I've found these treats stay crunchier when kept in glass jars instead of plastic containers. Put sheets of parchment between layers so they don't clump together, and always let them cool completely before putting them away. On muggy days, toss a few rice grains in the container to soak up extra moisture.
Packaging As Presents
These make awesome gifts with the right packaging. I pop them in parchment-lined mason jars with handwritten notes saying 'best eaten within a week.' During holiday season, I sometimes add a white chocolate drizzle and festive sprinkles to make them extra special.
Try These Tasty Twists
- Mix in some toasted pecans with the hot caramel for a praline-style snack
- Add a pinch of cardamom for a fancy flavor upgrade
- Drizzle with dark chocolate and orange zest for special moments
- Switch vanilla for maple extract in fall months
Fixing Common Problems
If your caramel looks grainy, it probably crystallized while cooking. To avoid this, don't stir too hard and make sure all sugar melts before it boils. If your bites get sticky after storing them, pop them in a 300°F oven for about 5 minutes to bring back their crunch.
 Pin it
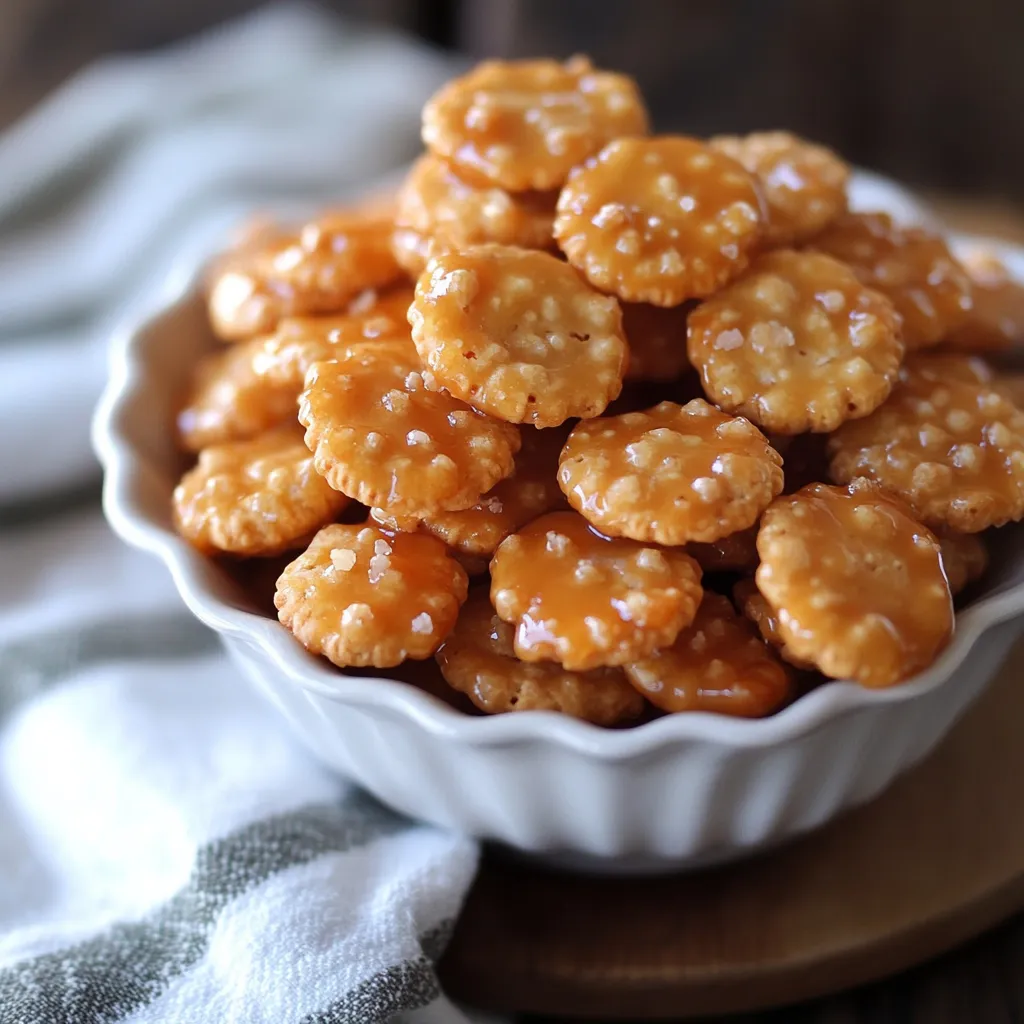
These Caramel Saltine Nibbles show what I love most about cooking at home - turning basic ingredients into something amazing just by using good technique and paying attention to the details. Whether I make them for myself on a quiet evening or for a big party, they always bring smiles and recipe requests.
Frequently Asked Questions
- → What’s the best way to store them?
- Keep them sealed in an airtight container so they stay fresh and crunchy.
- → Can they work as gluten-free?
- Sure! Use gluten-free crackers instead of oyster crackers.
- → When’s the caramel ready?
- Let it bubble for 2-3 minutes until it thickens up nicely.
- → Why should I use parchment paper?
- It keeps the caramel from sticking to the pan and makes cleanup no fuss at all.
- → How long do they need to cool down?
- Wait until they’re completely cool before breaking them to let the caramel set properly.