
 Pin it
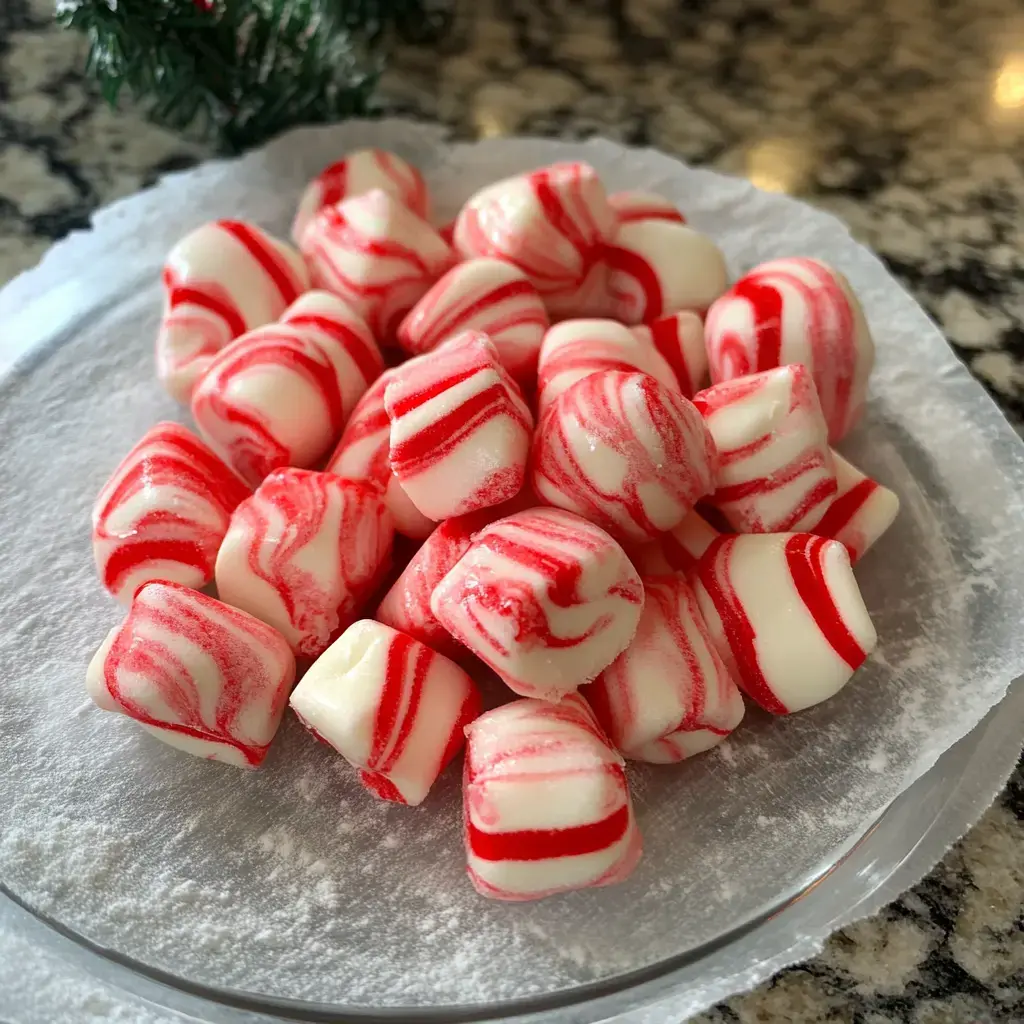
Irresistible Reason to Make It
You’ll get that nostalgic minty bite like the ones you grabbed at grandma’s. They’re silky, pillowy, and super easy to whip up with stuff lying around. Bright red and classic white make each piece look like a mini peppermint stick—awesome in treat bags or on the dessert table.Stuff to Grab
- Peppermint Extract: Brings that bold minty kick
- Powdered Sugar: Adds all the sweetness and keeps things soft
- Red Food Coloring: For those candy cane stripes
- Unsalted Butter: Helps everything hold together and makes them silky
- Heavy Cream: For creamy, dreamy texture
How to Whip Them Up
- Keep them safe:
- Tuck finished mints away in a container with the lid snapped tight. That way, they stay soft and tasty for weeks at room temp.
- Let them set:
- Spread the cute little pieces on wax paper after slicing. Walk away for 24 hours so they get that magical melt-in-your-mouth feel.
- Slice it up:
- Grab a pizza cutter and chop your ropes into bite-sized pieces. Each one should look about as big as a nickel.
- Dry them out (first go):
- Lay the just-shaped mints on wax paper for a couple hours until they lose their stickiness.
- Shape every piece:
- Pick up the mini pieces you cut and roll them between your hands to make them nice and round.
- Twist up magic:
- Lightly wrap the red and white ropes around each other so they look like a candy cane. Be gentle, don’t press hard.
- Create ropes:
- Roll your white dough into a fat rope and red dough into a thinner one. Line them up next to each other.
- Dye part red:
- Add food coloring to the small dough chunk. Mix until the color's even, go brighter if you want.
- Divide the batch:
- Take about a quarter of the dough out for coloring, keep the rest white as snow.
- Add your sugar:
- Slowly pile in powdered sugar, mixing as you go. Stop once it's like soft clay. If it’s sticky, dust in a little more sugar.
- Combine liquids:
- Start pouring in heavy cream bit by bit and add peppermint, tasting as you go. Adjust till it’s just right for you.
- Soften butter:
- Let your butter chill out at room temperature. Beat it in a big bowl till it’s really airy and light.
- Prep time:
- Put down wax paper before you start for easy cleanup. Keep a bowl of powdered sugar handy for sticky fingers.
Why Butter Mints Hit Different
For ages, these soft little bites have sparked smiles at gatherings and festive get-togethers. With their rich base, the gentle cool mint, and the way they basically vanish while you chew, these simple sweets made from just a few basics bring pure joy to your taste buds.Our Festive Spin
We mixed up the classic look with cheery red and crisp white twists, giving them instant holiday vibes. You might spot other colors in stores, but these stripes feel totally right for your Christmas snack bowl. That punch of minty freshness really makes it feel like winter, too.How We Make Ours
You won’t believe how simple it is—lay down wax paper to keep the mess low, blend soft butter, cream, and sugar, toss in some mint, then split and color half red. Twist the two doughs together, let them dry a bit, then snip into little bits. That’s it.How to Store Yours
Once they’re finished and dried, stash them in something airtight. No need for the fridge. The colors keep popping and the taste stays awesome, so you can snack all season long.Mix Things Up
Feel like swapping the flavor? Almond is awesome for weddings or cinnamon if you’re craving a hint of spice. Lemon, vanilla, or even maple taste great too. Mold them into fun shapes with candy molds—you’ll find every new flavor gives a fresh spin to classic mints.Frequently Asked Questions
- → Can I make them taste less minty?
Sure! Start with a tiny amount of mint extract, like 1/8 teaspoon. Check the flavor, then slowly add more if needed. Keep in mind the mint flavor gets a bit stronger as the candy sets. People usually like 1/4 to 1/2 teaspoon for one batch. If you enjoy stronger mint, you can use up to 3/4 teaspoon.
- → What if I only have liquid food dye?
Liquid food coloring works great! Add 2-3 drops at the start, mix, and add more until you like the color. If the mix feels too soft from the extra liquid, sprinkle in a little more powdered sugar to fix it. Popular choices are red, green, or even something fun like pink or blue. Perfect for any occasion!
- → What's the best way to store them?
Once they're fully dry, use an airtight box to store them. Keep them in the fridge if your kitchen's warm—they'll last around 2 weeks there. At room temp, they're good for about a week. For longer keeping, freeze them! Frozen mints will stay fresh for 3 months. Bring them to room temp before serving.
- → Can I make these without using dairy?
Yes, you can! Swap dairy butter for plant-based stick butter, and use a splash of coconut cream instead of regular cream. The dough might feel a little different—add powdered sugar bit by bit till it feels soft but firm. They might need an extra day to fully dry, but they'll still taste great. Some folks also like almond milk, but it might make softer mints.
- → How long does it take to dry?
They take about 24 hours to dry all the way. After the first few hours, you can shape or cut them. But for the best texture that melts as you eat, let them set for the whole day. If it's humid outside, you might need to wait a little longer. Good things take time, and these mints are worth the wait!
Conclusion
- Easy Butter Candy: Soft and creamy mint treats
- Festive Peppermints: Refreshing touch for parties
- Homemade Sweets: Quick and colorful