
 Pin it
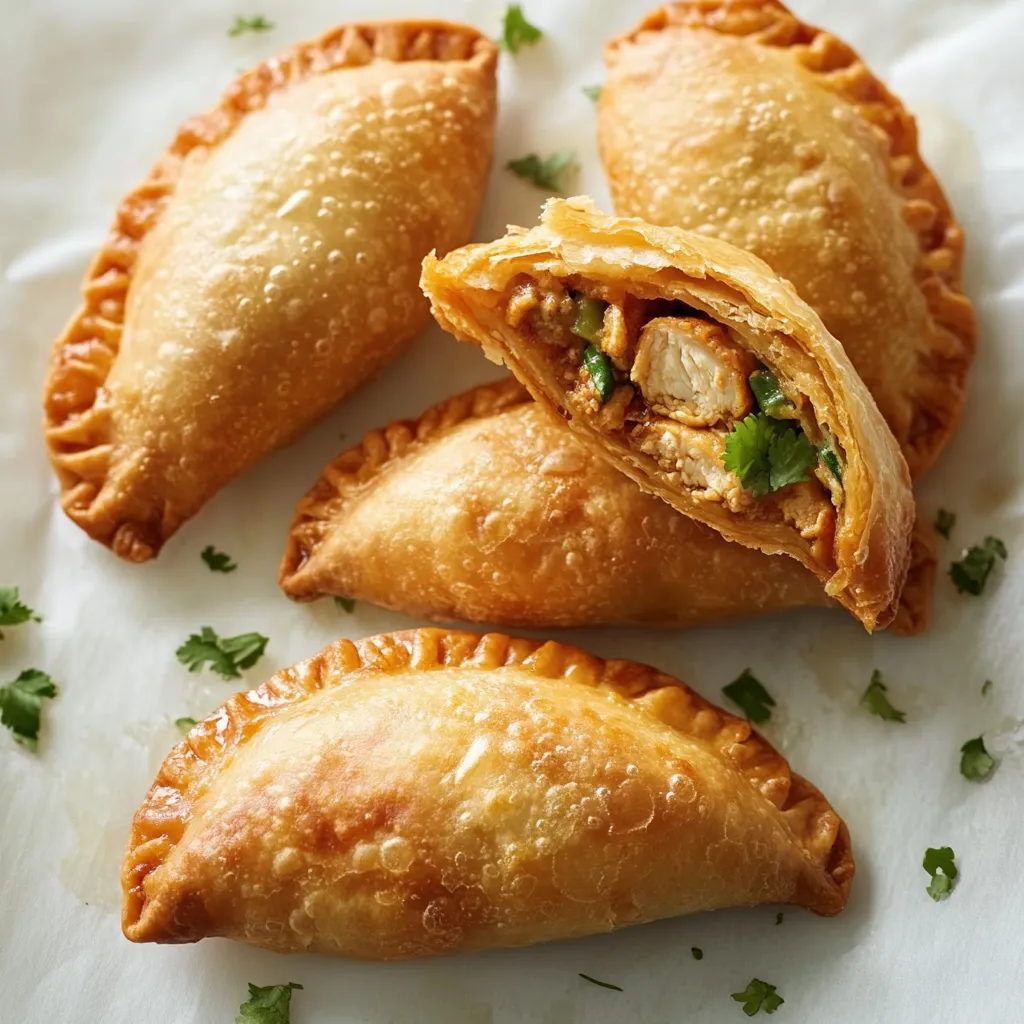
Come along as we whip up these crispy, golden chicken empanadas, where buttery crust wraps around juicy shredded chicken mixed with tasty veggies. This method turns basic stuff into portable pockets of deliciousness that'll bring Latin American warmth straight to your table.
I've tweaked this recipe for years, and now these empanadas show up at everything from big family parties to quiet dinners at home. Everyone always asks how something this simple can taste so amazing.
Key Ingredients Breakdown
- Chicken breast: Try already-cooked rotisserie chicken to save time
- Bell peppers: Use different colors for eye-catching appeal and sweetness
- Fresh garlic: Crucial for real flavor; the jarred stuff just isn't the same
- Empanada dough: Ready-made options work great without extra fuss
- Tomato paste: Gives deep color and packs flavor punch
- Fresh cilantro: Adds that fresh pop to your filling
- Chicken bouillon: Builds amazing flavor depth
Clear Cooking Instructions
- Getting Your Filling Ready:
- Warm oil till it's glossy, cook veggies until soft without browning them, toss in herbs and spices last so they don't burn, stir until they smell amazing, cool a bit before using.
- Mixing in Chicken:
- Pull chicken apart while it's still warm, blend with cooked veggies, sprinkle seasonings bit by bit, sample and tweak flavors, let everything cool down fully.
- Putting Them Together:
- Handle one dough circle at a time, keep the rest covered so they stay moist, drop filling off to one side, leave room around edges for sealing, brush rims with beaten egg.
- Closing Them Up:
- Fold dough across filling, squeeze out air bubbles carefully, press edges with fork tines, make sure they're totally sealed, place on your lined baking tray.
- Cooking Them Right:
- Paint with egg wash, poke a tiny hole on top, turn the pan around halfway, look for golden brown color, let cool slightly before eating.
 Pin it
I learned to make these from my neighbor's grandma from Argentina, who always told me that taking your time when cooking leads to the best results.
Perfect Filling Tips
Getting the filling just right makes all the difference. After making tons of batches, I've found that cooking off extra liquid until it's just moist keeps the bottoms from getting soggy. I watch for when the mixture sticks together if I press it with a spoon but still looks juicy.
Prep Ahead Ideas
You can't beat these empanadas for planning ahead. I often mix up the filling on weekends, then put everything together and bake throughout the week. The filling actually tastes better after sitting in the fridge overnight as all the flavors get friendly with each other.
Keeping Them Fresh
When I freeze uncooked empanadas, I lay them on parchment paper until they're hard, then dump them in freezer bags. This way they don't stick together and I can grab just one or two whenever I want.
Mix It Up Options
I've tried lots of different add-ins over time. Throwing in some corn adds a nice sweetness, while chopped potatoes make them more filling. My kids go crazy for ones with a bit of cheese tucked inside that gets all melty during baking.
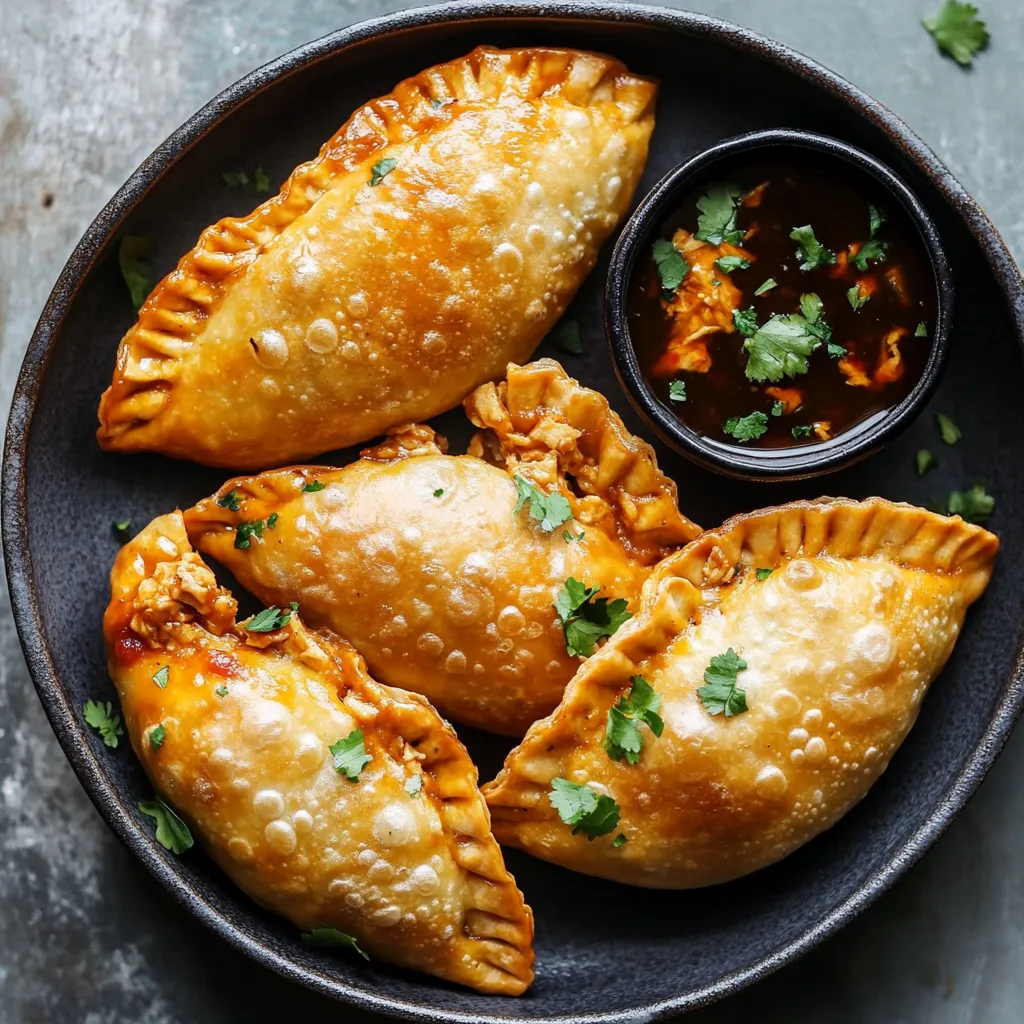
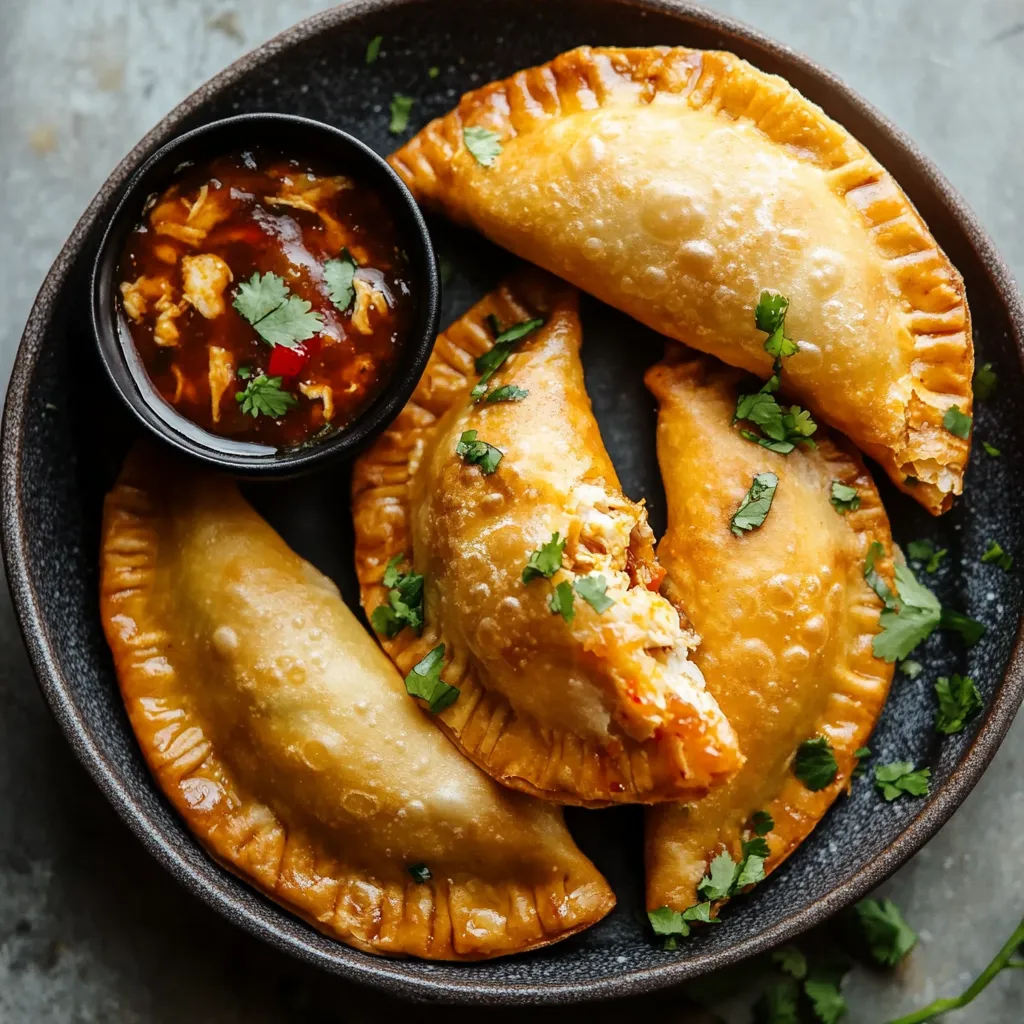
Ways To Serve Them
These taste great by themselves, but I love putting out different dips. A quick sour cream mixed with lime and cilantro or a zingy chimichurri sauce makes them fancy enough for company.
Dough Handling Tricks
Keeping the dough at the right temperature matters a lot. I keep the circles in the fridge while I'm working and only take out what I need right then. This stops them from getting too warm and floppy.
 Pin it
These chicken empanadas aren't just food in my kitchen anymore - they're how I bring people together. Whether I'm serving them as starters or the main meal, they always get compliments. That combo of flaky outside and savory inside creates something magical that makes everyone reach for seconds.
Frequently Asked Questions
- → How far ahead can I prepare these?
- You can make them and keep in the fridge for a day or freeze for up to 3 months before baking.
- → Is rotisserie chicken okay to use?
- Totally! Just shred it into small pieces, and it’ll save you some prep time.
- → What’s the purpose of the egg wash?
- It gives the pastries that lovely golden color and seals the edges perfectly when crimped.
- → Could these be fried instead?
- Absolutely, fry them in hot oil around 350°F for about 3-4 minutes on each side.
- → What dips go well with this?
- They’re great with salsa, chimichurri, or even sour cream on the side.