
 Pin it
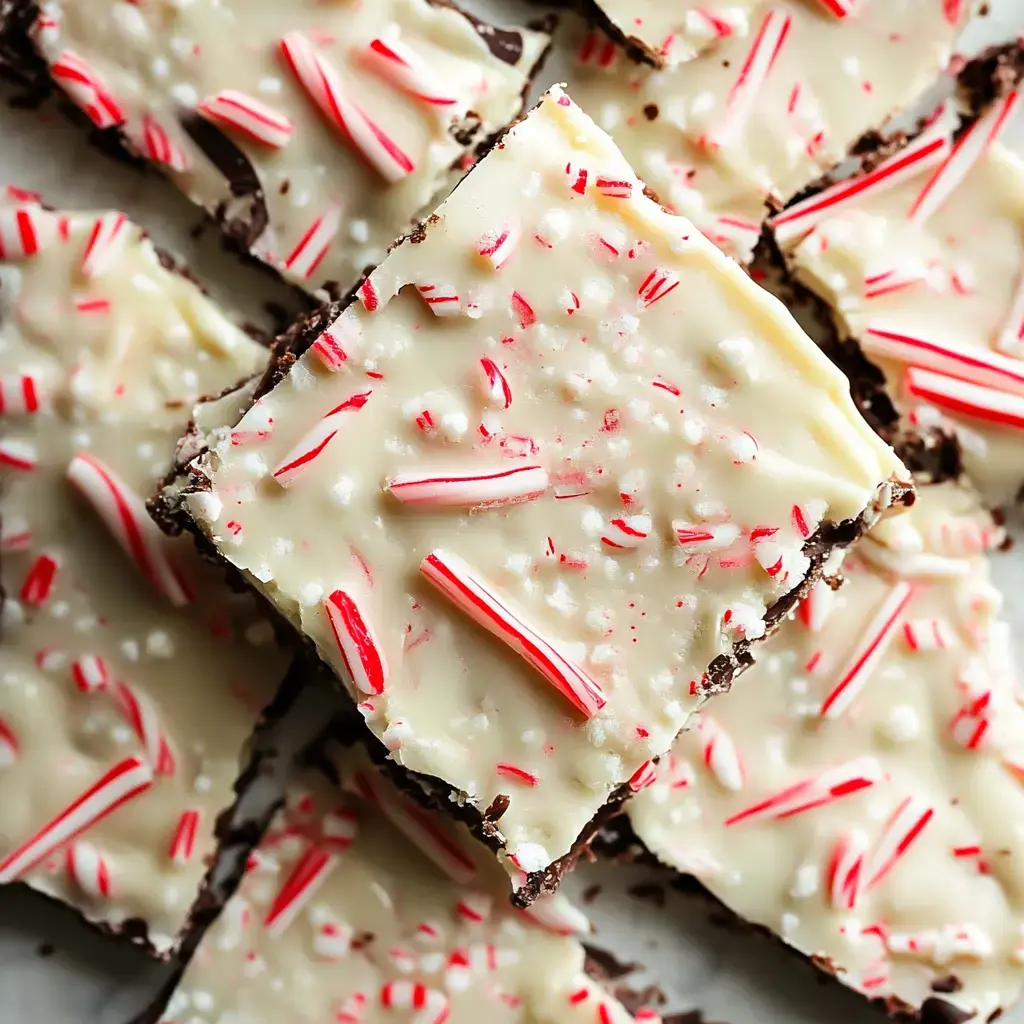
This is a fun, no-fuss way to whip up peppermint bark for the holidays. Five simple things make up three tasty, stacked chocolate layers with crushed candy canes on top. Perfect for gift bags or sharing with friends. It’s easy, but folks will think you spent hours.
Why Try This
It’s a blast to toss together and even more fun to gobble up. Swirl white and dark chocolate with a touch of minty goodness. Add smashed candy canes for a sweet crunch on top. No oven or mixer needed. In about an hour, you’re snacking. Kids will want in on the action, too.
Supplies and Stuff
- Pan: Go with an 8 or 9 inch square one
- White Chocolate: 12 ounces, grab a good brand like Ghirardelli
- Dark Chocolate: 6 ounces, semi-sweet works best
- Peppermint: Half a spoon, use the real extract
- Oil: One and a half spoons, any plain or coconut oil
- Peppermint Candy Canes: Crush up 4 to 5 of 'em
- Lining Paper: You’ll want parchment or wax paper
How You Do It
- Store it right:
- Pop pieces into a box with a lid. They stay good for about 3 weeks in the fridge.
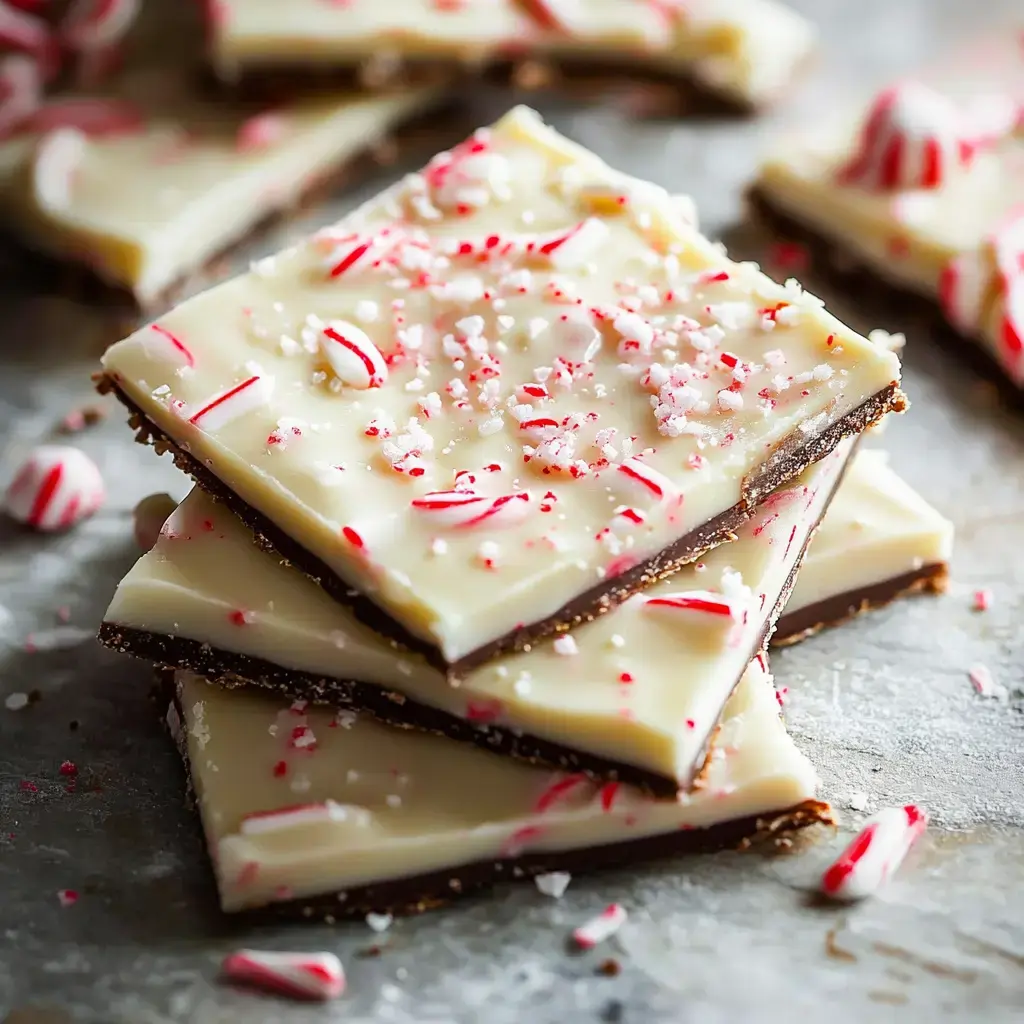
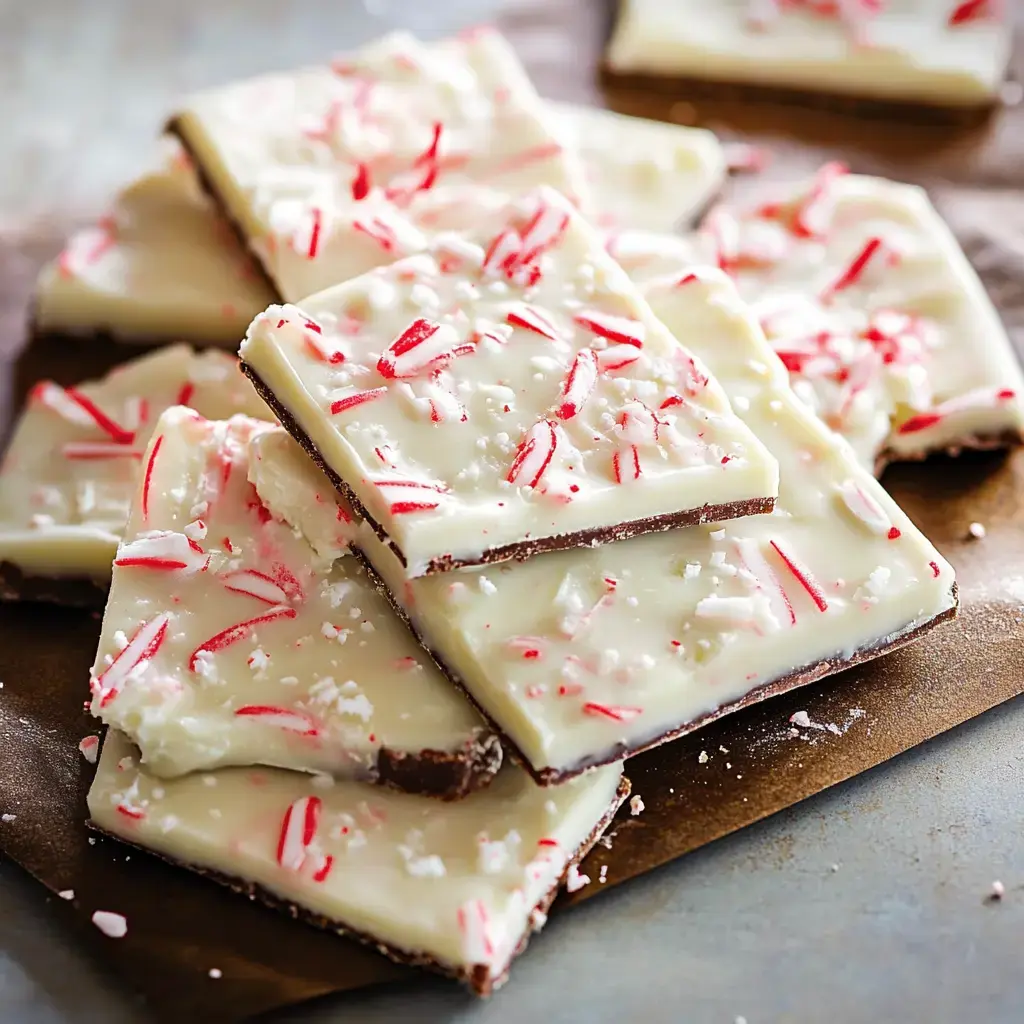
- Break into chunks:
- Lift out from the pan. Snap into whatever size chunks you like.
- Let it firm up:
- Chill in the fridge for an hour 'til it hardens. If it sits longer, let it warm a bit before chopping.
- Add crushed canes:
- Sprinkle the candy cane bits on top while the chocolate’s still gooey. Give them a light press so they stick.
- Last chocolate layer:
- Melt the rest of the white chocolate with some oil. Pour it over the dark part. Spread out fast.
- Cool again:
- Stick it back in the fridge for 15 more minutes. Don’t skip this part or the layers won’t look as snazzy.
- Melt the dark chocolate:
- Do the same melting move with the dark chocolate and some oil. Add just a drop of peppermint. Pour this onto the white layer.
- First layer time:
- Pour it into your pan and make it even. Chill for 15 minutes 'til it just starts to set.
- Melt that chocolate:
- Pop half your white chocolate plus a splash of oil into a bowl. Microwave 20 seconds at a time and stir between until it’s all smooth. Mix in peppermint extract.
- Get your pan set:
- Line your pan with the paper and smooth it flat. Makes taking the bark out a breeze.
 Pin it
Why Folks Dig It
It’s super simple yet looks impressive. Only a couple items needed from the shop. The mix of dark and white chocolate looks fancy. Smashing candy canes is a big hit with kids. It packs up nice for a homemade treat to share.
Picking Great Chocolate
Choose chocolate bars, not chips—they melt smoother. Brands like Ghirardelli give the best result. Chocolate chips have stuff in them that keeps them from melting nicely. You can use a blend of dark or semi-sweet if that’s your thing. Skip the bargain white chocolate, it turns gritty.
Layer Tricks
Let every chocolate layer firm up a bit between steps—about 15 minutes in the fridge does the trick. If it’s too soft, things smear. Too firm? Layers don’t stick together. For a swirly look, drag a knife through the top layer before it goes solid. Ends up with dreamy patterns.
Candy Cane Smash Tips
Toss candy canes in a zip bag. Hit them with a rolling pin. Make a mix of bigger chunks and tiny bits—it just looks better that way. Don’t smash them to dust. Do this part right at the end so the pieces stay crisp. If kids help, keep an eye out for sharp edges.
Keeping It Fresh
Fine on the counter for a few days. Want it to last? Throw it in the fridge and it’ll hang tight for 3 weeks. Put wax paper between layers so nothing sticks. Clear goodie bags with ribbons make these perfect for giving. Let sit out 10 minutes after coming from the fridge—it tastes best at room temp.
 Pin it
Frequently Asked Questions
- → Can I use dark chocolate?
Absolutely! Dark chocolate adds a deeper, grown-up flavor. Just grab quality chocolate (cheap chocolates don't melt well). Aim for cocoa content around 60–70%. Some folks even mix dark with milk chocolate layers for variety. Feeling fancy? Try dark, milk, and white chocolate for three layers. Remember, real chocolate works best. Check the label—cocoa butter should be the first ingredient!
- → How do I keep layers together?
Biggest trick? Make sure the first layer isn't too cold before adding another—slightly sticky works best. Some scratch lines into the first layer with a fork to help. Keep all chocolate the same temperature. Never pour onto frozen chocolate! If layers separate, warm edges with your fingers and gently press them back. Key is patience here—don't rush, or you'll risk breaking layers apart.
- → No peppermint - what else?
Loads of options! Vanilla gives it a cookies-and-cream vibe, almond tastes sweet and nutty like biscotti, and orange adds a citrusy Christmas twist. Coconut extract pairs nicely with shredded toasted coconut on top. Not sure? Top with chopped nuts or dried fruits instead. Stick to the same amounts as peppermint extract in recipes. Start small with flavoring—you can always adjust and add more later!
- → Can I make it vegan?
You sure can! Grab vegan chocolate chips (plenty of good brands) and swap butter with coconut oil. Be cautious with candy canes since some use egg whites—look for natural ones. Vegan white chocolate is an option too; just inspect labels as some sneak in milk. Want it creamy? Add a splash of coconut cream to melted chocolate. No one will guess it's vegan, promise!
- → How long does it keep?
If stored properly, you've got up to three weeks! Keep it somewhere cool and dry, layered with wax paper between pieces. While you don't need to refrigerate it, warm houses might call for it. Bark keeps getting tastier as days go by, as flavors blend together. It’s freezer-friendly too—just wrap thoroughly. Heads up though: sticky candy cane clumps can form if not sealed well. Metal containers work better than plastic for storage.
Conclusion
Fan of mint and chocolate together? Try creating fluffy mint mousse or go for creamy white fudge blended with minty goodness. Simple swaps, same great flavors.