 Pin it
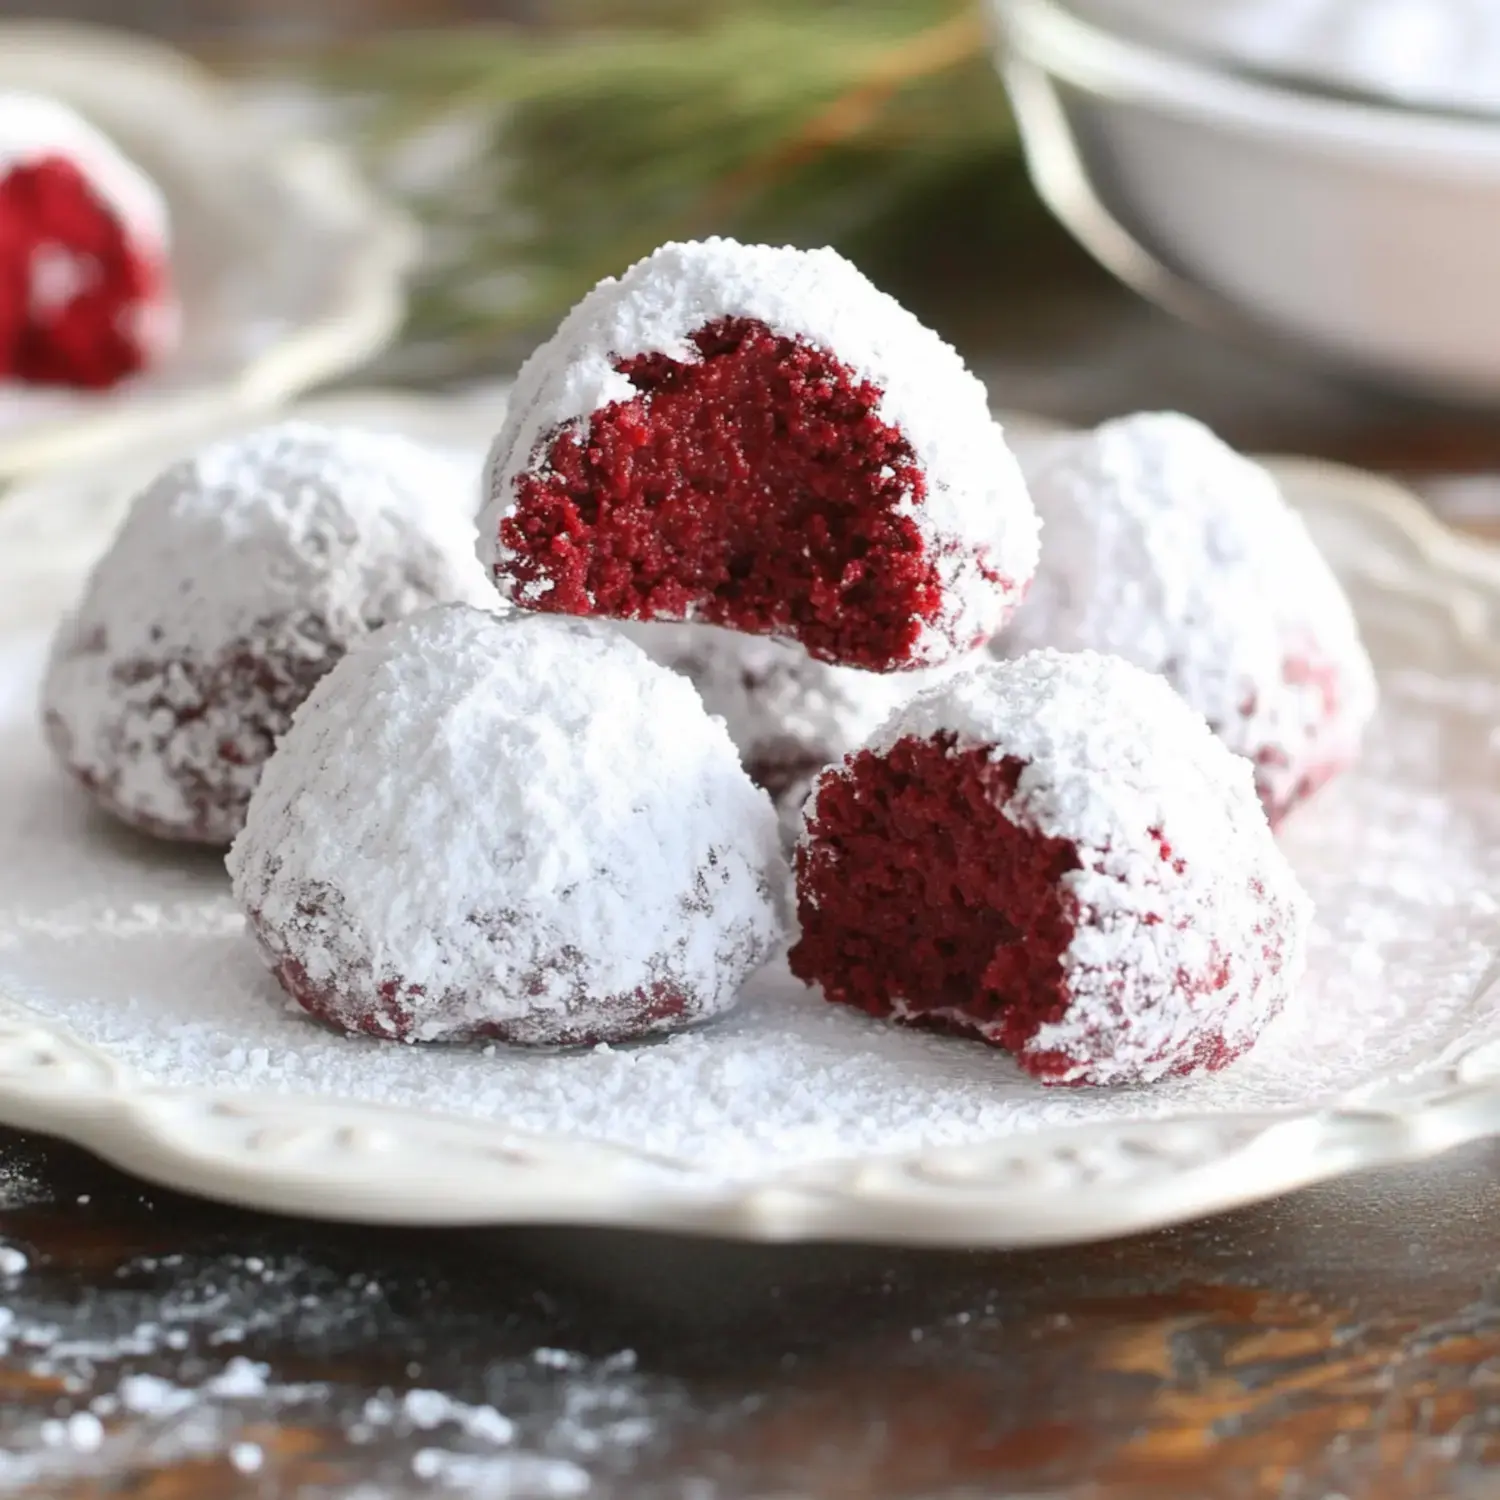
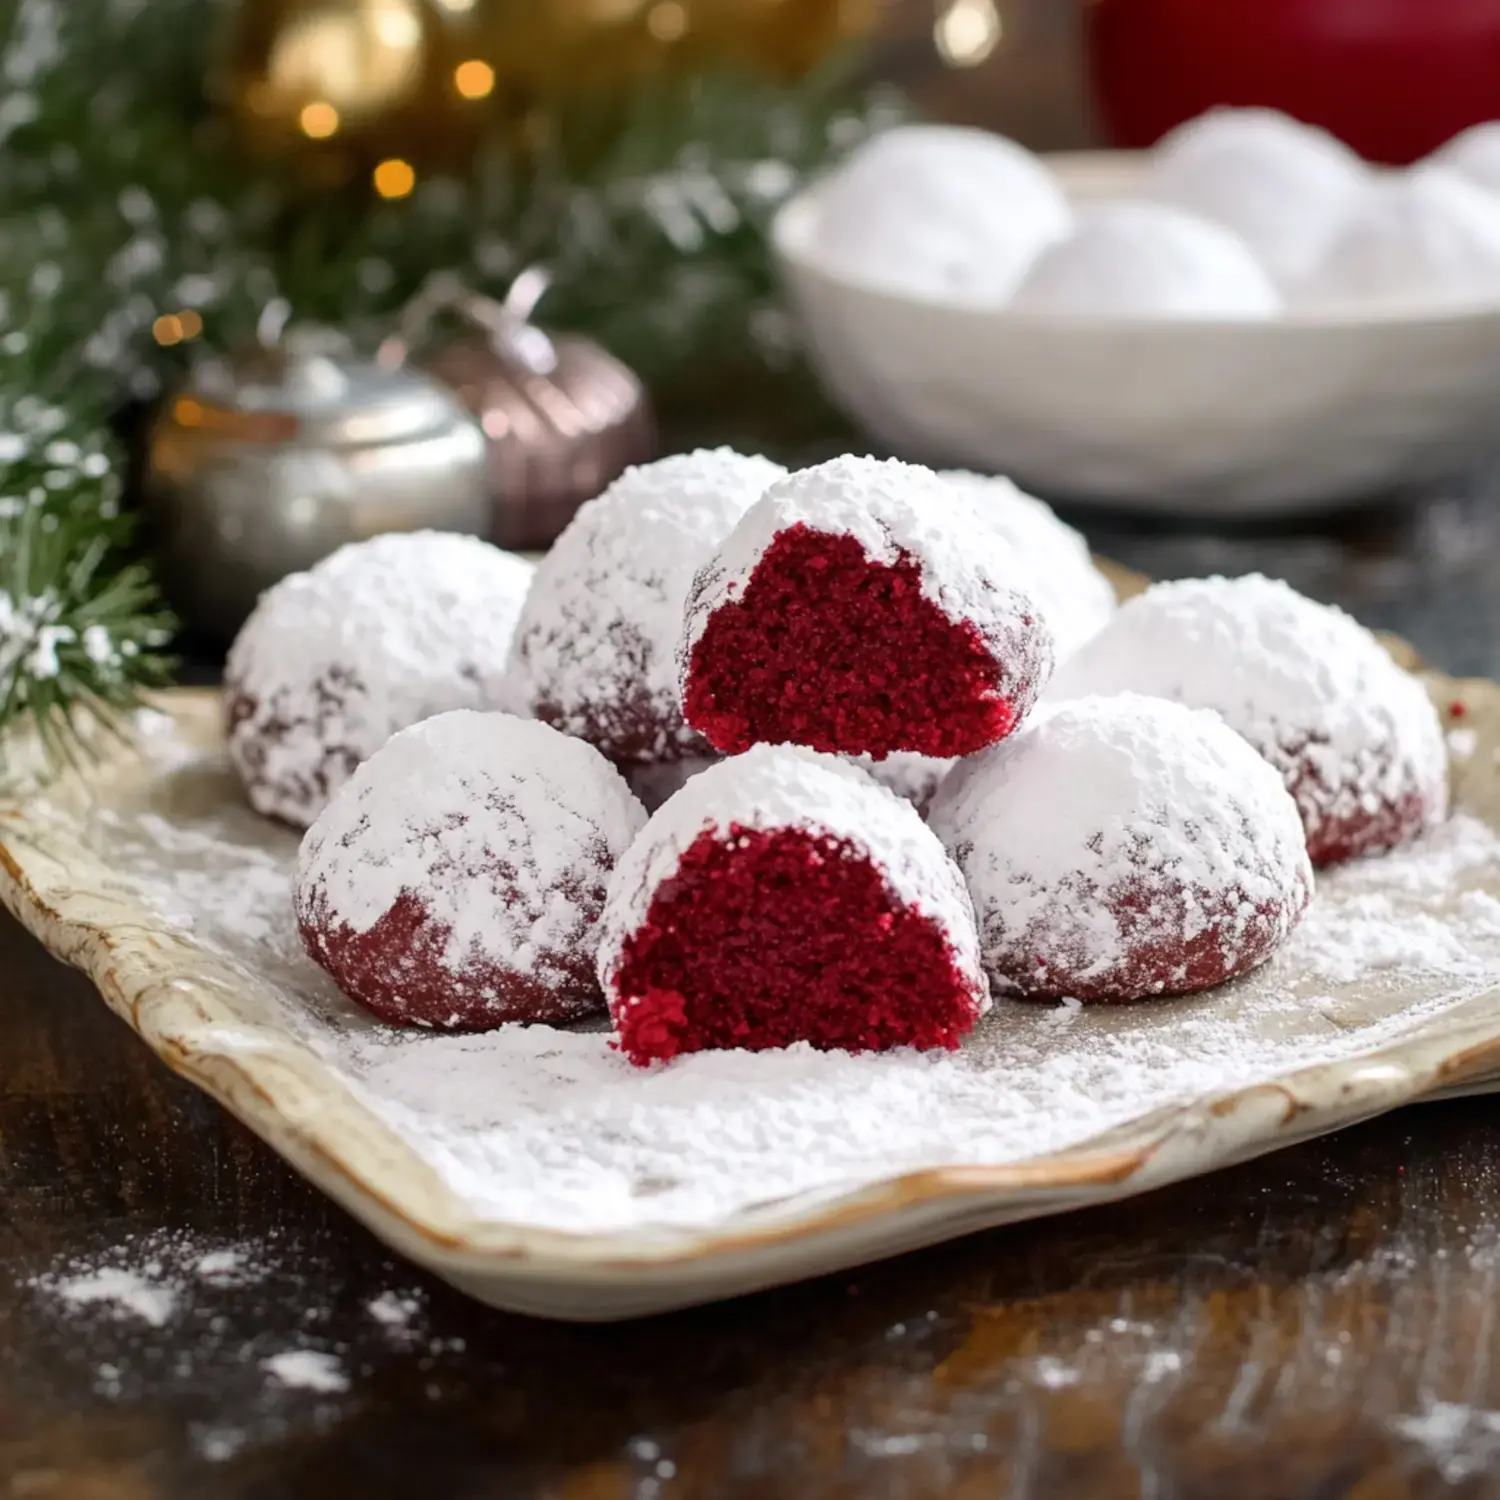
OMG friends, I've stumbled on the sweetest holiday treat to share with y'all today. These Crimson Snowball Cookies are hands down my favorite Christmas goodies ever. It all started when I tried to spice up my grandma's old snowball cookie recipe last season. What happened? I ended up with these stunning ruby-red bites covered in powdered sugar that taste like buttery little clouds with just a touch of chocolate flavor. My kitchen turns into a total snow scene whenever I whip these up!
What Makes These My Family's Favorite Holiday Treat
These cookies vanished quicker than anything else on my dessert tray last December. Folks couldn't stop asking about my secret. Wanna know what makes them special? They literally dissolve on your tongue thanks to mixing butter with shortening, and they've got that light cocoa taste that makes you crave red velvet stuff. I love dropping them off in cute containers as neighbor gifts or serving them when friends come over for coffee.
Ingredients You'll Need
- Unsalted Butter: Get it soft before you start—it'll mix way better!
- Butter-Flavored Shortening: This gives them that can't-resist texture everyone loves.
- Egg: Cold from the fridge works fine.
- Buttermilk: Just a tiny bit adds that signature red velvet flavor I can't get enough of.
- White Vinegar: Sounds crazy but it brightens everything up.
- Vanilla: Spring for real vanilla if you can.
- Red Food Coloring: The gel kind works best in my experience.
- Flour: Nothing fancy, regular flour does the job.
- Cocoa Powder: Just a small amount for that subtle chocolate hit.
- Salt: Don't skip it—it brings all the flavors together.
- Nuts: I'm a pecan fan but whatever nuts you like will work.
- Powdered Sugar: For that beautiful snowy look on top.
Let's Start Baking
- Mix Your Wet Stuff
- Cream your shortening and butter till they're super fluffy. Drop in your egg and keep mixing. Now add buttermilk, vinegar, vanilla, and enough red coloring to make them bright and festive. Grab another bowl for your dry things, mix them up, then slowly combine everything together. Throw in your nuts if you want them. Stick the whole bowl in your fridge for an hour—don't try to rush it!
- Shape Those Cookies
- Heat your oven to 350°F and put parchment on your cookie sheet. Roll small balls about a tablespoon big. Make sure they're not too close—they need room to breathe.
- Make It Snow
- Right after they come out hot, dip them in melted butter then coat them in powdered sugar. Let them cool down a bit and do a second sugar coating. This two-time trick makes them look totally snow-covered!
Cookie Success Secrets
I found out the hard way—you've gotta chill that dough! If it's too warm, your cookies will spread out flat and look sad. Also, buy good cocoa—you can totally taste the difference. Sometimes I throw in tiny chocolate chips for extra yumminess. And don't hold back on the powdered sugar—that snowy coating is what makes everyone say wow!
Storage Tips
These babies stay yummy for around a week if you store them right. Put parchment between layers in an airtight container—I use my grandmother's old cookie tin. If you wanna make them ahead, they freeze super well for a few months. Just add fresh powdered sugar after they thaw and nobody will know the difference.
Fun Variations
I love playing around with this recipe. One Christmas I switched to pistachios and they looked so fancy. Try adding some white chocolate on top if you're feeling extra. My kids talked me into making green ones for March 17th—just swap out the food color and you're all set!
Cookie Problem Solving
Got cookie issues? If they're flattening out too much, your dough needs more time in the fridge. Wanna make jumbo ones? Go ahead—just bake them a little longer. For the nuts, I always grab pecans but my sister only uses walnuts. Honestly, you can't mess this up.
The Perfect Holiday Cookie
Trust me, these cookies are totally worth trying. Maybe it's how they look like tiny snow-covered treasures, or the way they just disappear in your mouth. Whenever I bring a batch somewhere, they're the first thing gone. They're super fun to make with kids too—let them do the sugar coating part, but be ready for your kitchen to look like it snowed inside!
 Pin it
Frequently Asked Questions
- → Why should the dough rest in the fridge?
Cooling the dough keeps the cookies from spreading too much when baked. It also makes rolling easier for a more uniform shape.
- → What’s the point of two sugar layers?
Dusting sugar while warm helps the sweetness stick well, and the second layer later adds that perfect frosted look.
- → Can I skip the red color?
For sure! Leave it out if you prefer classic chocolate snowballs. They taste great either way, just not red.
- → What’s the best way to store them?
Pop them in an airtight box with parchment in between to avoid sticking. They’ll stay tasty for around 5 days at room temp.
- → Why mix butter and shortening?
Butter gives a rich flavor, and shortening keeps the shape and adds that soft texture. Together, they make baking magic happen!
Conclusion
Tender and festive cookies with cocoa flavor and bright red color, covered twice in sweet powdered sugar for that perfect snowball vibe.
