
 Pin it
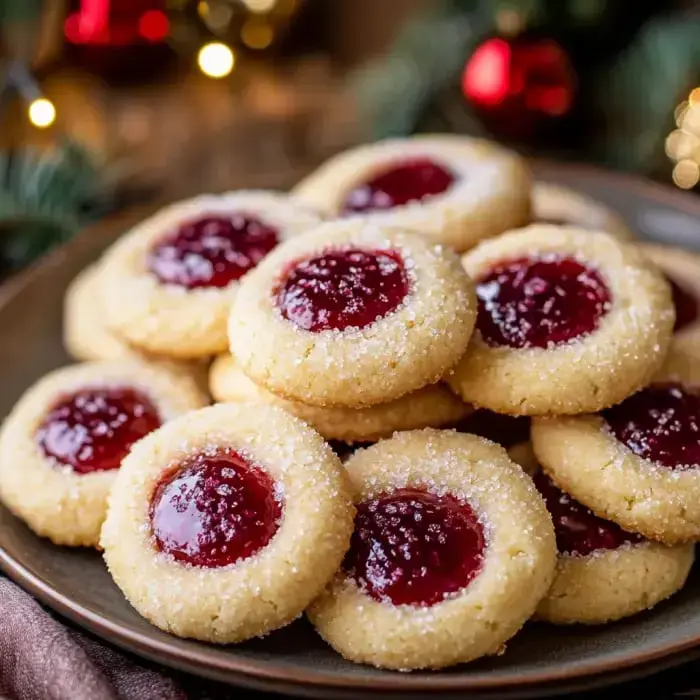
Baking these holiday thumbprints takes me back to my favorite cozy moments. Every December, I throw together this buttery dough that’s tender on the inside and crisp on the outside—so good it basically just disappears in your mouth. I love that you don’t have to wait for the dough to chill, and these treats keep tasting fresh for days. They’re always what I pack for edible gifts or cookie swaps because everyone’s face lights up when I pull out a batch.
Why You'll Love These
The nicest thing about these cookies is how many ways you can change them up. One dough, endless options—think classic raspberry, dreamy chocolate, peppermint, you name it. In the busy holiday season, I always reach for this recipe since it’s quick and simple. They’re sturdy enough to travel in boxes, but still super soft. Honestly, after one bite, I bet these will be your new seasonal favorite.
What You Should Have
- Butter: Gives the dough that rich, melt-away flavor we all crave.
- Baking Powder: Keeps your cookies puffy and tender.
- Brown and White Sugars: Team up to make everything taste sweet and give great texture.
- Flour: Regular all-purpose flour holds the dough together nicely.
- Cocoa Powder: Add to the dough if you want a chocolate spin.
- Egg and Vanilla: These mix in for even more flavor and help bind the dough.
- Fillings: Go wild here—try jam, lemon curd, or even Nutella, whatever you love.
- Toppings: Sprinkle on nuts, coconut, crushed candies, or a little sugar for an extra fun look.
Easy Holiday Cookies
- Give Them Finishing Flair
- Let the cookies chill for a bit on a wire rack so they set up, then pile on those fun toppings. Try not to eat every single one right away.
- Fill 'em and Bake Away
- Drop in your favorite fillings before they hit the oven—like jam—or fill with Nutella after baking if you want. Bake at 355°F for about 8 to 10 minutes.
- Time to Shape
- Roll up little balls of dough, toss them in sugar or something crunchy, then press your thumb into the center to make a well.
- Start Mixing
- Beat your butter, sugars, and vanilla together until it looks pale and fluffy. Mix in the egg next, then add the flour and baking powder. If you’re feeling chocolatey, mix cocoa powder into half the batch.
Can't-Miss Baking Hints
Got a few tricks for you: don’t go wild mixing the dough or your cookies won’t be pillowy soft. Pull them out of the oven while the centers look a little undone. Let them cool fully—trust me, they finish up as they sit. Rolling dough balls in sugar helps keep things from sticking, and leave any chocolate drizzles for after the bake.
Keeping Them Tasty
To keep these cookies tasting great, stash them in an airtight container in the fridge—they’ll be perfect for up to 4 days. Want them to last? Freeze for up to 2 months. Don’t try chilling raw dough though—it turns way too hard and cracks when you try to roll it later.
More Than Basic Holiday Sweets
The real fun? Mix up loads of flavors from this one dough. Fill your gift boxes with all sorts or line a plate for the ultimate holiday treat table. Since you don’t have to chill the mix, you can make a fresh batch whenever the mood hits. That killer combo of chewy inside and crisp edges is what keeps folks grabbing for more.
Switch Up The Flavors
Get playful! Try chocolate peppermint for a crowd-pleaser, or go with lemon curd for something zesty and bright. Top with coconut flakes, colored sprinkles, or crushed candy canes for a fun seasonal twist. My house loves Nutella or cookie butter filling, but we always keep classic raspberry jam in the mix too.
Best Mates For These Treats
These guys look amazing with other desserts, especially if you toss them beside hot cocoa or a mug of mulled wine. Mix with a batch of shortbread and gingerbread cookies for a full holiday tray. Or pop them in cute boxes with some ribbon for the nicest homemade gift.
Last Bits Of Advice
Give the dough balls some room—about 2 inches apart—so they have space to spread. Try to make them all roughly the same size for even baking. Always pop your baking sheet in an already-hot oven and use parchment paper—makes cleanup a breeze. Don’t be shy with toppings, the more festive the better!
 Pin it
Frequently Asked Questions
- → Why shouldn't I make the dough ahead?
- Chilled dough is harder to work with, sugar won't stick well, cookies lose their softness, and they might crack. It's best to prepare and bake on the same day.
- → When's the best time to add fillings?
- Add jams or curds before baking. For chocolate, Nutella, or Hershey's kisses, add them right after baking while the cookies are still warm to avoid hardening or burning.
- → How long do these cookies last?
- Keep them in a sealed container in the fridge for about four days. The storage time can change depending on the types of fillings used.
- → Can I make these chocolate-only?
- Absolutely! You can either split the dough in half and make one part vanilla and the other chocolate, or mix cocoa into the entire batch.
- → Why should I coat the cookies first?
- Rolling them in sugar or other toppings helps prevent sticking when you press to create the indent.