
 Pin it
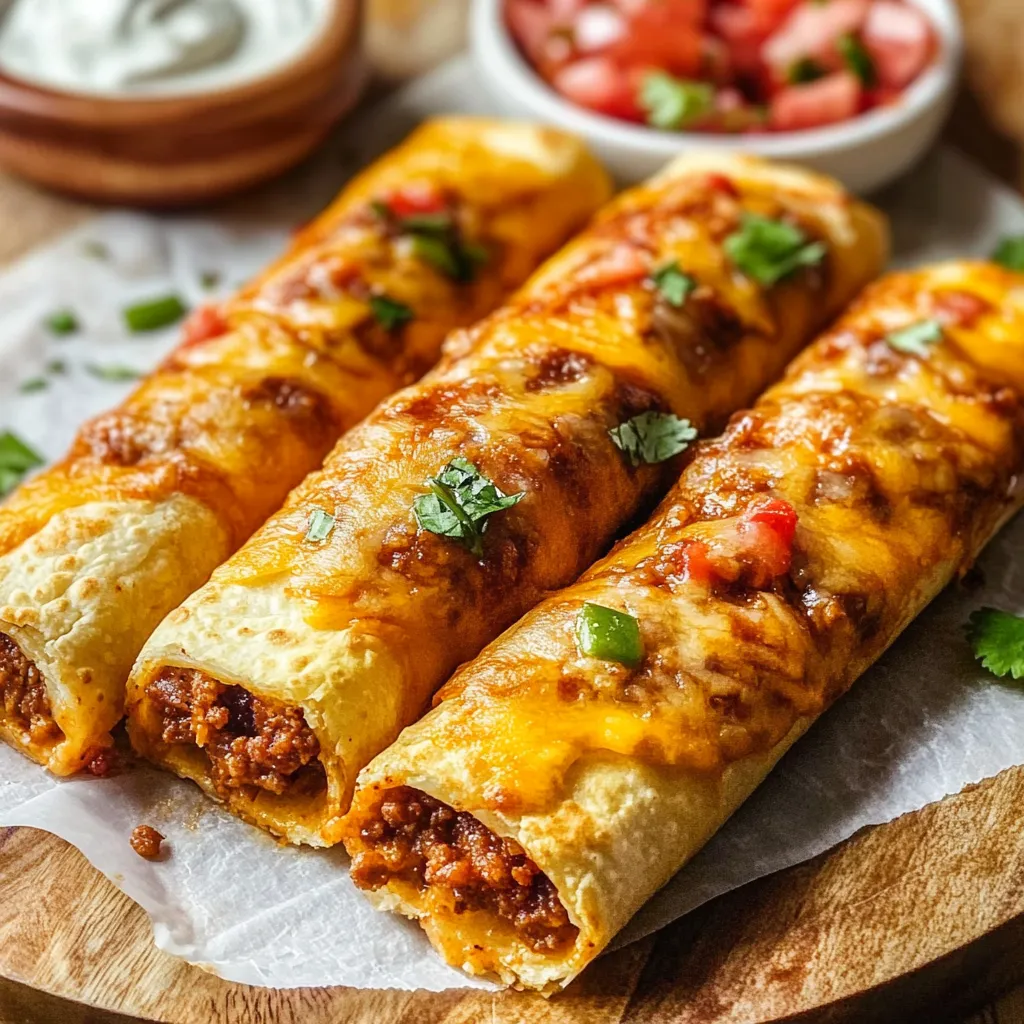
Blend Mexican meets Italian in these Cheese-Filled Taco Sticks. Seasoned ground beef wrapped with stretchy cheese inside buttery pizza dough makes a grab-and-go treat that works for quick family dinners or when friends drop by.
I stumbled on this idea during my kids' baseball season madness, and it's now my backup plan for hectic evenings. Something magical happens when that cheese gets all gooey inside while the outside turns crispy with garlicky goodness.
Key Components Breakdown
- Ground beef: Go for 80/20 fat content for flavor
- Pizza dough: Let it sit out before starting
- Cheese sticks: Skip the low-fat versions
- Taco seasoning: New spices pack more punch
- Quality butter: The salted kind works best here
- Fresh garlic: Gives way better kick than dried
- Fresh parsley: Brightens everything up
Foolproof Creation Process
- Meat Preparation:
- Cook beef until no pink remains. Crush into tiny bits. Pour off grease. Add plenty of spices. Let it cool completely.
- Dough Handling:
- Make sure it's not cold. Stretch it flat. Slice into equal pieces. Keep under a towel. Don't dawdle.
- Assembly Process:
- Spread meat evenly. Lay cheese just right. Press edges firmly shut. Look for any openings. Leave space between each.
- Butter Coating:
- Warm butter gently. Stir in flavorings. Blend well. Paint generously. Save extra for later.
- Baking Method:
- Get oven really hot first. Keep an eye on them. Turn pan if needed. Inspect undersides. Let stand briefly.
 Pin it
This creation came from trying to break the taco Tuesday boredom at our house.
Heat Control Tricks
After tons of batches, I've figured out the oven temp matters big time. You'll want that dial at 425°F and fully heated before these go in. That's what gives you that amazing contrast between crunchy outside and melty inside. I always flip the pan around halfway to get even browning.
Prep-Ahead Game Plan
These sticks totally work with your busy schedule. I often cook the meat mix the night before and stick it in the fridge. When life gets crazy, I'll put the whole thing together and keep them covered in the fridge for up to 4 hours before popping them in. Just cook them a bit longer if they're cold.
Keeping Leftovers Fresh
They're best right out of the oven, but any extras can go in a sealed container in your fridge for about three days. When you want them again, a 350°F oven for 5-7 minutes brings back that crunch. You can zap them in the microwave too, but they won't be as crispy.
Ways To Serve Them
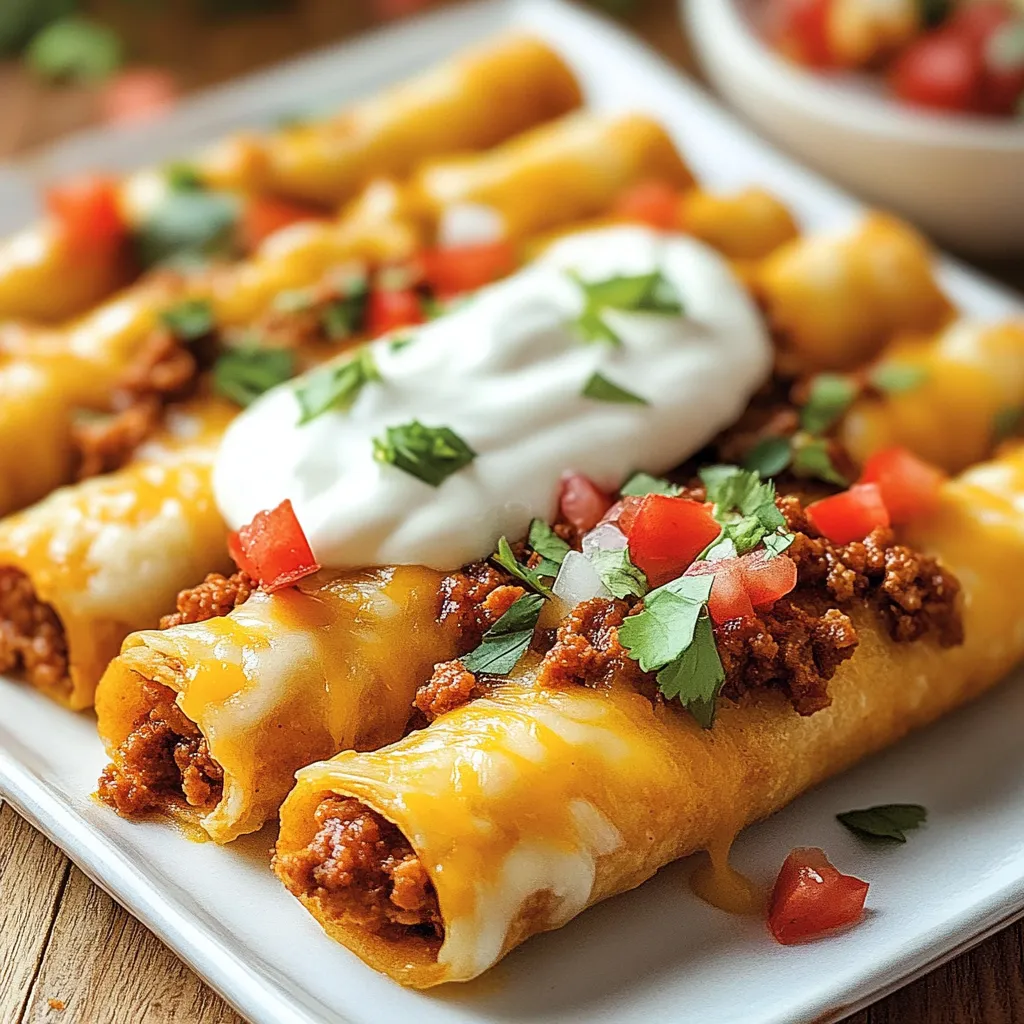
These handy sticks go with all kinds of dips. We like setting up different bowls with warm cheese sauce, chunky salsa, mashed avocado, and a dollop of sour cream. If you want a full dinner, add a simple Mexican salad or some beans and rice on the side.
Switch-Up Ideas
I've tried tons of versions over time. Adding chopped hot peppers gives them kick, and sliced black olives bring nice saltiness. For morning munchies, try scrambled eggs and cooked breakfast sausage instead of taco meat.
Fixing Common Problems
Don't sweat it if cheese sneaks out during baking. Those crispy cheese bits might be the best part! If the outside browns too fast, just lay some foil over the top for the rest of the cooking time.
 Pin it
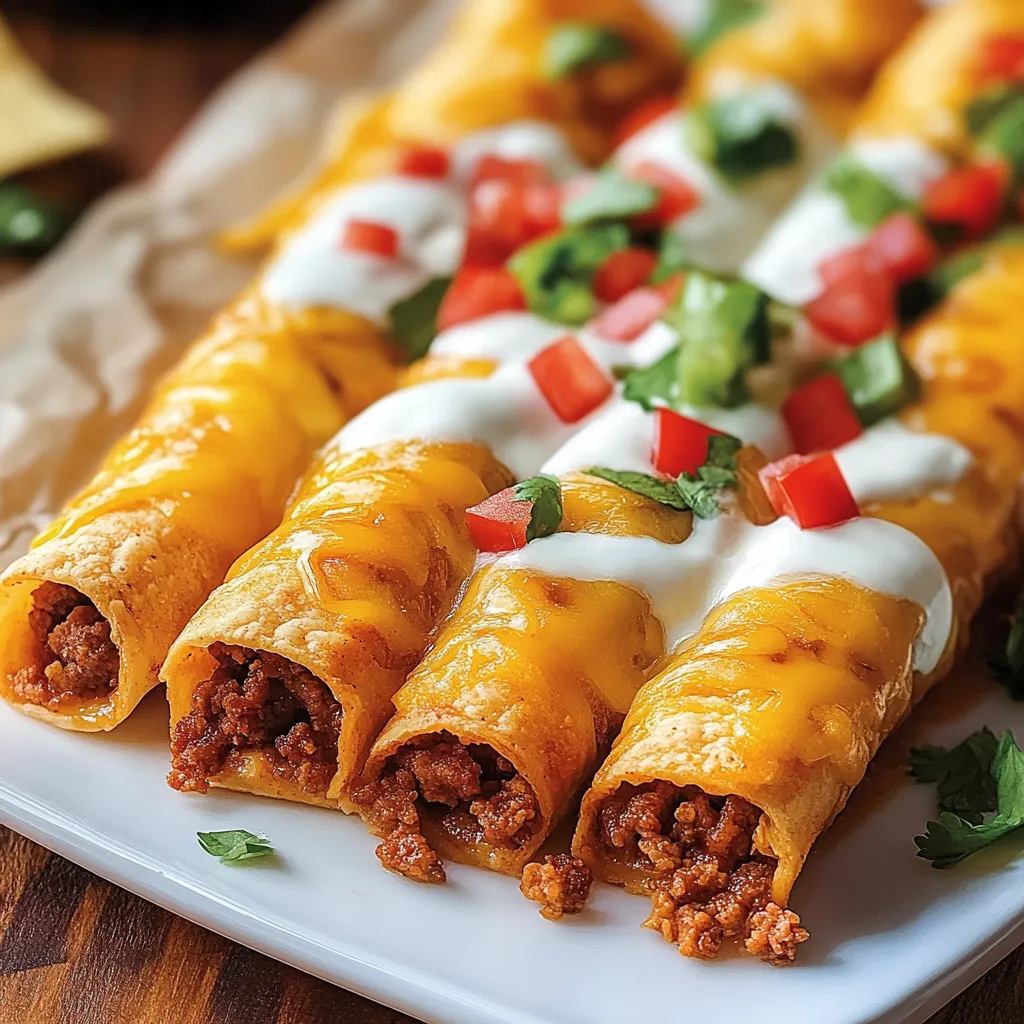
These Cheese-Filled Taco Sticks have earned their spot in my go-to dinner lineup. That mix of spicy meat, stretchy cheese, and garlicky butter coating just works magic together. They're a hit with picky kids and hungry grown-ups alike. Whether they're dinner, lunch, or party snacks, they always vanish in minutes.
Frequently Asked Questions
- → Can I make them in advance?
- You can chill them unbaked, but they're tastiest straight from the oven when warm and fresh.
- → Is there another cheese option?
- Yes! Mozzarella or a shredded Mexican blend works great too.
- → Why does the meat need cooling?
- Warm meat can soften the dough too much or melt the cheese early, so let it cool first.
- → Could I replace beef with chicken?
- Ground chicken or turkey can be a great swap for the beef in this recipe.
- → How can I stop the cheese from leaking?
- Seal every edge firmly when rolling to keep the cheese inside while baking.