
 Pin it
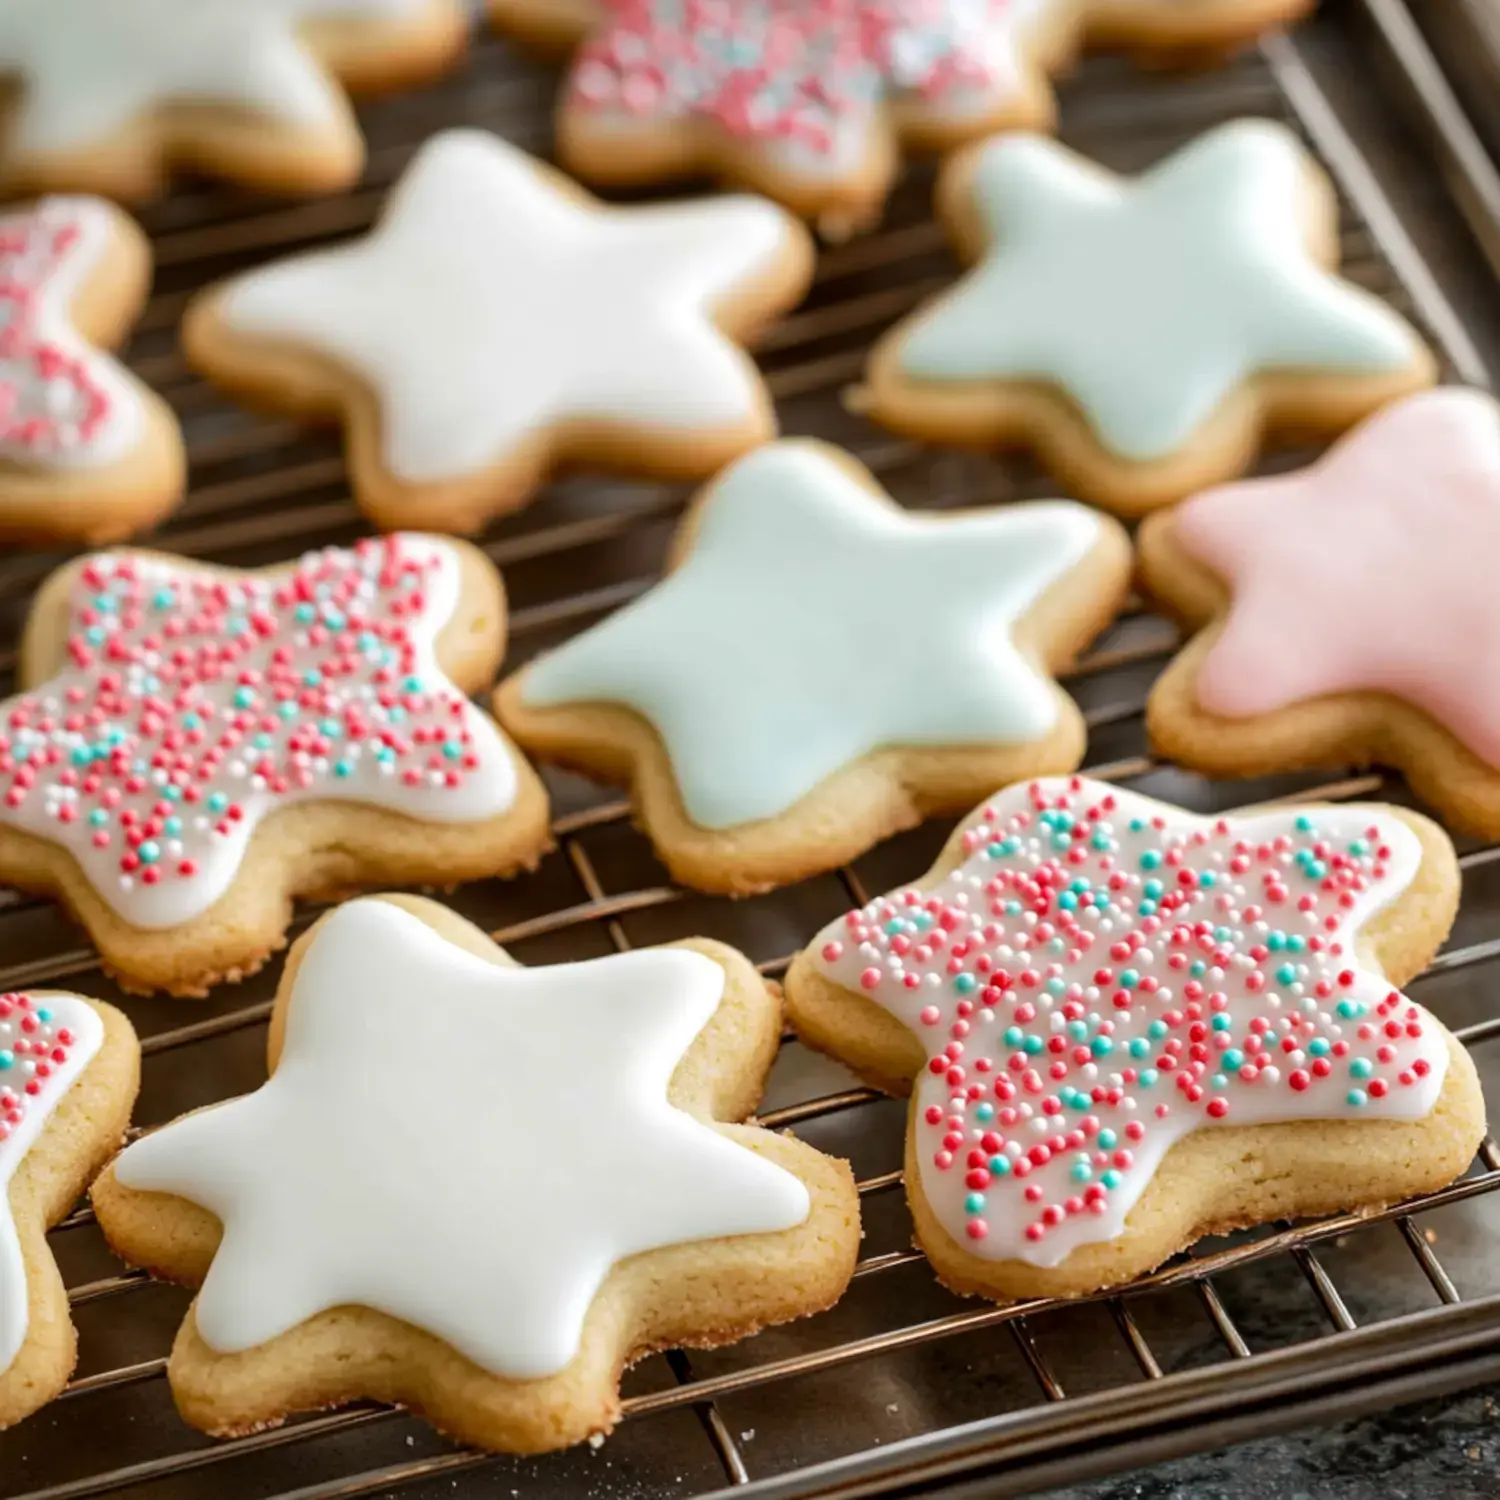
These sugar cookies have been with me through so many celebrations, parties, and school fundraisers. I've tried tons of versions (and eaten plenty of tasty failures) before nailing this recipe. They're perfectly tender inside, lightly crispy at the edges, and tough enough to stand up to whatever decorations you want to add. My family nicknamed them our 'weekend treats' since that's our time to break out all the colorful sprinkles and get creative!
The Secret Behind Their Amazing Taste
Ever had those pretty sugar cookies that taste like nothing? You won't find that problem here! I tweaked this recipe for ages until I got it just right. They have this wonderful softness without falling apart, and they actually taste as incredible as they look! The dough is also really flexible - it works great even when my kids press too hard with the rolling pin.
Let's Round Up What We Need
- Butter: Get it out ahead of time! Softened butter is absolutely essential for success.
- Sugar: Plain granulated sugar works wonders when mixed with butter.
- Egg: You'll need one large egg, also softened to room temperature.
- Vanilla Extract: Real vanilla makes everything better! I sometimes add a tiny bit of almond extract when I'm feeling fancy.
- Flour: Standard all-purpose flour measured with care - this really matters!
- Baking Powder: Just a bit to help them rise slightly.
- Salt: Don't leave it out! It brings all the flavors together.
Creating Cookie Perfection
- The Basic Mix
- Begin by beating your butter and sugar until it gets fluffy and light. I always set a timer for 3 minutes because I tend to rush this part. Mix in your egg and vanilla, and watch as it turns into this beautiful, smooth mixture.
- Smart Rolling Trick
- Here's my favorite tip: roll your dough BEFORE you chill it! Cut it in half, roll between parchment (keeps your counter clean!), then stick these flat sheets in the fridge.
- Patience Pays Off
- I know you want to skip the chilling step, but don't do it! Watch some TV or clean up your kitchen while you wait - you'll be glad you did!
- Into The Oven
- When your dough is properly chilled, have fun with your cookie cutters! I keep unused dough in the fridge between batches for best results.
Different Ways To Decorate
- Perfect Royal Icing
- This is what I use for fancy designs. It takes some practice, but you'll soon feel like a cookie artist! I use meringue powder because it's simpler than working with raw eggs.
- Quick Simple Glaze
- When baking with children, we mix up this basic version. Just combine powdered sugar, milk, and vanilla for stress-free decorating fun!
- Creamy Buttercream
- Sometimes you just need that thick, smooth frosting. It's ideal when you care more about taste than making picture-perfect cookies.
Tricks I've Learned
After baking countless batches, I've picked up some wisdom! Using parchment paper for rolling changed everything - no more flour scattered everywhere! I also bought a special rolling pin with guide rings which makes all cookies the same thickness. And never skip chilling the dough. I found that out when my cute snowmen turned into puffy blobs!
Storage Secrets
These treats stay good for about 5 days in a sealed container - if they don't vanish before then! In my house, they're usually gone within two days. For planning ahead, baked cookies freeze really well. I often make twice as many and save some for when we suddenly need cookies - and yes, that's definitely a real situation!
Fun Variations
I like playing around with different flavors sometimes. A little maple extract in fall tastes amazing! Last winter, I made chocolate ones by replacing some flour with cocoa powder - they disappeared instantly. My daughter always wants extra sprinkles mixed into the dough because according to her, more sparkles always makes things better!
What Makes Them So Wonderful
The best thing about these cookies is how dependable they are. Whether you're new to baking or do it all the time, they'll come out great every single time. I make them for school events, holidays, or just random Tuesdays when we want something sweet. Seeing everyone smile after taking a bite makes all the work worthwhile!
Kitchen Gear That Helps
- My Favorite Mixer: Either my stand mixer or hand mixer works great for fluffing butter and sugar.
- Good Quality Rolling Pin: I spent extra on one with thickness rings and it was so worth it!
- Silicone Baking Mats: They save paper and make moving cookies so much easier.
- Fun Cookie Cutters: I might have gone overboard collecting these...
- Decorating Tips: That #4 Wilton tip works perfectly for most cookie designs.
- Good Food Coloring: Gel colors cost more than liquid but give much brighter colors.
Questions People Ask Me
Folks always want to know these things! Can you skip the chilling time? Nope, unless you want flat, spread-out cookies! How thick should you roll them? About the thickness of a pencil. And yes, they work with gluten-free flour! Just use a good one-to-one substitute - my friend makes them this way with great results.
Making Memories While Decorating
This is the most fun part! These cookies are blank slates waiting for your creativity. Whether you're making detailed patterns or just slapping on some buttercream with the kids, the cookies hold up great. Some of our favorite family moments involve sprinkles everywhere and slightly funny-looking cookies that taste absolutely amazing!
 Pin it
Frequently Asked Questions
- → Why chill the dough first?
Keeping the dough cold helps cookies stay shaped while baking. It also makes cutting easier since the dough won’t stick as much.
- → Can I prepare the dough early?
Absolutely! Refrigerate for up to 2 days or freeze up to 3 months. Let frozen dough thaw in your fridge, then sit out for an hour before rolling.
- → How do these cookies stay soft?
Softness comes from the right balance of butter, flour, and baking just enough! Don’t overbake, or edges will crisp up too much.
- → What’s the deal with almond extract?
Almond extract gives cookies an extra pop of flavor. Use from 1/4 to 1/2 teaspoon or swap it with another extract you love.
- → How thick should I roll the dough?
The sweet spot is 1/4-inch thick. This thickness ensures they bake evenly and lock in the perfect soft texture inside.
Conclusion
Sugar cookies with soft centers and neat edges are perfect for decorating and celebrating holidays or occasions. Create amazing designs with ease.