
 Pin it
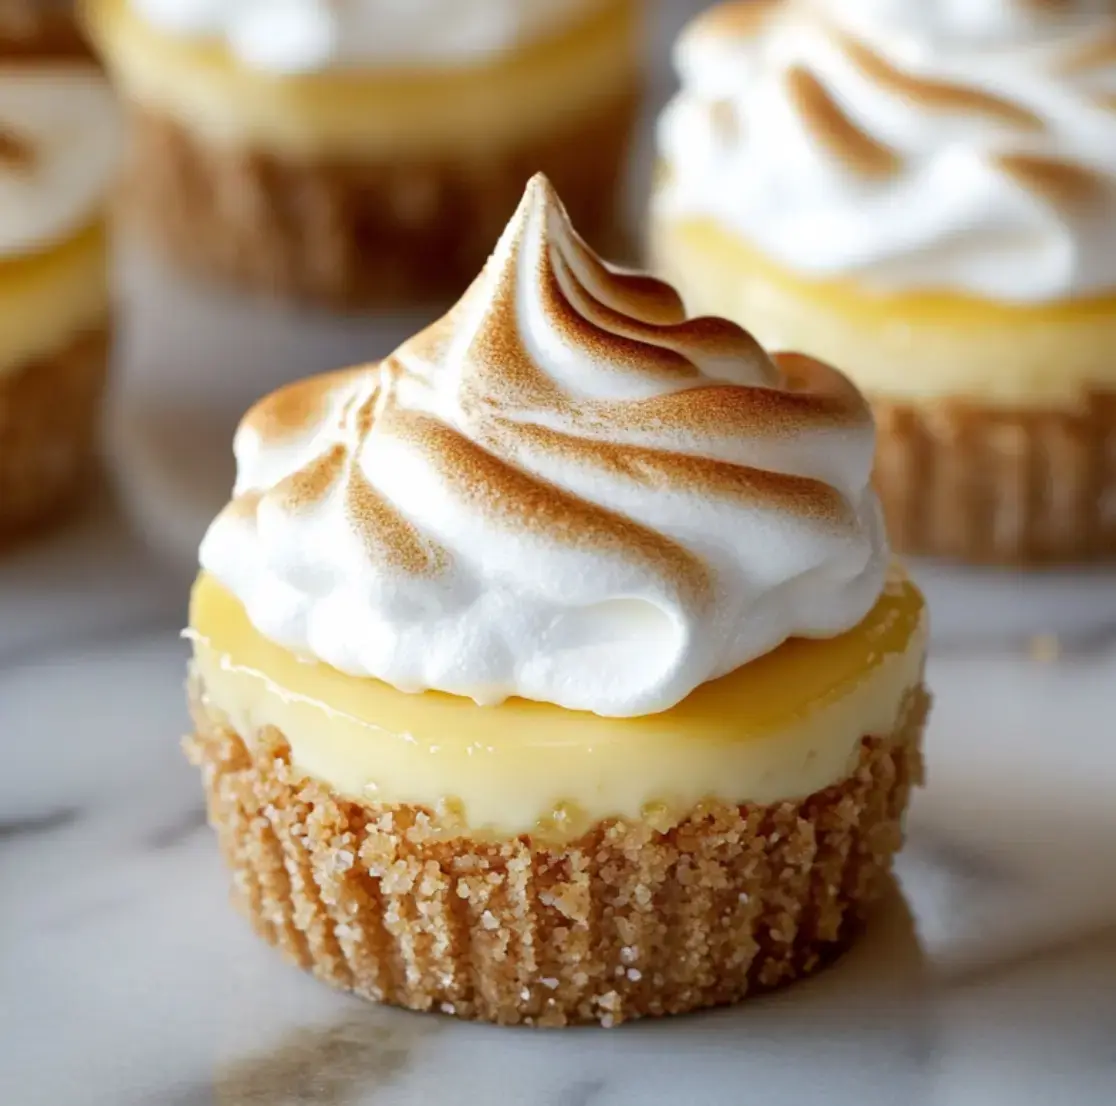
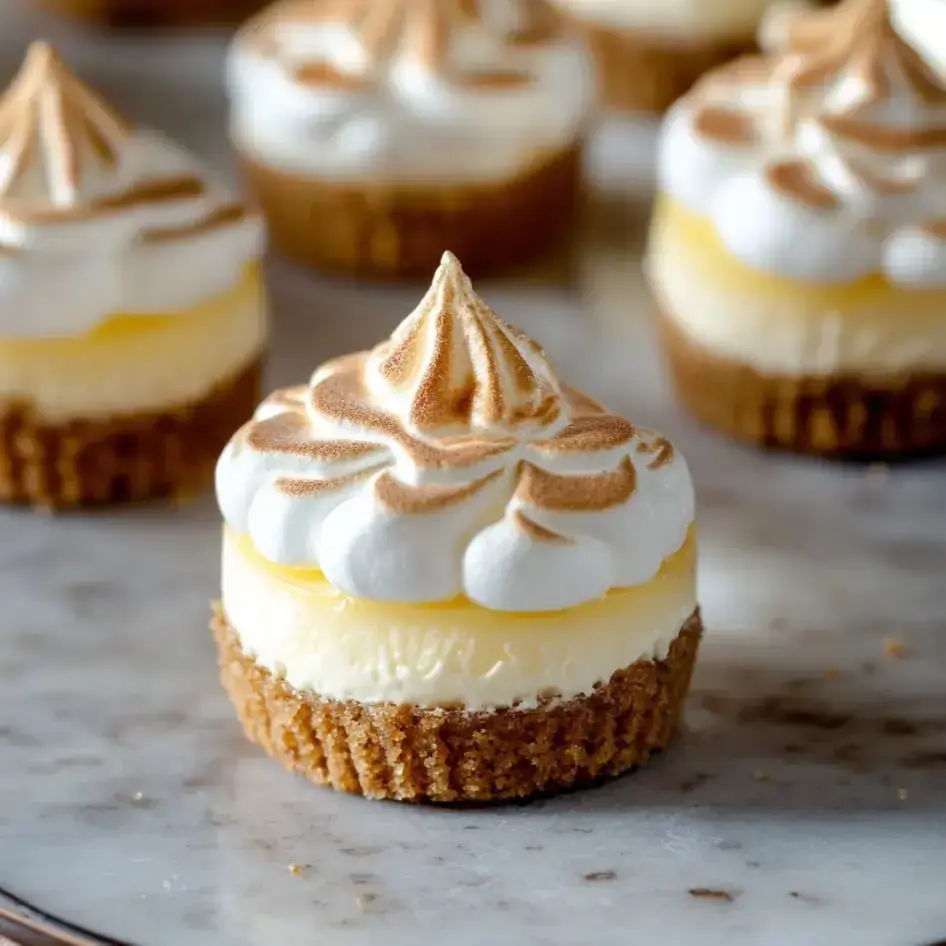
I first whipped these up for my kid's spring garden bash, and now we just can't get enough. You'll get buttery crunch from the graham cracker base, dreamy soft meringue on top, and that zingy, creamy lemon filling in the middle. Every bite is pure happiness. Plus, they're tiny, so they're awesome for parties and make your dessert spread look extra pretty.
Irresistible Crowd-Pleaser
What makes these minis shine is the spot-on mix of flavors and textures. The bright, creamy lemon center is killer with the crunchy crust, then you get that fluffy meringue for extra style points. I love how these little guys just brighten up a table, whether you're hosting a laid-back brunch or grilling outside on a sunny day.
Grocery Must-Haves
- Cream Cheese: Let it come up to room temp, go for full fat, it's way creamier.
- Eggs: Yolks for the middle, whites take care of the meringue topping.
- Granulated Sugar: You'll add it in both the creamy layer and the sweet topping.
- Lemon Juice and Zest: Go for fresh lemons—the flavor pops way more.
- Sour Cream: Adds a rich, velvety vibe to the filling.
- Cream of Tartar: Helps your meringue whip up high and stay sturdy.
- Graham Crackers: Smash them up for that irresistible crunchy bottom.
How to Pull These Off
- Assemble:
- Pile that fluffy meringue on each cheesecake and toast till it looks just right.
- Mix Crust:
- Blend your graham crumbs with melted butter, press down into cupcake liners inside a muffin pan.
- Bake:
- Pour the lemon mixture over your crusts, bake until they've just set, then let cool completely in the fridge.
- Whip Meringue:
- Heat egg whites with sugar, then beat them into stiff, glossy peaks.
- Make Cheesecake Batter:
- Beat cream cheese until super smooth, add in the sugar, lemon zest, and everything else.
My Top Pro Tips
Make sure everything's at room temp so your filling turns out ultra smooth. Add eggs last and mix just till they're blended in. Watch for a slightly wobbly center when baking—don't overdo it! Always let them hang out in the fridge till cold before you top them with meringue. Trust me, it totally pays off.
How to Keep Them Yummy
Stash these goodies in the fridge, and they'll be tasty for up to three days. Want to prep ahead? Skip the meringue, pop them in the freezer for a couple of months, then thaw them in the fridge and finish off with that fluffy topping right before you dig in.
Quick Answers For You
- How do I tell they're baked through: The edges will be set with just a gentle jiggle in the center.
- How to keep it silky: Don't forget room temp ingredients and mix gently, that's the trick.
- What if I don't own a torch: No worries, just use your broiler and keep an eye out so they don't burn.
 Pin it
Frequently Asked Questions
- → Can I prepare these mini cheesecakes in advance?
Absolutely! The cheesecake part can be made up to 3 days early. Store them carefully in the fridge in an airtight container. To keep the meringue at its freshest, top them just before serving and give a quick toast.
- → Why should the center jiggle slightly when the cheesecakes are cooked?
The slight jiggle guarantees creamy results. If the middle wiggles while the edges are set, the residual warmth will finish cooking it as it cools. This avoids overbaking and stops it from becoming dry or cracking.
- → Is it possible to freeze these cheesecakes?
The cheesecake part freezes well for up to 3 months if wrapped tightly and kept in an airtight container. Avoid freezing the meringue as it will collapse and release water when thawed. Let them defrost overnight in the fridge and add fresh meringue just before eating.
- → What can I use instead of cream of tartar?
Cream of tartar helps with meringue stability, but it's optional. Whisk the egg whites carefully to avoid overbeating, especially without it. A tiny drop of lemon juice is sometimes used as a quick alternative.
- → Why do I need to warm the meringue mixture?
Warming ensures food safety by cooking the egg whites to 160°F. It also creates a shiny and firm meringue that keeps its shape for longer. This method, called Swiss meringue, stops it from weeping or turning grainy.
- → How will I know when my meringue is ready?
You’ll know it’s done when it’s shiny, pure white, and forms stiff peaks that don’t droop when lifted. Rub a little between your fingers—it should feel smooth, not gritty. When piped, the designs will stay crisp without falling.