
 Pin it
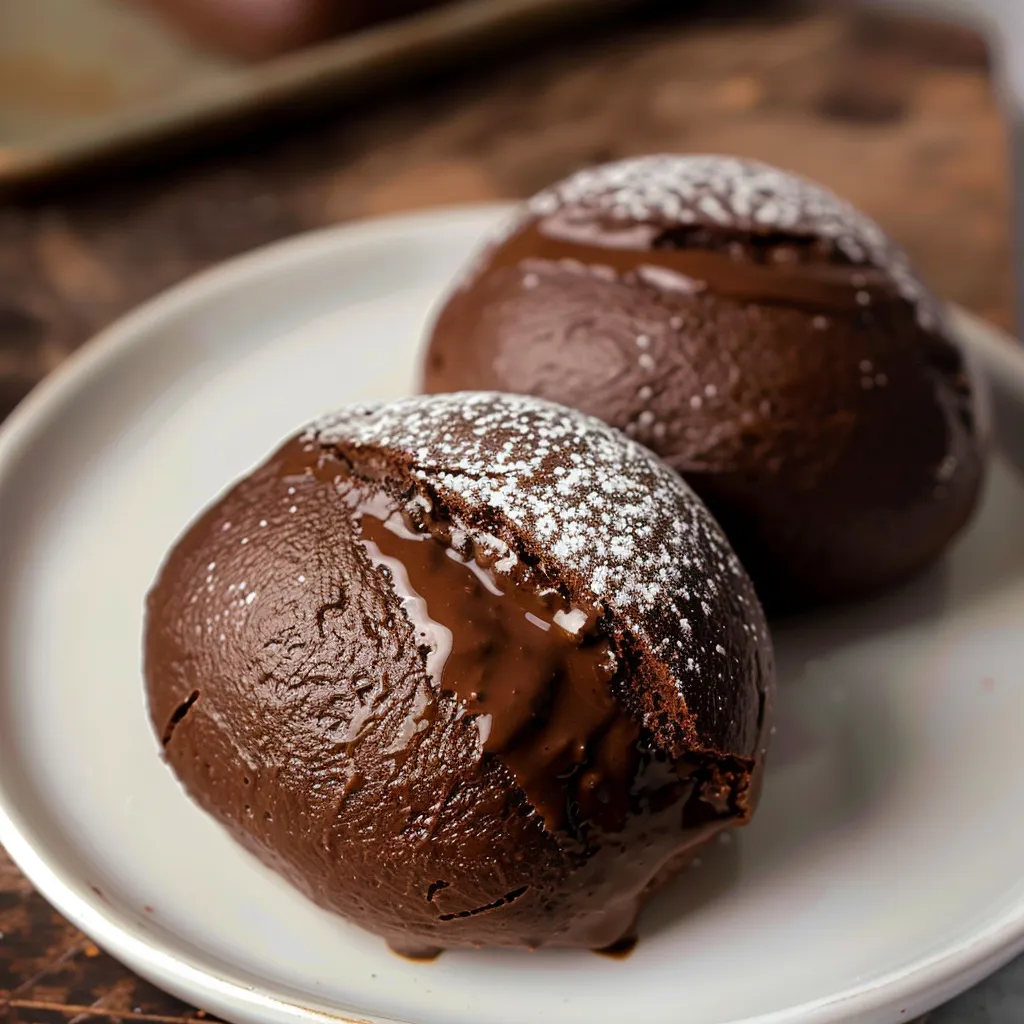
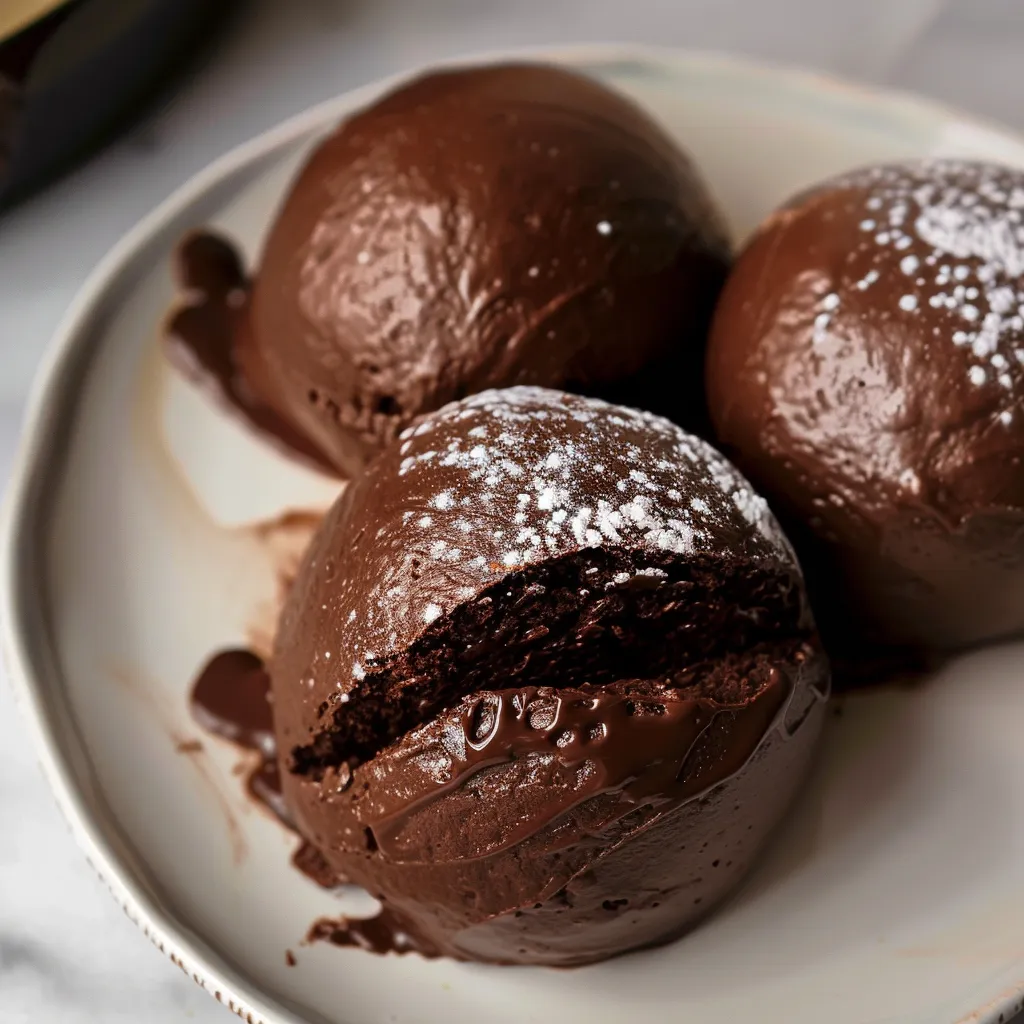
This take on chocolate maritozzi adds a rich cocoa twist to a classic Italian treat that’s usually piled high with whipped cream. The pillowy-soft buns mixed with creamy chocolate goodness are absolutely impossible to resist if you love a little sweetness.
I found this dish while traveling through Italy and knew after the first bite I needed it at home. Now it’s a family favorite when we all gather on Sundays.
Ingredients
For the dough- 28g cocoa powder: Brings that signature chocolate hue and flavor to the dough.
- 1/4 cup neutral oil: Makes the bread extra soft and tender inside.
- 240g warm whole or 2% milk: Gets the yeast going and keeps the dough nice and hydrated.
- 2 large eggs, room temp: Gives richness and helps the dough hold together.
- 1/2 tbsp vanilla: Adds a cozy warmth and boosts the chocolate taste.
- 1 tsp salt: Helps the flavors pop and makes the crumb stronger.
- 75g granulated sugar: Keeps things sweet and helps the dough rise just right.
- 2½ tsp instant yeast: Let’s the dough rise fast and evenly throughout.
- 240g bread flour: Builds up a chewy bite you’ll love.
- 250g all-purpose flour: Keeps the buns fluffy without being overly dense.
- 1 large egg: Gives the outside a beautiful shine in the oven.
- 1 tbsp milk: Helps brush the wash on evenly.
- Pinch salt: Brings out the chocolatey flavor and tones down the sweetness.
- 4 tbsp sifted cocoa powder: Loads the cream with chocolate flavor.
- 2/3 cup sifted powdered sugar: Sweetens the whipped cream smoothly.
- 2 cups cold heavy cream: Must be very cold so it whips up perfectly.
Step-by-Step Instructions
- Final assembly:
- Slice buns almost in half, but not all the way—you want to open them up like a hot dog bun. Pile in the chocolate cream. Using a piping bag makes it easier, but a spoon works too. Once filled, smooth the top with a small knife or spatula so the cream sits just at bun level. Sprinkle with powdered sugar and enjoy right away for best results.
- Make the cream:
- While the buns cool, toss the cold heavy cream, cocoa, powdered sugar, and salt into a bowl. Whip until fluffy and you see soft-but-sturdy peaks. Pop it in the fridge until you’re ready to fill the buns.
- Let them cool:
- Move the just-baked buns over to a wire rack so they cool off. Let them chill out completely before filling so the cream doesn’t melt out.
- Bake and finish:
- Preheat your oven to 180°C (around 350°F). Beat the egg and milk together for the wash. After the buns have had their second rise, brush the tops and slide them into the oven. Bake for about 16 minutes, middle rack is best. Since they’re chocolate, it’s tough to tell by color, so tap the underside—it should sound hollow if baked through.
- Second rise:
- Put all the dough balls on your lined baking tray and put a cover over them. Let them puff up for about half an hour to an hour until they’re full and airy and bounce back a bit if pressed.
- Divide and shape:
- Take the dough out and slice it into 8 to 12 pieces using a dough cutter or just a sharp knife. If you care about each bun being the same size, weigh them, but honestly, it’s not a big deal.
- Set up your pan:
- Line a baking tray with parchment. Leave it ready while you shape the buns.
- Let it rise:
- Pop the dough in a lightly oiled bowl, cover it up, and give it one to two hours for its first rise until it’s doubled and airy. This is when the buns get super light inside.
- Get the dough started:
- Toss all the dough ingredients into your stand mixer with the dough hook attached. Knead on low until there’s a smooth, slightly tacky dough. If it’s a little sticky on the bottom, that’s totally fine. This helps make them extra soft.
Storage
If you don’t fill the maritozzi right away, they’ll stay fresh for 2 to 3 days at room temperature if sealed in an airtight container. Want to keep them even longer? Freeze for up to a month and then thaw before filling and serving.
After adding the filling, stash any leftovers in the fridge and eat them within 24 hours. The cream starts to soften the buns after that. I usually just fill as many as we’ll eat quickly. That way, the buns never dry out in the fridge.
 Pin it
Variations and Swaps
You can make these totally dairy-free by swapping the milk for something like almond or soy, plus a plant-based whipped cream for filling. They’ll still taste awesome, just a bit different.
Want fruit in your buns? Toss some orange zest into the dough or add a splash of orange liqueur to the chocolate cream. The citrus and chocolate combo is a winner.
If you’re after the classic style, just skip the cocoa in the dough, but keep the chocolate cream because it’s so good.
Serving Ideas
Serve these chocolate maritozzi at a fancy brunch with strong Italian coffee for big wow factor.
To make things even prettier, top each with shaved chocolate, fresh berries, or chopped hazelnuts for that party look.
Kids love them too. Hand them out for snack time with a cold glass of milk on the side.
Frequently Asked Questions
- → How do you make fluffy brioche dough?
Use room-temperature ingredients, and knead the dough until its texture is smooth and elastic. Let it rise properly during each proofing stage for an airy finish.
- → Can I swap out cocoa for a different flavor?
Yes, you could switch the cocoa for citrus zest or spices like cinnamon to change up the taste while keeping the soft brioche texture intact.
- → How do I know the buns are done baking?
Tap the bottom of the buns lightly. If they sound hollow, they’re done. Just be mindful that cocoa can make it harder to eyeball the color.
- → How do I stop whipped cream from deflating?
Use very cold cream and whip until it forms stiff peaks. Take care not to overwhip, as this can quickly turn it into butter.
- → Can I make these ahead of time?
Yes, but it’s better to add the whipped cream filling right before eating. Store unfilled buns in an airtight container for the best freshness.
- → What can I mix into the cream for extra flavor?
Fresh fruit, chocolate chips, or a spoonful of jam can all make tasty additions to the whipped cream filling.