
 Pin it
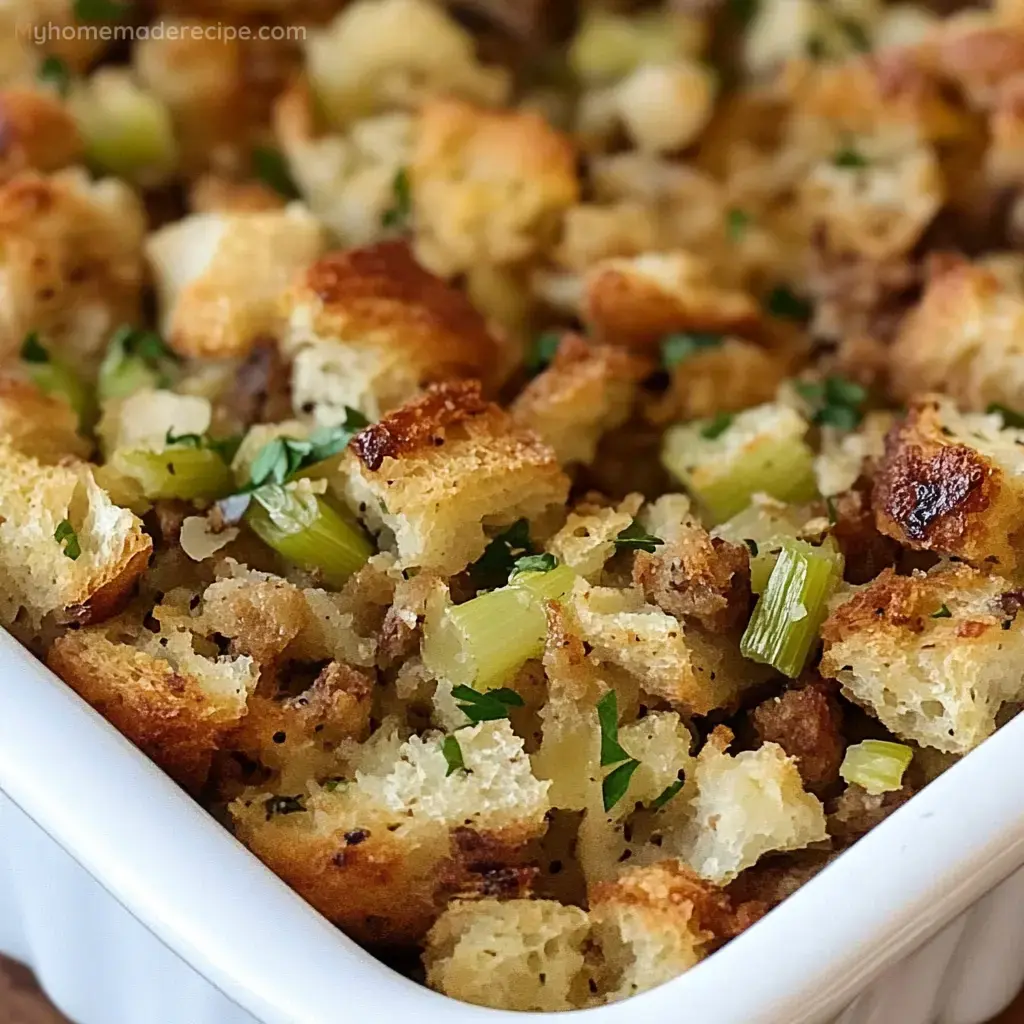
Every November, my kitchen fills with the cozy smell of buttery bread, fresh herbs, and veggies sizzling away. That’s when I get ready to fix our favorite family stuffing, handed down by my grandma. What blows everyone away is how a few everyday things come together into something so special. You’ve gotta let the bread really soak up those herby vibes and broth—crispy outsides, soft inside, just right.
I whipped up this stuffing for a pre-Thanksgiving dinner last week and folks hovered around my kitchen hoping for samples. My little one snagged all the crunchy bits from the pan edges while my mother-in-law asked how to make it. If that’s not a win, I don’t know what is!
Irresistible Ingredients and Simple Picks
- Bread Blend (sourdough, wheat, French): Grab loaves from a good bakery, let them dry overnight—this mix is the real secret for great texture
- Celery: Go for stalks with snap and vibrant leaves—they’ll bring the best flavor and crunch
- Yellow Onions: Use firm onions with shiny outer layers—they sweeten up nicely as they cook
- Unsalted Butter: Try European-style butter with extra fat for more richness—it’s worth it
- Fresh Herbs (parsley, sage, thyme): Look for leafy, dark-green sprigs—skip limp or yellow ones for max punch
- Good Chicken Stock: If it’s not homemade, low-salt is best so you can tweak seasoning later
Step-by-Step Cooking, Made Easy
- Step 5: Into the Oven
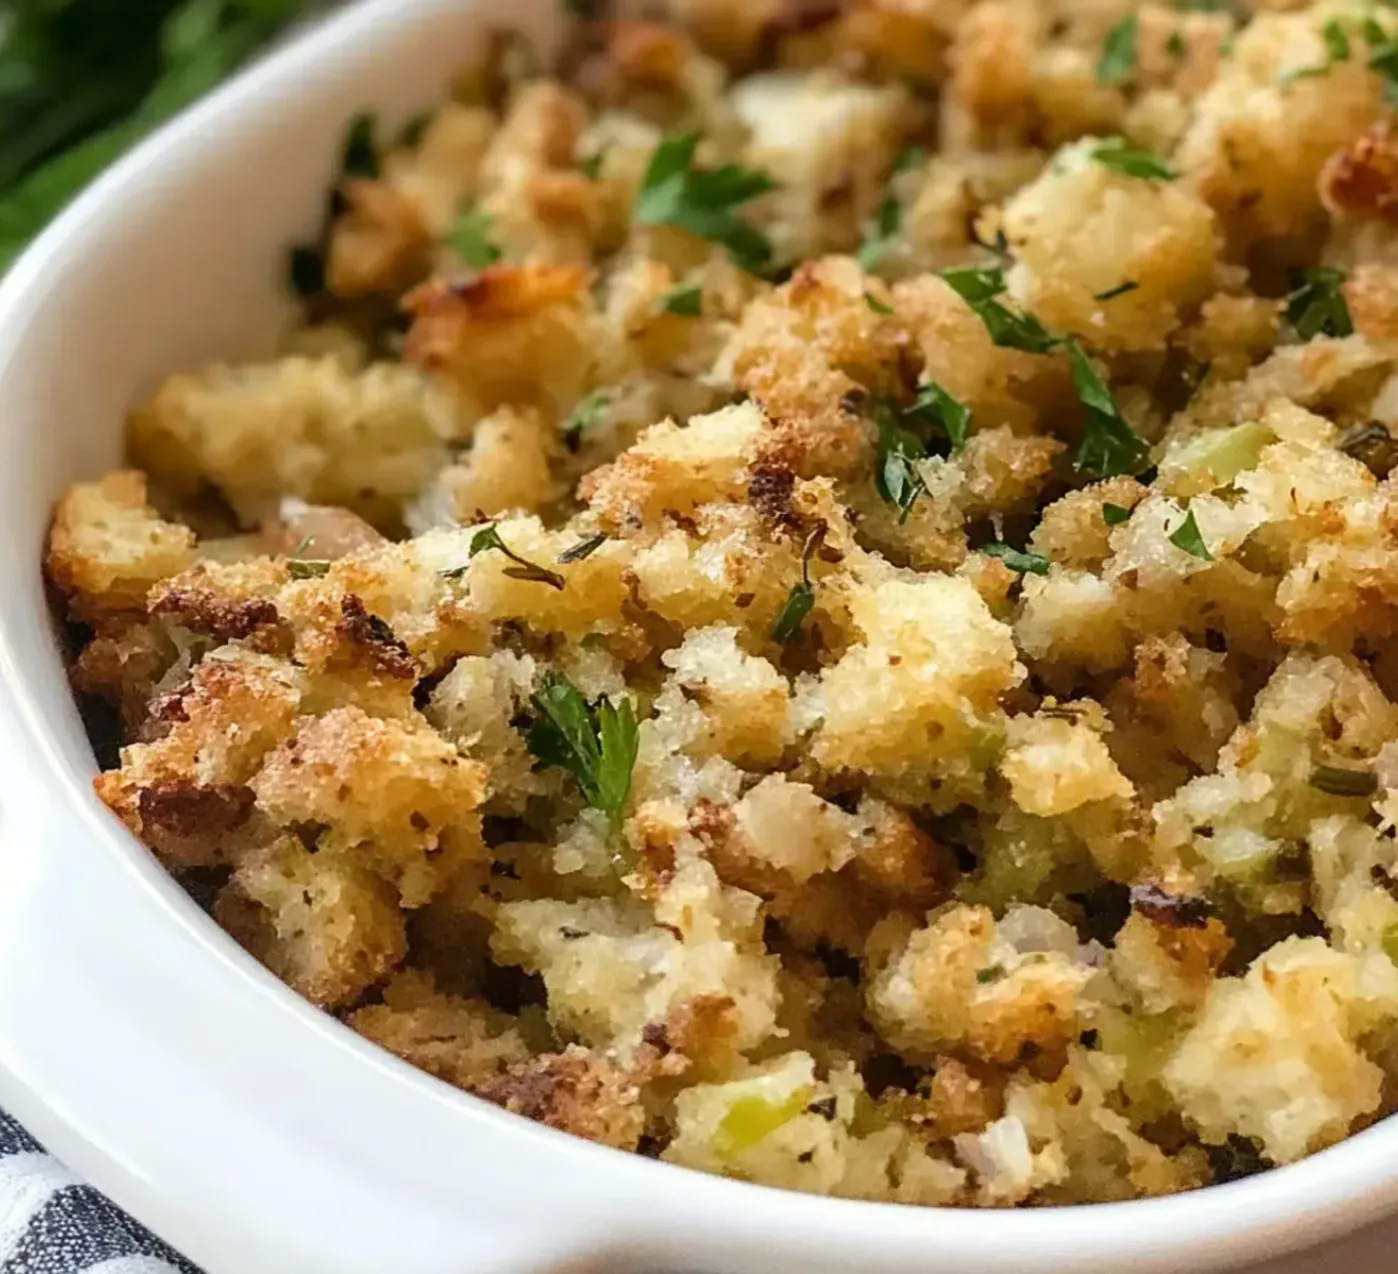
- Scoop everything into a greased pan, don’t pack it down. Drape some foil on top, letting it sit above the stuffing. Slide into a 350°F oven—cover for 30 minutes, then take the foil off and keep going about 20–30 minutes until it’s golden brown. Let it chill for 10 minutes, then dig in.
- Step 4: Time to Toss
- Dump your dried bread chunks into a big bowl. Pour the warm veggie-herb mix over the top. Gently toss everything together, adding the stock a bit at a time so bread can soak it up. Stop when it’s all moist but not mushy.
- Step 3: Bring in the Herbs
- Stir chopped fresh herbs into your veggie mix. Cook for a couple of minutes—your kitchen should smell amazing. Pull off the heat and let it rest for a few minutes.
- Step 2: Sauté the Veggies
- Put butter in a big skillet on medium. When it’s bubbly, stir in celery and onions. Cook real slow for 12–15 minutes, stirring now and then, so everything gets super soft. Hit with some salt and pepper and let flavors blend together.
- Step 1: Dry the Bread (Do This Ahead)
- Chop bread into cubes about the size of dice. Spread out on pans and leave them out overnight, tossing once in a while so every piece dries out. You want them dry, but not like building blocks.
Over the years, I’ve figured out sage is what makes this stuffing shine. My grandma always picked it from her own backyard, and now I do, too. Homegrown sage is just bolder and softer than anything you’ll find in the store. Funny enough, after tasting this stuffing, my neighbor started a little sage plant of her own last fall.
How to Nail a Juicy Center
Getting the right amount of liquid is all about feel. Too much broth and you’ll have mush; not enough, and it’s just dry bread. Add your stock a little at a time and give it gentle tosses so it all soaks up evenly. When bread is moist but still bouncy when you squeeze it, you’re good to go.
Stress-Free Prep for Busy Days
I love that you can split up the work. Dry bread cubes stay good for up to three days in a paper bag. The veggies and herbs mix—make it a day ahead, stash in the fridge, and just warm up before mixing. This trick saves my sanity every year!
Family Feels in Every Mouthful
Every time I throw this together, I flash back to watching my grandma make stuffing without even using a spoon or measuring spoons. She’d trust her gut for the perfect moisture and the smack of fresh herbs. Now I get my own kids in on the action and we keep the tradition rolling—cooking from the heart, just like she did.
Keeping Leftovers Fresh
Honestly, leftover stuffing is a treat all on its own in this house. Keep it in the fridge, covered, for up to four days. For reheating, splash on some stock, cover loosely with foil, and bake at 325°F. Crispier edges come out the second time and everyone fights for those!
 Pin it
This version reminds me why I love to cook—basic foods, done well, become something everyone looks forward to. I’ve mixed things up plenty of times, but this combo of crusty bits, moist center, and just the right seasoning—that’s what makes it the highlight of our holiday meal every single year.