
 Pin it
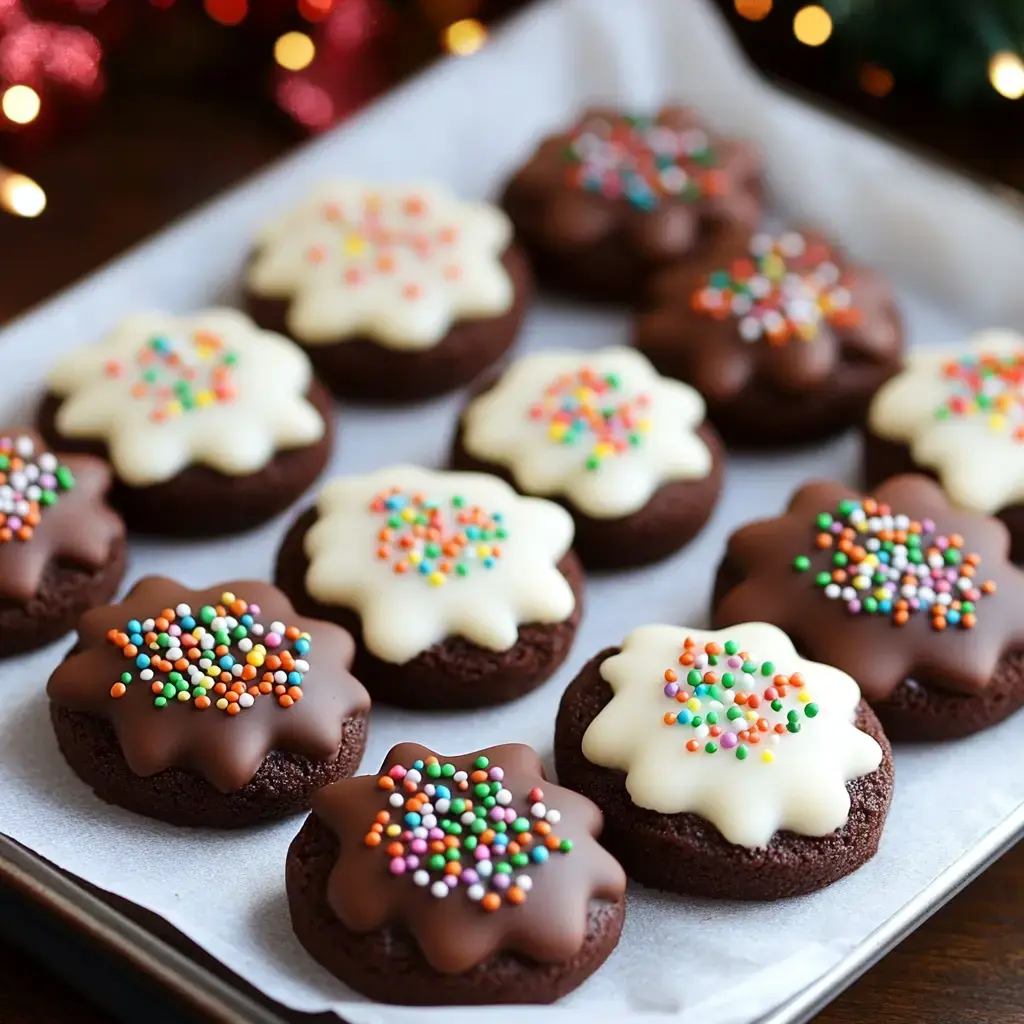
I gotta tell you about the holiday cookie that brings back all the good times! These chocolate spritz treats have become a must-make in my home. Whenever I grab my cookie press, memories of baking with grandma come flooding back. The way they just dissolve on your tongue with that rich chocolate taste and those fancy patterns—it's what holiday dreams are made of.
The Magic Touch That Makes Them Wonderful
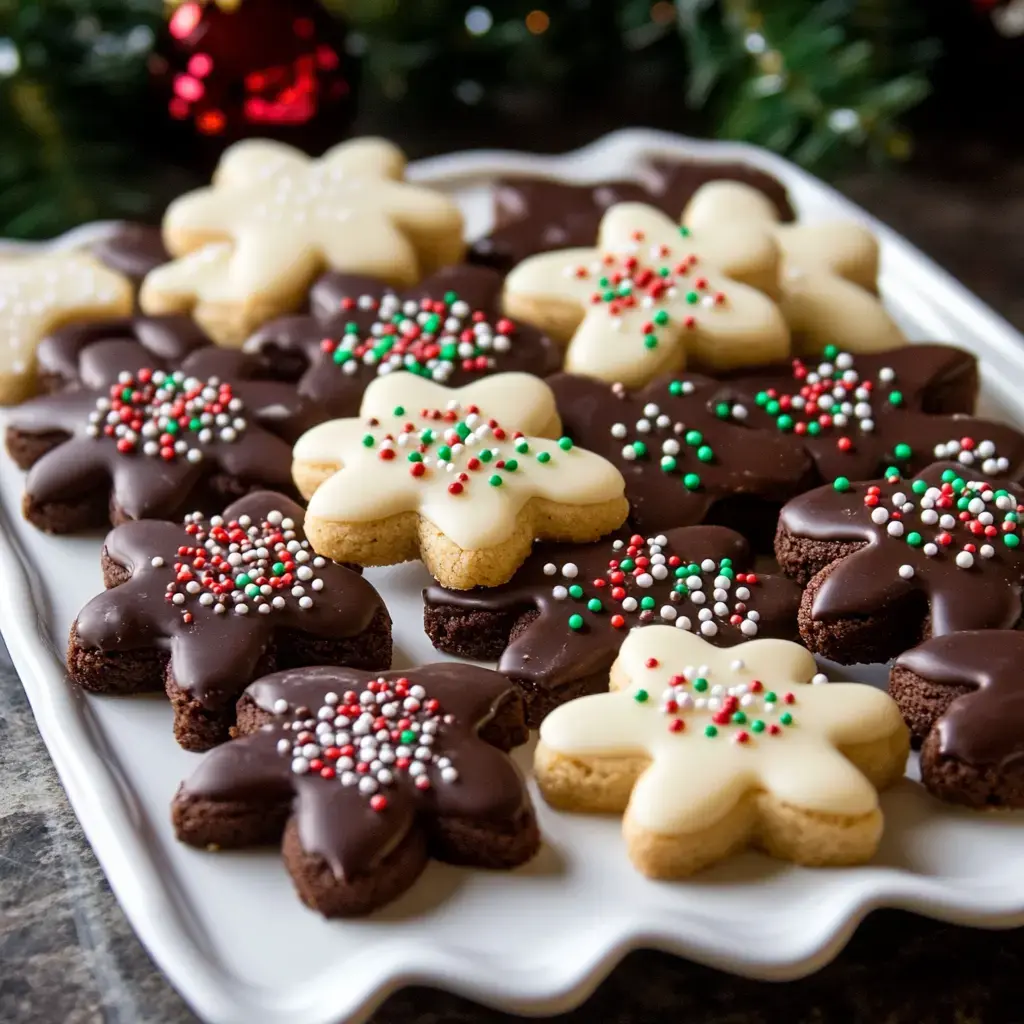
Wanna know what's so great about these cookies? They don't just taste amazing—they look stunning too! Those fancy patterns catch everyone's attention, and when you toss on some festive sprinkles, they turn into tiny masterpieces. And guess what? They're way simpler to make than they seem. I'm always getting people begging for this recipe at Christmas parties.
All Your Ingredients
- The Must-Haves: - 1 cup butter at room temp—gotta be just the right softness - 2/3 cup sugar for that perfect sweetness - 1 fresh egg to hold everything together
- The Taste Boosters: - 3/4 teaspoon vanilla—I always go for real stuff - 1/3 cup cocoa powder—splurge on quality here
- The Foundation: - 2 1/4 cups all-purpose flour, measured with care - 1/4 teaspoon salt to cut the sweetness
- The Finishing Touches: - 10 ounces candy melts in white or dark, your pick - Plenty of fun sprinkles to make them pop
Baking Time Begins
- Getting Ready
- Heat your oven to 350°F and put parchment on your baking sheets. I swear by parchment—works every time.
- Mixing Your Batter
- Beat the butter and sugar till it's super fluffy. Throw in your egg and vanilla next. Mix in the dry stuff just enough—don't go overboard!
- Creating Shapes
- Load up your cookie press and start making those pretty designs. Don't stress if the first couple look weird—that's just warm-up!
- Baking Time
- These little guys only need around 5-7 minutes. Keep an eye on them—they're done when they're barely set.
- Adding Flair
- After they're totally cool, dunk them in melted candy coating and rain down those sprinkles. This is when the real magic happens!
Insider Cookie Secrets
Want to know how I nail these spritz cookies every time? Keep that dough at room temp—cold dough won't push through easily. Don't try sticking it in the fridge thinking that'll work better, it actually makes things tougher! When you're melting your candy coating, go slow in the microwave with lots of stirring breaks. And get all your sprinkles ready beforehand—you'll need to add them while the coating's still wet.
Storage Tricks
Here's how to keep these babies fresh, though they never last long at my place! Pop them in an airtight container and they'll stay yummy for about five days. Need to plan ahead? You can freeze the plain cookies for up to three months. I love having these with hot chocolate on cold nights or adding them to holiday cookie trays—they're always the first to go!
 Pin it
Fun Cookie Background
Here's something cool about these treats! The name 'spritz' comes from the German word 'spritzen' meaning to squirt or spray. That's exactly what we do with our cookie press! They've been making holiday memories for generations in kitchens just like yours and mine.
Getting Good With Your Cookie Press
Let me share what I've figured out about cookie presses over the years! It's such a cool gadget once you get used to it. Think of it as a fancy cookie stamper with all those cool design discs. The trick is mixing your dough to the perfect texture—not mushy, not stiff. When I show friends how to use it, I tell them to practice on one spot of their baking sheet until they get it just right!
Putting Your Twist On Them
This is where you can really play around! Sometimes I add a tiny bit of peppermint flavor to the dough for a Christmas feel. Try different sprinkle mixes—maybe gold and silver for New Year's or soft colors for Easter. Once I mixed some edible shimmer into my white chocolate coating and boy, did those cookies shine!
The Crowd-Pleasing Factor
You know why everyone goes crazy for these cookies? They're fancy enough for a holiday gathering but homey enough to feel like comfort food. The way they just melt away with that deep chocolate flavor has everyone asking how to make them. And the best part? They look super impressive but aren't actually tough to make once you learn the basics.
 Pin it
Frequently Asked Questions
- → Why won’t the dough stay on the tray?
- Skip greasing the pan. Dough needs to stick slightly to release from the press smoothly.
- → Is it okay to freeze these cookies?
- Yes, but only before adding chocolate. The coating doesn’t freeze well once applied.
- → What can I use if I’ve got no press?
- Try a piping bag with a firm tip. It’s not the same, but it works in a pinch!
- → How do I fix thick candy melts?
- Mix in some vegetable oil to make it smooth again. Warm carefully in short intervals to avoid clumping.
- → What’s the best way to store them?
- Use an airtight box at room temperature for up to three days. Add wax paper between layers to keep them tidy.
Conclusion
Pressed chocolate cookies make a stunning holiday dessert.Once shaped, they're dipped in candy coatings and finished with cheerful sprinkles, making them an ideal centerpiece for festive gatherings.