
 Pin it
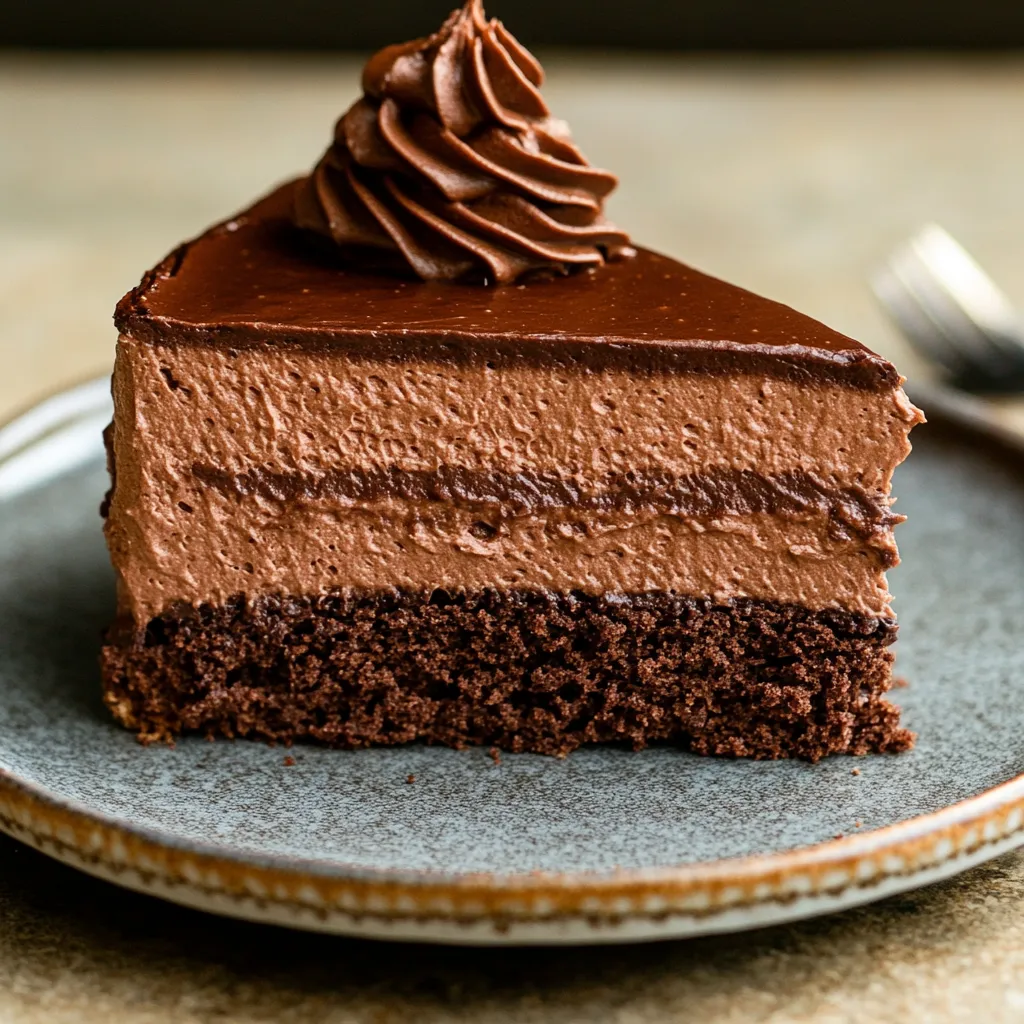
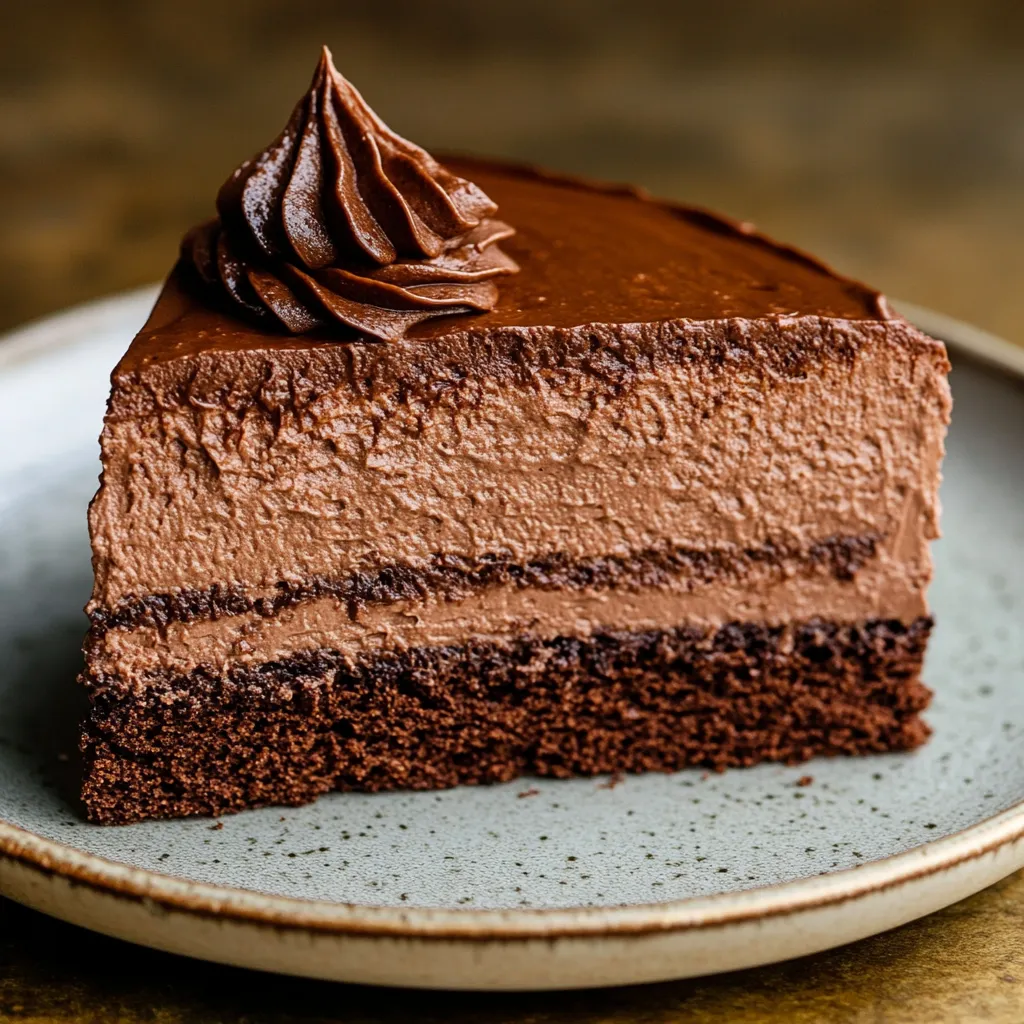
I'll show you how to make this decadent three-layer chocolate treat that'll knock your socks off. We're talking a soft, rich chocolate base, creamy mousse center, and shiny chocolate coating on top—it's basically heaven for anyone who can't get enough chocolate.
I've tried tons of mousse cake recipes over the years, and this one hits the sweet spot between dense and fluffy. The first time I made this for friends, they thought I'd secretly bought it from a bakery!
Key Ingredients and Smart Buying Advice
- Dark Chocolate: Go for quality 70% cocoa for the best taste. Look for shiny bars with clean snap.
- Milk Chocolate: Don't skimp here—good brands melt better and taste nicer.
- Dutch Process Cocoa: This gives you a darker color and bolder flavor than regular cocoa powder.
- Fresh Eggs: Split them when they're cold but let them warm up before using.
- Heavy Cream: Make sure it's got at least 36% fat or it won't whip up right.
Step-by-Step Baking Guide
- Step 1: Getting Your Cake Base Just Right
- Check your oven's real temp before you start cooking. Mix all dry stuff really well to break up cocoa clumps. Pour in hot coffee last to wake up the cocoa flavors. Don't cook it too long—it's done when the tester comes out with a few wet crumbs stuck to it.
- Step 2: Nailing the Mousse
- Melt your chocolate gradually so it doesn't get grainy. Warm up egg yolks carefully or they'll turn into scrambled eggs. Make sure the gelatin completely melts in the warm cream. Stir with a light touch to keep all the air bubbles intact.
- Step 3: Making Smooth Ganache
- Cut chocolate into same-size pieces for even melting. Warm cream just until it bubbles—don't let it boil. Wait the full 3 minutes before you stir it. Pour at the perfect temp for those pretty drips down the sides.
 Pin it
I spent countless hours watching my grandma whip up chocolate treats, and she always said you can't rush good desserts. This one takes some time, but trust me, each step adds amazing flavor that makes it worth the wait.
The real trick to making this cake amazing is watching the temperature. I've learned that giving each layer enough time to set creates that cool mix of textures that keeps every bite interesting.
 Pin it
This has become my go-to dessert whenever I want to impress someone. The way these three chocolate layers come together makes something truly unforgettable that chocolate fans can't stop talking about.
Frequently Asked Questions
- → What’s the purpose of acetate or a collar?
- They make the mousse layer smooth and tidy on the edges.
- → Can I prepare this dessert early?
- Sure, make it up to 2 days ahead and store in the fridge.
- → What’s the point of adding coffee to the cake?
- It boosts the chocolate flavor and keeps the cake moist without tasting like coffee.
- → Is gelatin optional in this recipe?
- No, you’ll need it to give the mousse its structure for slicing.
- → How should I store leftovers?
- Refrigerate for up to 5 days, but it’s best to eat within 3 days.