
 Pin it
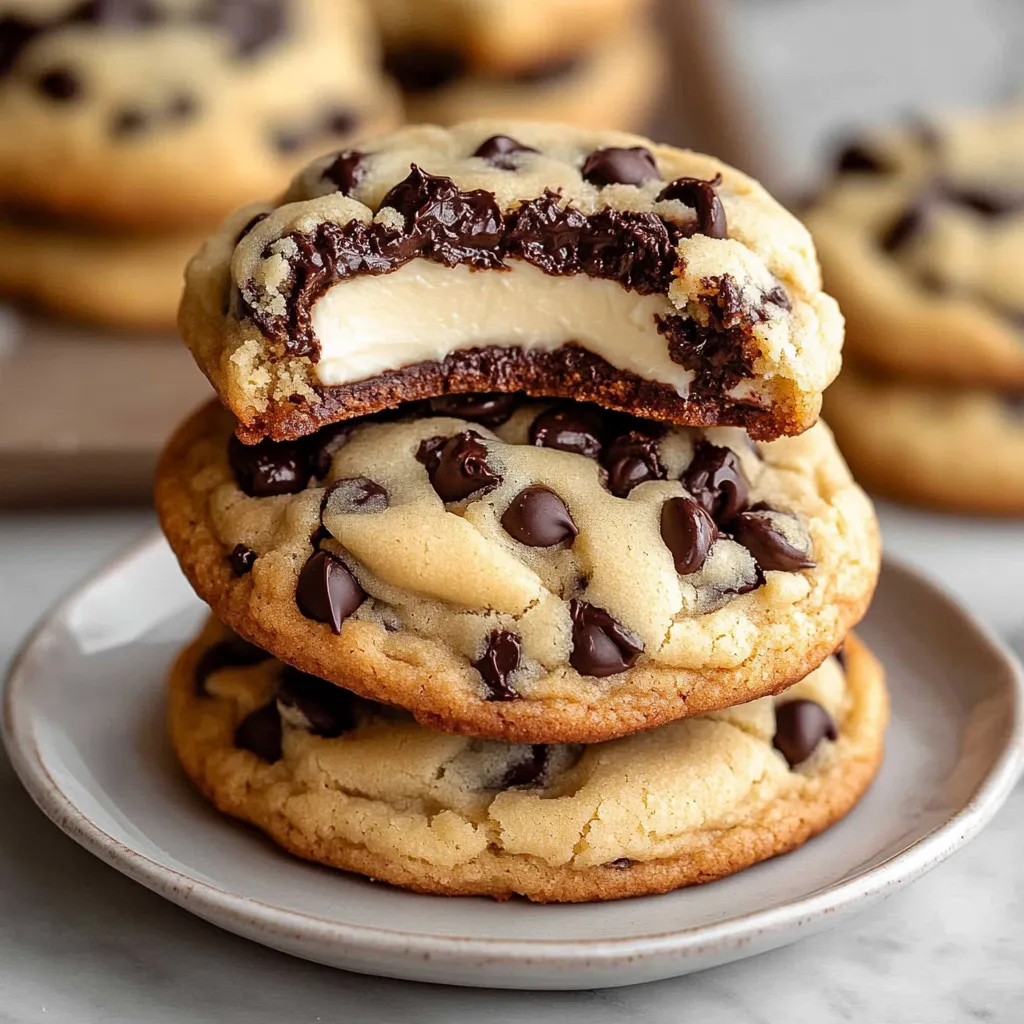
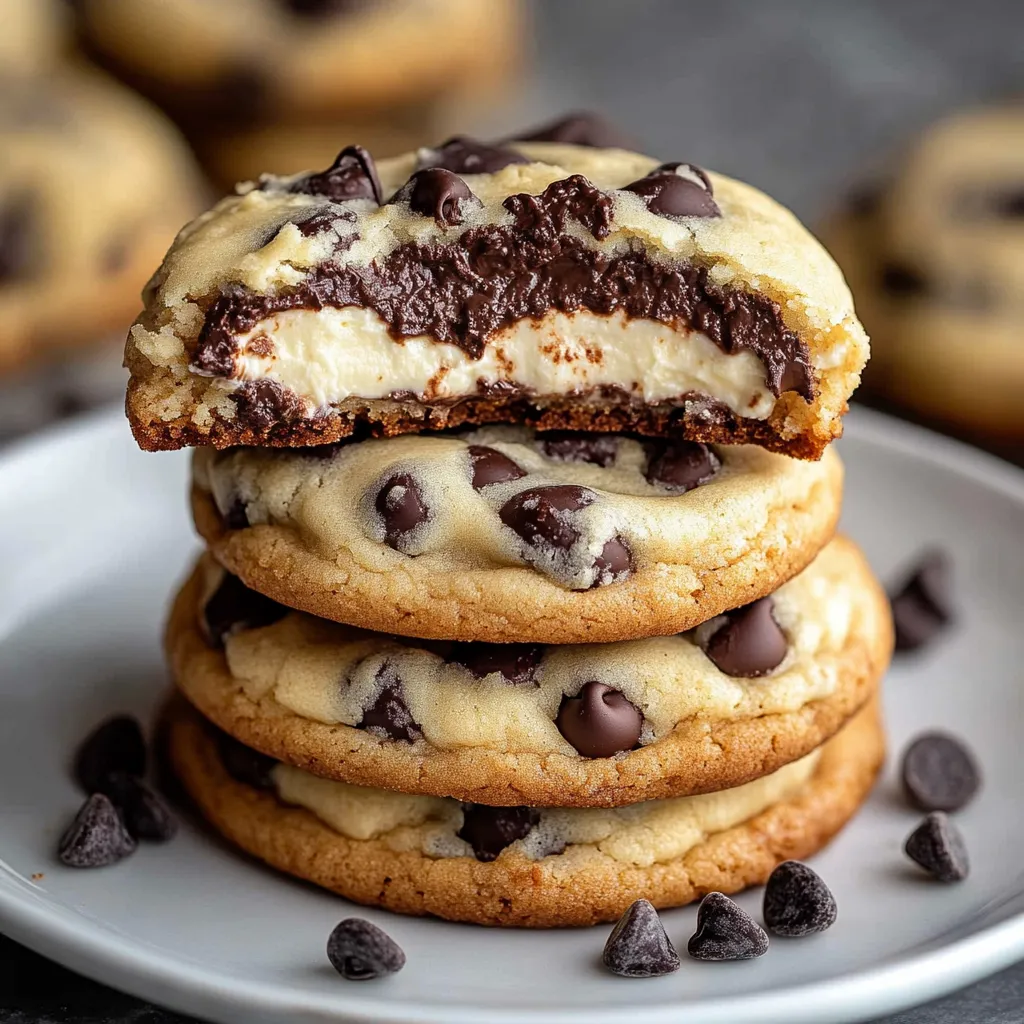
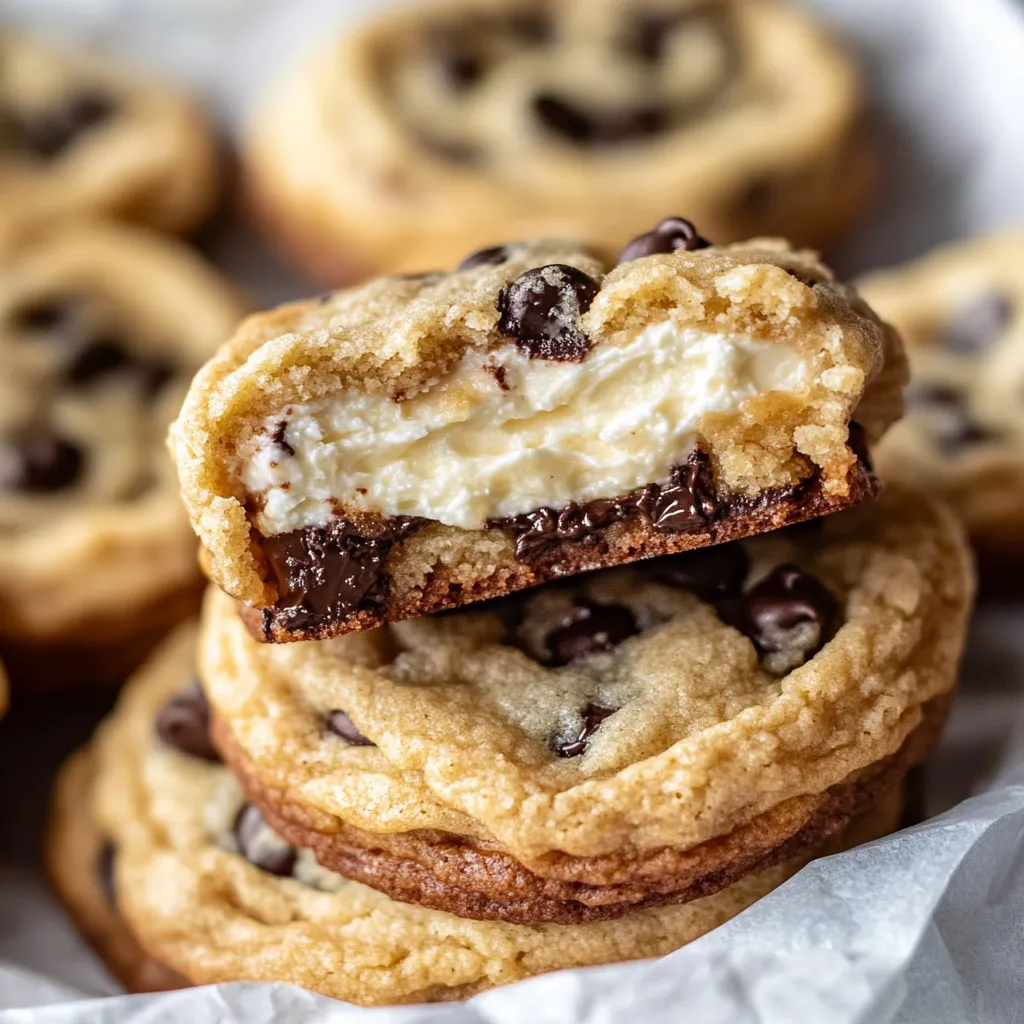
Indulgent chocolate chip cookies hiding a velvety cheesecake center make a mouthwatering combo of two beloved sweets. Each bite offers crispy edges and a soft middle, while the tangy cream cheese stuffing delivers an unexpected flavor pop that'll keep you coming back for more.
When I first baked these, my family gobbled them up so fast at our get-together that I had to whip up another batch the very next day. My little nephew calls them "the best cookies ever" and now helps me pack the cheesecake filling inside each one, saying it's our little secret together.
Key Ingredients
- Cream Cheese: Needs to be full-fat and soft enough to work with
- Butter: Go for unsalted so you can tweak the taste yourself
- Chocolate Chips: Pick good ones that melt nicely
- Eggs: Take them out early so they're not cold
- Brown Sugar: Gives you that nice sticky, caramel-like sweetness
- Vanilla Extract: The real stuff works way better than imitation
 Pin it
Step-by-Step Guide
- Step 1:
- Make sure everything's warmed up to room temp for easier mixing.
- Step 2:
- Whip that cream cheese until it's totally smooth.
- Step 3:
- Pop the filling in the fridge until it's firm enough to work with.
- Step 4:
- Mix butter and sugars until they're super light and fluffy.
- Step 5:
- Put in one egg at a time and mix well after each one.
- Step 6:
- Get all your dry stuff mixed together before adding it in.
- Step 7:
- After adding flour, just mix enough to combine.
- Step 8:
- Form cookie balls a bit bigger than you normally would.
- Step 9:
- Push a hole in each one for the filling.
- Step 10:
- Make sure to close up all the edges so nothing leaks out.
My kid and I found out that warming these cookies just a little makes the middle all creamy and gooey, just like real cheesecake. We've made it our special after-school snack, always with big glasses of cold milk on the side.
Getting Perfect Results
- Keep an eye on the edges for that golden color
- Take them out while centers are still soft
- Let them sit on the hot pan awhile
- Move them super carefully to cool
- Look at the bottoms to make sure they're baked right
When I was little, my grandma always told me that good cookies take patience. She'd say, "Just wait until they tell you they're done," as we watched for that perfect golden color around the edges.
Prep Ahead Ideas
- Get your dough and filling ready separately
- Pop assembled raw cookies in the freezer
- Keep baked ones separated in containers
- Heat them up a bit before eating
- Stick unused dough back in the fridge between batches
Wrapping For Gifts
- Use cute boxes for packaging
- Tie them up with bright ribbons
- Add a note about how to heat them
- Put parchment between cookie layers
- Attach little cards with storage advice
 Pin it
Fixing Common Problems
- If filling escapes: Cool your dough longer
- If cookies flatten too much: Check your oven's temp
- If they seem too hard: You probably baked them too long
- If they cook unevenly: Turn the pans halfway through
- If dough feels too wet: Add a little more flour
These stuffed cookies have become the treat everyone asks me to bring to family parties and bake sales. They show how mixing two simple desserts can create something even better. I love watching people's faces light up when they bite in and find that creamy surprise inside—it makes all the extra work totally worth it.
Frequently Asked Questions
- → What’s the purpose of using two flours?
- Together, cake and bread flours create chewy yet soft cookies with the perfect bite.
- → Is skipping the chill step okay?
- Nope, the dough needs chilling to keep its shape and make stuffing easier.
- → Can I freeze these treats?
- Absolutely, they keep well in an airtight container for three months.
- → Why is my filling leaking out?
- Make sure the dough is completely sealed around the filling to avoid leaks.
- → What about making smaller cookies?
- Sure, just bake them for less time and use a little less filling.