
 Pin it
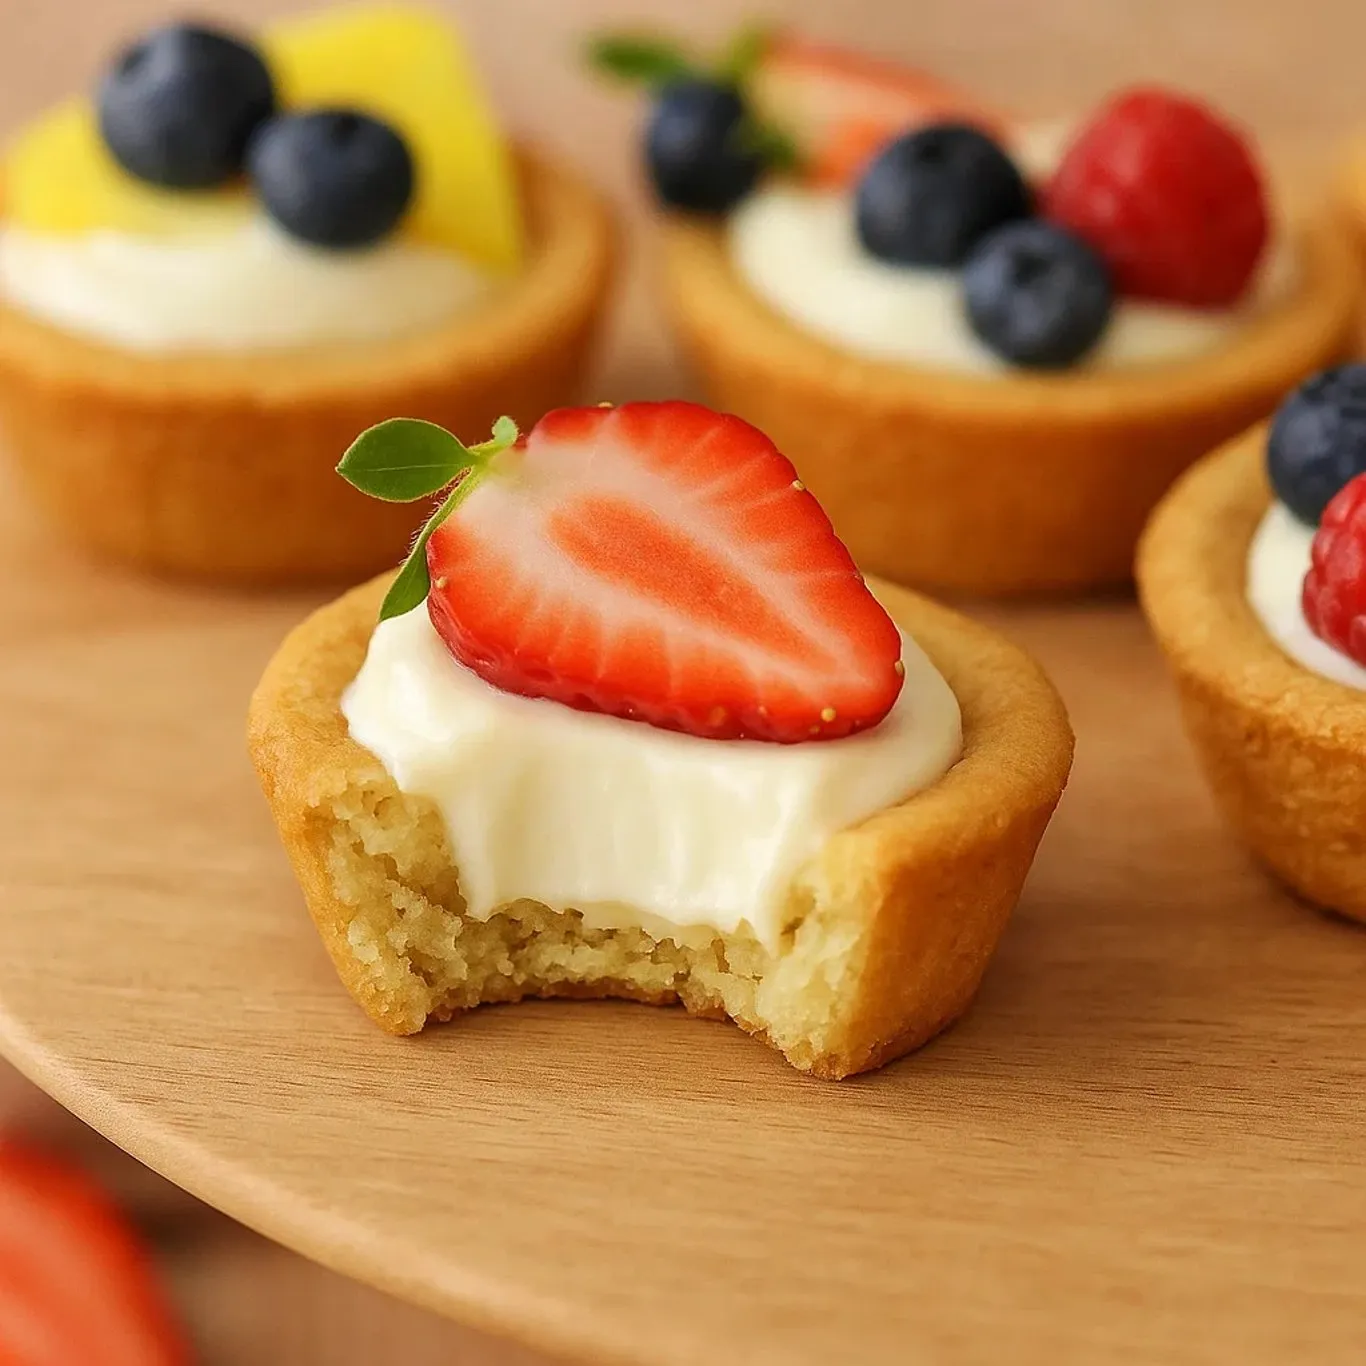
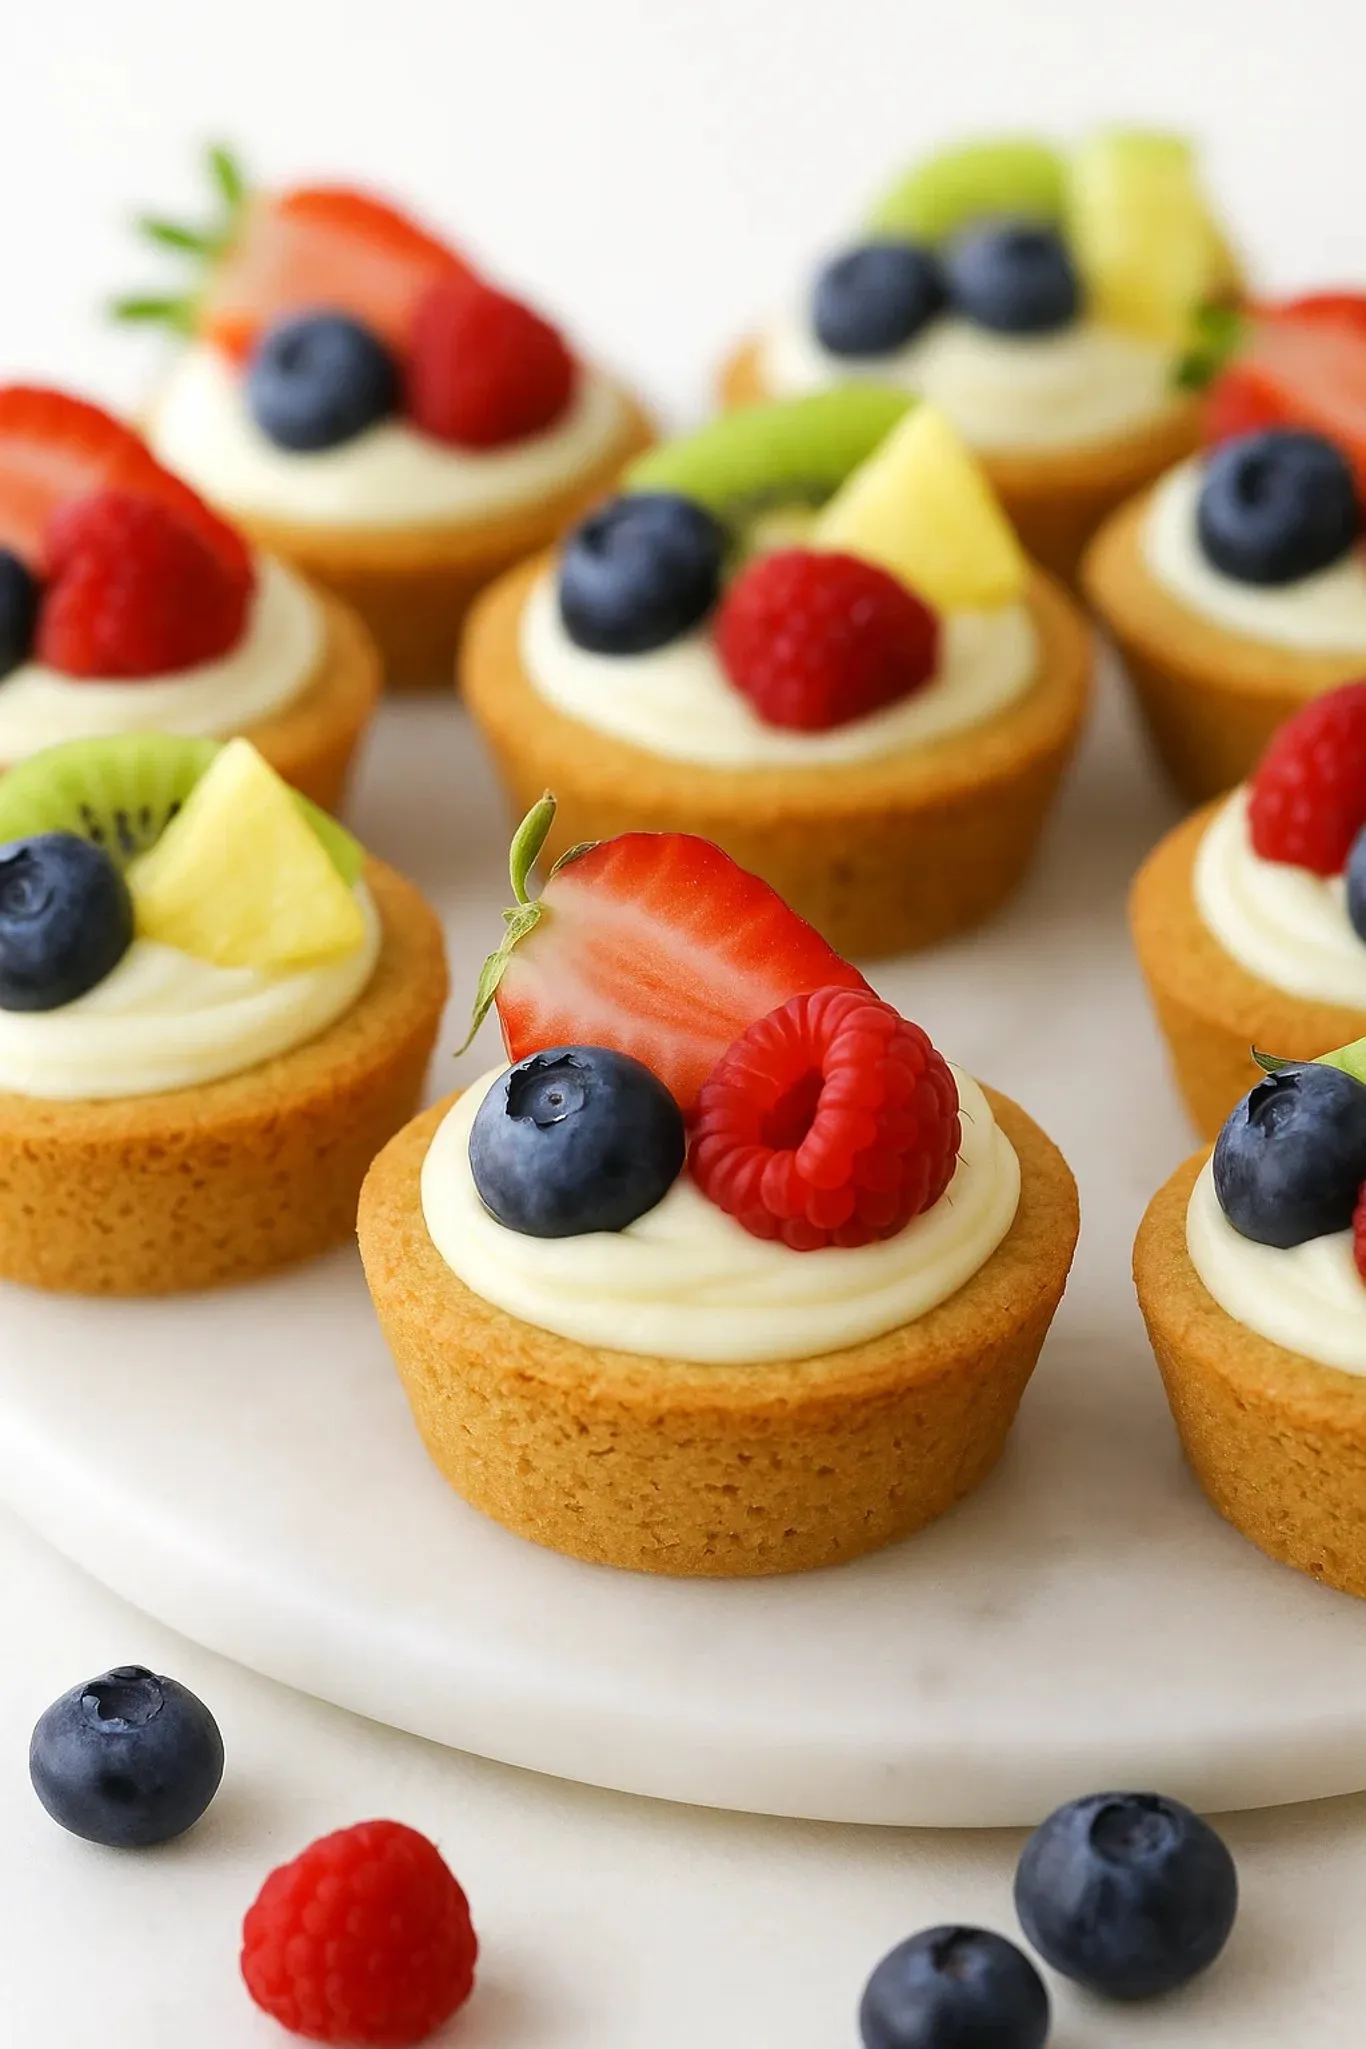
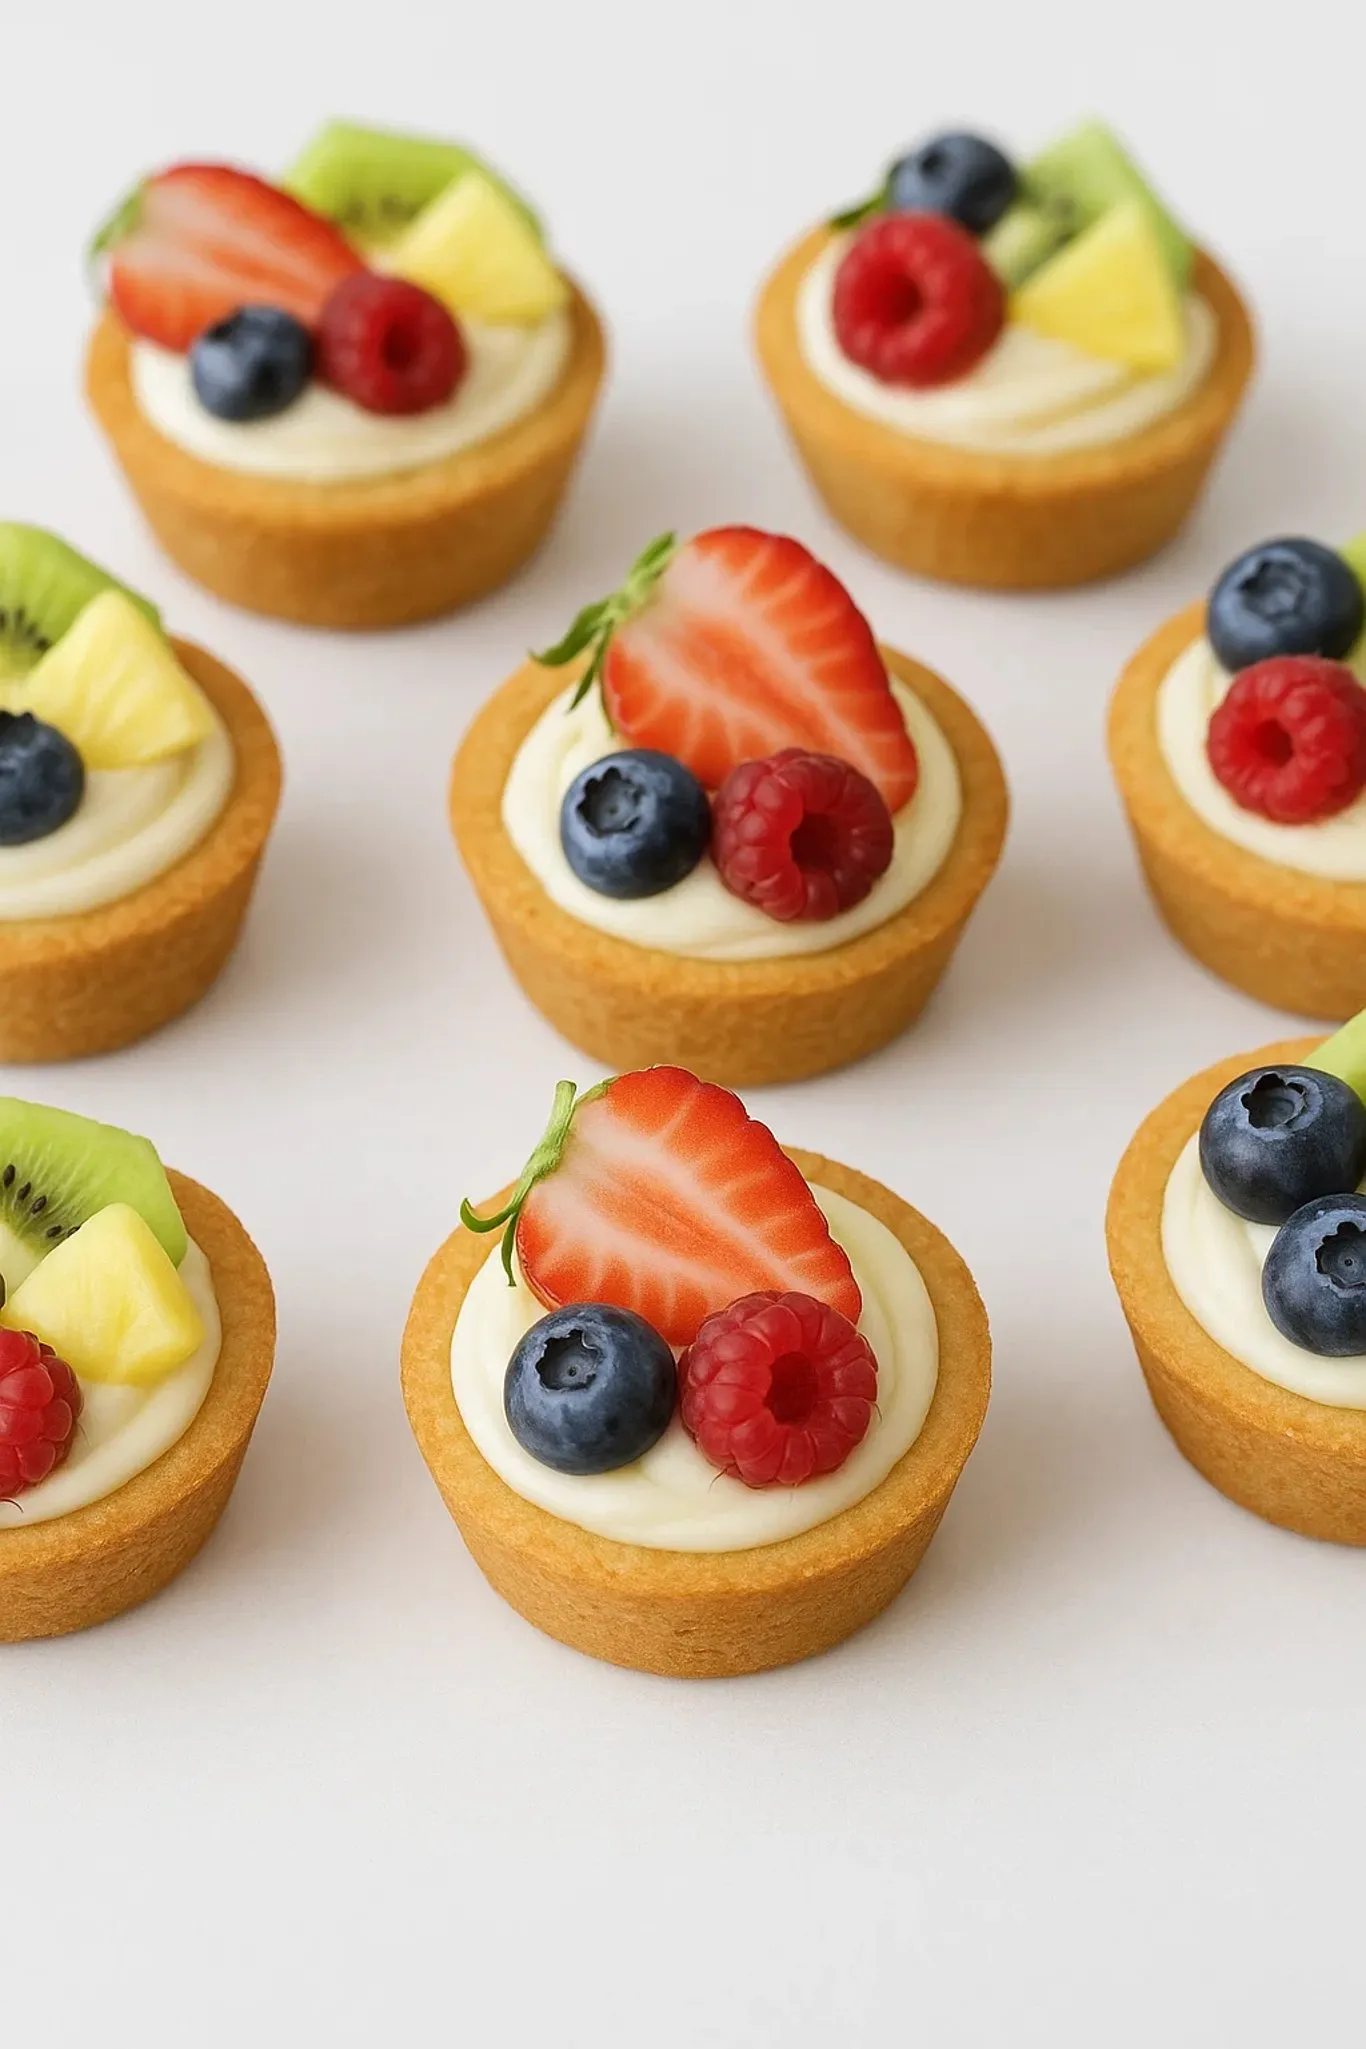
Crunchy sugar cookie bottoms meet velvety cheesecake centers, finished off with colorful, juicy fruit. You get the whole flavor and texture party in each bite. These sweet cups are a go-to for laid back parties, spring hangouts, or when you want a fancy dessert without breaking a sweat.
These actually showed up at my kid’s garden birthday bash and, I kid you not, they got snatched off the table way before anything else. The crispy cookie, dreamy cheesecake, and bits of fresh fruit make every single bite a hit that’ll get everyone chatting.
Dreamy Ingredients For Cookie Cups
- Vanilla extract: Brings out a cozy, rich flavor in your cookie dough
- Large egg: Acts like the glue holding it all together
- Granulated sugar: Sweetens things up and gives your cookies a nice crunch along the edges
- Room temperature unsalted butter: Adds richness and means you control the salt
- Salt: Cuts through the sweetness and makes the flavors pop
- Cornstarch: Keeps your cookies soft, kind of a secret move
- Baking soda: Helps them get just the right lift without turning cakey
- All-purpose flour: Lays the base for the whole cookie structure
Tasty Cheesecake Filling & Topping Must-Haves
- Fresh fruit: Piles on color and that bright, juicy vibe; pick whatever looks good in your produce aisle
- Vanilla extract: Rounds out the flavors, ties the cookies and fruit together
- Powdered sugar: Blends right in so your filling is smooth and sweet
- Room temperature cream cheese: No lumps, nice and silky every time
Easy Step-by-Step
- Assemble & Decorate:
- Once your cookies are totally cool, spoon or pipe the cheesecake goo into each cup. Scatter on your fruit however you like.
- Mix the Filling:
- Whip cream cheese, powdered sugar, and a splash of vanilla 'til silky smooth and dreamy—take your time so it’s lump-free.
- Shape the Cookie Cups:
- Scoop dough (about 2 tablespoons) and roll it into balls. Press firmly into each cupcake hole, covering the bottom and halfway up the sides for a cup shape.
- Bake:
- Bake them for 7-10 minutes, watching for golden edges. It’s alright if the centers look a bit soft—they’ll set as they cool.
- Chill & Make Space:
- Let the cups cool for around 5 minutes before moving them to a rack. While they’re warm, poke down the middle with a wooden spoon to make room for filling.
- Finish the Dough:
- Add your dry bowl to the wet mix and stir just until blended. Don’t go overboard, or your cookies might get tough.
- Add Wet Stuff:
- Drop in egg and vanilla, and mix until you’ve got a smooth batter. Don’t stress if it looks funny at first—keep mixing, and it'll come together.
- Beat Butter & Sugar:
- Whip the butter and sugar together for 2-3 minutes until nice and creamy with a pale color. This step gets you that perfect soft cookie.
- Mix Dry Stuff:
- Stir salt, cornstarch, baking soda, and flour together in a bowl. Mixing early spreads everything out nicely in the dough.
- Prep the Pan:
- Grease up a cupcake pan really well, covering the sides, too. Turn your oven to 175°C so everything bakes up golden but not burnt.
 Pin it
The cheesecake in the middle is hands down the best part. My grandma always swore the trick was getting both the tang and sweetness just right. Making these always takes me back to those kitchen days, figuring out if the filling was perfect yet.
Storage How-To
Pop these in a sealed container and keep them chilled as soon as they’re put together. The cookies soften a little in the fridge (lots of folks like them this way). For best bites, finish them in 3 or 4 days—honestly, they usually vanish before then here. If planning ahead, bake the cookie cups and whip up the filling separately, then put together right before it's time to serve.
Switch It Up By Season
What’s awesome is you can swap fruit depending on the time of year. In summertime, pick berries, peaches, or cherries—super bright and sweet. Come fall, stir in apple or pear bits dusted with cinnamon. Winter’s great for pomegranate or oranges. When it’s springtime, strawberries and rhubarb are the move. You can even match fruit to holiday colors for fun themes.
Ways To Serve
Set these out for a dessert bar spread, or dress them up for a plated treat. For fancy vibes, plop one on fruity sauce and drop a mint leaf for flair. Tastes great with a cup of coffee or sweet wine. Want to go fancy? Use ramekins for bigger servings your guests can eat with forks at a proper dinner.
 Pin it
Frequently Asked Questions
- → Can these cheesecake cups be prepped early?
Yes, you can! Keep the cookie bases in a container at room temperature and the cream cheese mix in the fridge. Prep these parts up to 2 days in advance and pop on fresh fruit right before serving to keep everything looking fresh.
- → Which fruits are best to use?
Berries like raspberries, blueberries, and strawberries are great picks because they don’t make things soggy. You could also use kiwis, grapes, mandarin oranges, or peaches—just choose firm, low-juice fruits for the best results.
- → Can I freeze the cheesecake cups?
Yes! Freeze the cups without any fruit topping for up to one month. Let them thaw overnight in the fridge, then top with fruit before you enjoy them. Cookie cups without filling freeze even longer—up to three months in airtight storage.
- → How do I avoid cracks in the cookie cups?
Evenly press the dough into your tin and take care not to bake too long—just until they’re lightly golden. Let them cool for about five minutes in the tray before moving to a rack, and if needed, gently press the centers into shape while warm.
- → Can I make mini-sized versions?
Definitely! Use a mini muffin pan instead. Put about 1 tablespoon of dough per cup, bake for 5-7 minutes, and add less filling. These smaller cups are fantastic for party snacks or casual treats.
- → What can I use instead of cream cheese?
Mascarpone gives a richer and creamier taste, while mixing Greek yogurt with cream cheese keeps it lighter. Got dairy-free needs? There are plenty of non-dairy cream cheese options that work just as well.