
 Pin it
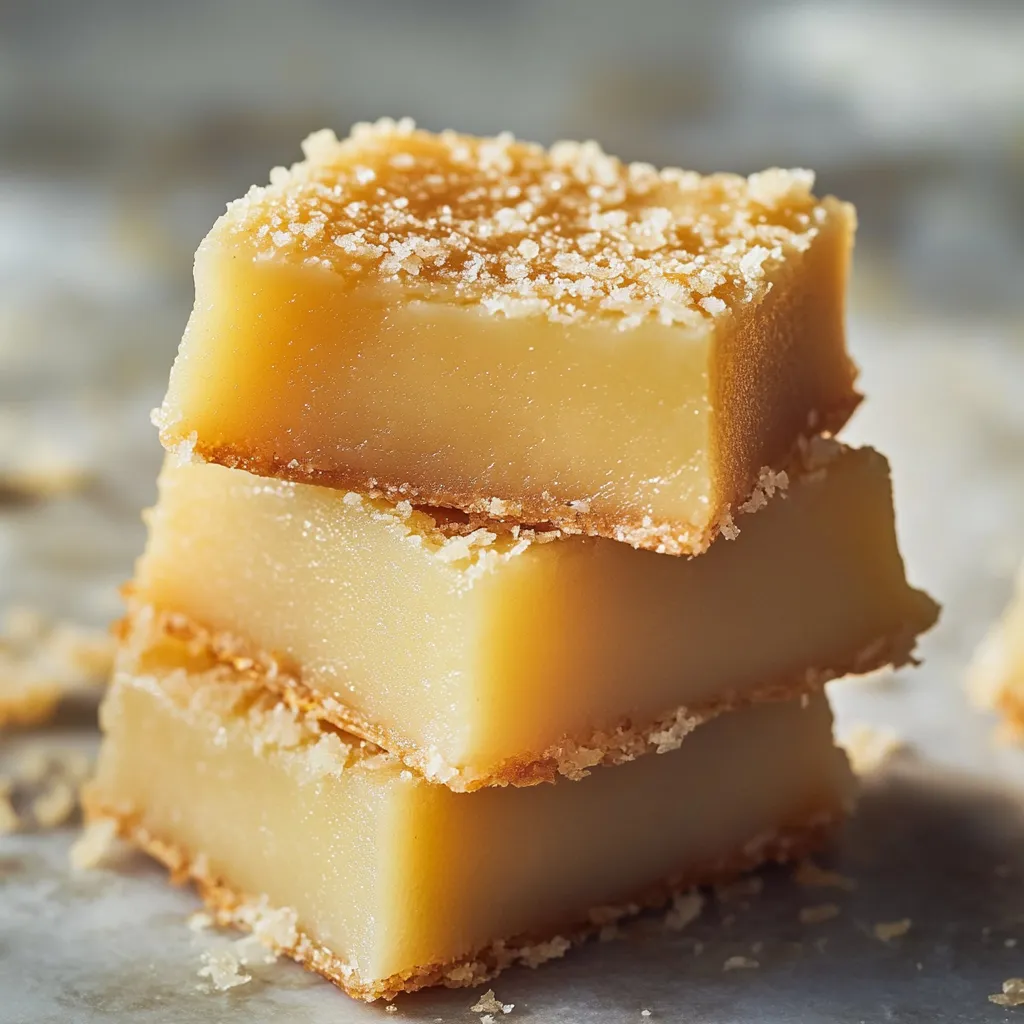
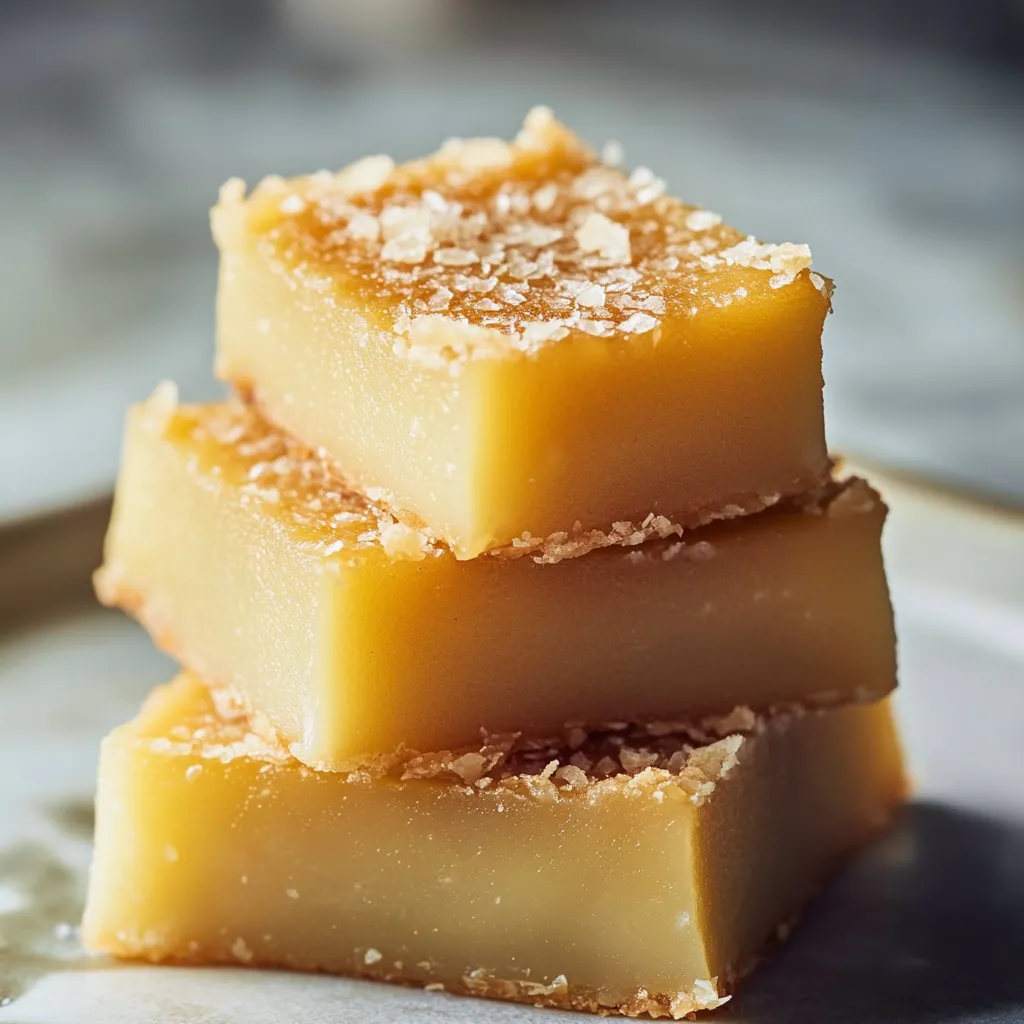
Every mouthful of Hawaiian butter mochi brings sheer joy - soft and stretchy inside with a crunchy, golden coconut exterior. This treasured Hawaiian sweet turns everyday cupboard items into an addictive dessert that perfectly balances sweetness with an amazing mouthfeel.
At our block party luau, these butter mochi squares vanished in seconds flat. Everyone kept grabbing more - including first-timers - thanks to that irresistible mix of crunchy coconut top and that stretchy middle.
Core Components
- Mochiko Sweet Rice Flour: 16 oz/454g box, needed for that signature mochi stretch
- Butter: 1 cup/226g unsalted, melted, makes those crunchy edges
- Sugar: 2 cups/400g granulated, gives just enough sweetness
- Milk: 1 cup/240ml whole, adds a creamy taste
- Eggs: 4 large, room temperature, holds everything together
- Coconut Milk: 13.5 oz/400ml can unsweetened, brings that island taste
- Baking Powder: 2 teaspoons, helps it rise slightly
- Vanilla Extract: 1 tablespoon pure, boosts overall taste
- Salt: 1 teaspoon kosher, cuts through sweetness
- Coconut: 1 cup/85g unsweetened shredded, forms that famous top layer
- Sea Salt: 1/2 teaspoon flaky (optional), finishing touch
Making Instructions
- Get Ready:
- Heat your oven to 350°F (175°C). Grease a 9x13-inch metal baking dish with butter.
- Mix Dry Stuff:
- Stir together mochiko, sugar, baking powder, and salt until smooth.
- Ready Wet Stuff:
- Beat eggs well, then mix in milk and vanilla until completely blended.
- Put Everything Together:
- Add wet stuff to dry stuff, mixing well. Don't worry about overmixing with mochiko.
- Final Touches:
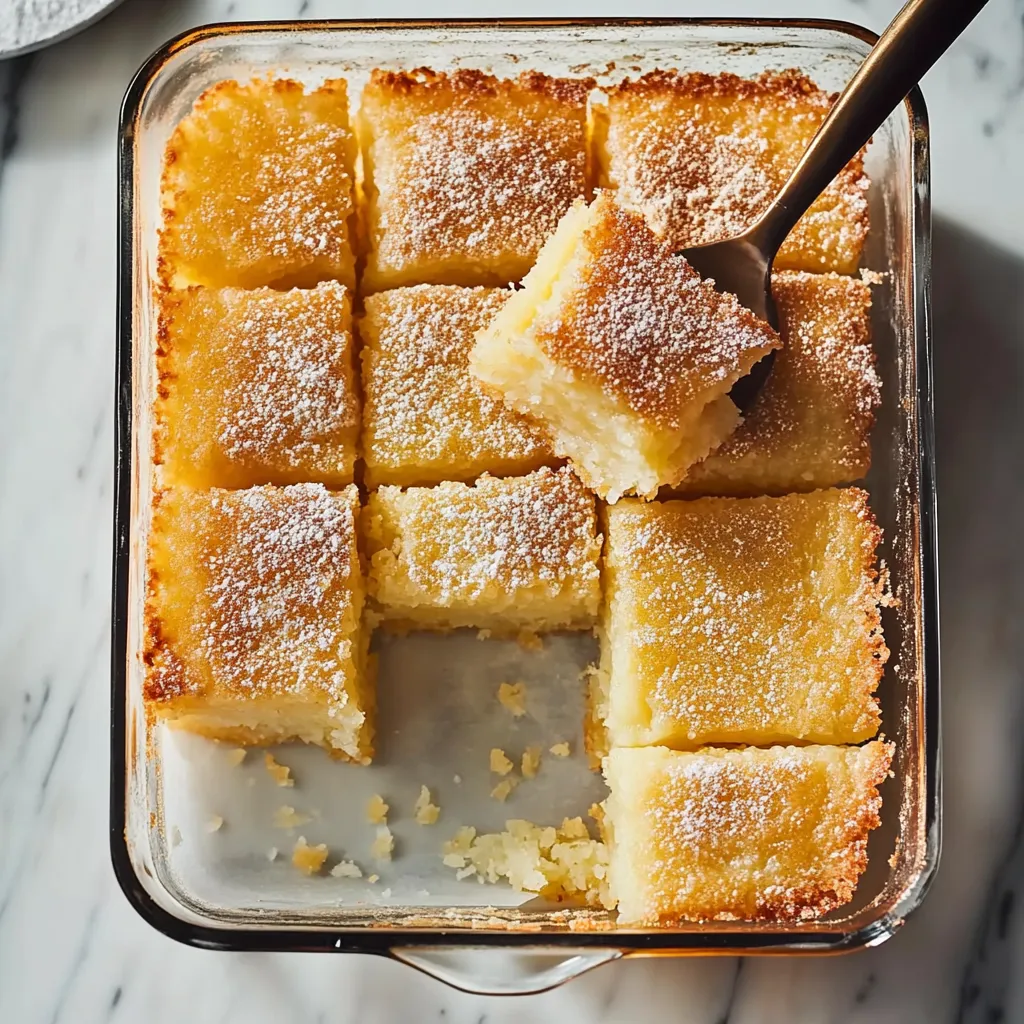
- Stir in melted butter and coconut milk until silky. Pour into pan, tap to pop bubbles. Sprinkle coconut and optional sea salt on top.
 Pin it
In my family, the corner pieces always start fights because everyone wants those extra chewy edges with the soft middle. I've started cutting those bits bigger to keep everyone happy.
Cooking Watch
Look for a golden brown surface with a bit of wiggle in the middle. When you gently shake the pan, it should move a little bit in the center, showing it's done just right.
Resting Time
Let it sit on a wire rack for an hour before cutting. This waiting step helps the texture get perfect and lets you cut clean slices.
Setup Advice
Get all your stuff measured and ready before you start. This helps you work smoothly from beginning to end without any hiccups.
Serving Ideas
Cut into big squares to serve. While it's great on its own, fresh tropical fruit makes a fantastic side option.
Twist Options
Try adding a dash of almond or coconut flavoring for something different while keeping that classic chewy texture.
Keeping Fresh
Keep in an airtight container at room temp for up to three days. The texture changes a bit but stays wonderfully chewy.
 Pin it
I've spent years tweaking this butter mochi recipe to get it just right. Now it reliably creates moments of pure happiness with each stretchy bite. The way it showcases traditional Hawaiian flavors makes it a must-have at any get-together, bringing a taste of the islands to every square.
Frequently Asked Questions
- → What’s mochiko flour, and where is it sold?
- It’s a glutinous rice flour, sometimes called sweet rice flour. You can grab it from Asian markets or the international aisle at bigger stores.
- → Why does a plastic knife work better for cutting mochi?
- Since mochi is super sticky, a plastic knife slices through cleanly without sticking to the blade.
- → How do I make this dairy-free?
- Use extra coconut milk instead of regular milk and swap butter for melted coconut oil. Easy as that!
- → What’s the best way to store butter mochi?
- Pop it into an airtight container. Leave it at room temp for up to three days or refrigerate it for a week.
- → Why does the top of my mochi crack?
- A few cracks are fine and don’t affect the flavor. To minimize, bake at the right heat and let it cool naturally.