
 Pin it
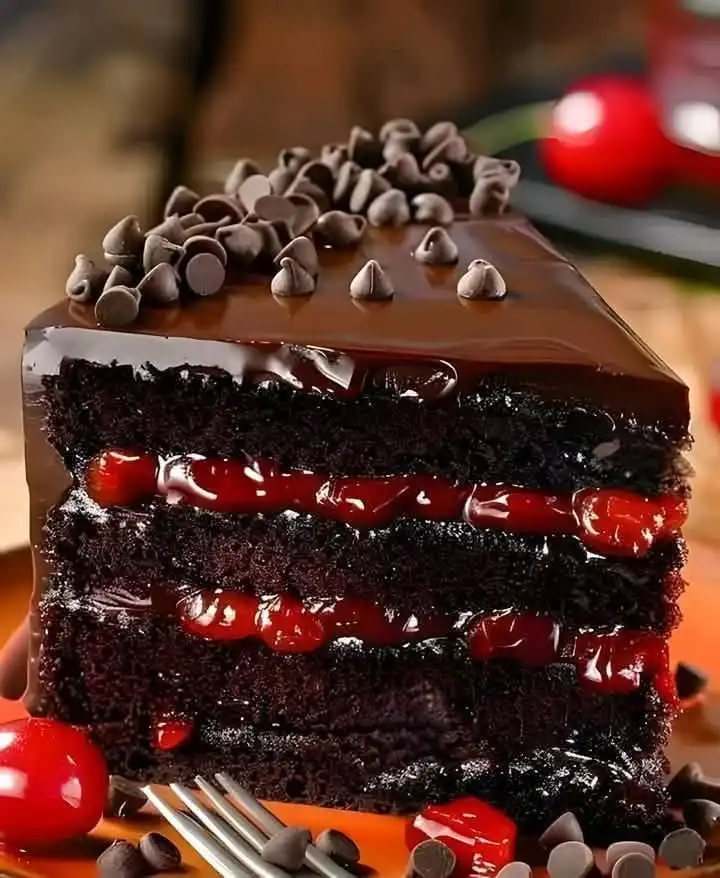
This traditional Black Forest Cake blends decadent chocolate cake with tangy cherry filling and fluffy whipped topping, creating a treat that's fancy yet comforting. You'll love how the bold chocolate works with the bright cherries, all lightened up with airy whipped cream that keeps everything balanced. It looks fancy but uses simple methods anyone can handle.
I've baked this cake for so many birthday parties and holiday get-togethers. During our last Christmas dinner, my sister-in-law asked for it instead of our traditional yule log, and everyone gobbled it up completely before the night ended.
Ingredients
- All-purpose flour (1¾ cups): Gives the cake its structure without being too dense; scoop into measuring cups and level off for the right amount
- Granulated sugar (2 cups): Adds sweetness and helps make the cake tender by disrupting gluten formation
- Unsweetened cocoa powder (¾ cup): Dutch-processed gives the best dark color and rich taste; break up any clumps before using
- Baking powder (1½ teaspoons) and baking soda (1½ teaspoons): This combo makes the cake rise nicely; baking soda also helps it brown better
- Salt (1 teaspoon): Brings out chocolate flavors and cuts through sweetness
- Eggs (2 large): Add richness, bind everything together, and help mix fats into the batter
- Whole milk (1 cup): Brings moisture and creaminess; you can use 2% if that's all you have
- Vegetable oil (½ cup): Makes the cake stay moist longer than if you used butter
- Vanilla extract (2 teaspoons for cake, 1 teaspoon for whipped cream): Makes both the chocolate and cherry tastes pop
- Boiling water (1 cup): Wakes up the cocoa's flavor and thins the batter so it bakes up extra moist
- Cherry pie filling (2 cups): Go for a good brand with whole cherries for the best look and feel
- Heavy cream (1 cup): Needs to be fridge-cold for good whipping; higher fat content works better
- Powdered sugar (2 tablespoons): Gives sweetness and helps the whipped cream hold its shape
- Chocolate chips (½ cup): Semi-sweet chips work great for decoration; chocolate shavings work too
Step-by-Step Instructions
- Step 1:
- Get Everything Ready - First, set up your kitchen with all your stuff measured out and at the right temperature. Heat your oven to 350°F (175°C). Butter two 9-inch round cake pans really well, then dust them with flour or cocoa powder and tap out the extra. For easier cake removal, you might want to put parchment circles in the bottom.
- Step 2:
- Combine Dry Stuff - In a big bowl, stir together the flour, sugar, cocoa powder, baking powder, baking soda, and salt until they're totally mixed and you don't see any cocoa lumps. This good mixing makes sure your cake rises evenly and doesn't have bitter spots.
- Step 3:
- Add Wet Stuff - Put in the eggs, milk, oil, and vanilla extract. Beat with an electric mixer on medium for 2 full minutes, stopping once to scrape the bowl sides. This long mixing time creates the silky cake texture and mixes the fats in properly.
- Step 4:
- Mix in Hot Water - Carefully pour in the boiling water and stir by hand until it's all mixed in. The batter will get really thin, almost like hot cocoa - that's exactly right and will make your cake super moist. Just be careful since the mixture might be hot.
- Step 5:
- Bake the Cakes - Pour the batter evenly into your pans. Tap each pan on the counter a few times to pop air bubbles. Bake for 30-35 minutes, until a toothpick stuck in the middle comes out clean or just has a few moist crumbs. Don't open the oven during the first 25 minutes or your cakes might sink.
- Step 6:
- Let Them Cool - Let the cakes cool in their pans for 10 minutes exactly - this timing helps them set but not stick. Run a knife around the edges, then flip them onto cooling racks. Take off the pans and let them cool completely, about 1-2 hours. For best results, wrap the cooled cakes in plastic and put them in the fridge for an hour before cutting.
- Step 7:
- Cut the Layers - When they're fully cooled, use a long bread knife to carefully cut each cake into two even layers. Put your hand gently on top while you cut with a back-and-forth motion, turning the cake as you go to get even layers.
- Step 8:
- Make Whipped Cream - In a cold mixing bowl, put the cold heavy cream, powdered sugar, and vanilla. Beat on low until you see tiny bubbles, then turn up to medium-high and beat until you get firm peaks - when you lift the beater, the cream should stand up straight without flopping over.
- Step 9:
- Build Your Cake - Put one cake layer on your serving plate. Spread ½ cup of cherry filling over it, leaving a ½-inch edge all around (so filling doesn't squeeze out). Do the same with the next two layers. Put the last layer on top with the flat side facing up.
- Step 10:
- Finish and Decorate - Use a flat knife to cover the top and sides with whipped cream, making the sides smooth and maybe some swirls on top if you want. Press chocolate chips around the sides or sprinkle on top. For extra fanciness, pipe little whipped cream swirls around the top edge and top each with a cherry from the leftover filling.
My grandma made Black Forest Cake for all our family parties. She always used the tastiest cherries she could find, often ones she'd put up herself from summer picking. When I bake this now, the chocolate smell instantly takes me back to her sunny kitchen, where I'd watch her carefully build the layers while sharing stories about growing up in rural Pennsylvania.
Making Perfect Cake Slices
Cutting your cake into nice even layers can make a huge difference in how your Black Forest Cake turns out. I always chill my cakes first - cold cake is so much easier to slice neatly. Use a long bread knife and keep it level with your counter as you slowly turn the cake, making a shallow cut that gets deeper with each turn. Some people like to use dental floss or special cake cutters, but I think the knife works great once you get the hang of it. Don't worry if your layers aren't perfect - the cherry filling will hide minor mistakes anyway.
Keeping It Fresh
Black Forest Cake actually tastes better after sitting in the fridge overnight, as the flavors blend together and the cherry juice soaks slightly into the cake. You can bake the cake layers up to three days early and keep them wrapped in plastic at room temperature. Once you put the whole cake together, keep it in the fridge where it'll stay good for 3-4 days. Just store it in a cake container or loosely cover with foil so the whipped cream doesn't pick up fridge smells. Let the cake sit out for about 20 minutes before serving so you get the best taste and texture.
Different Ways To Make It
You can switch up this classic cake in several tasty ways while keeping its basic character. For a more German-style version, brush each layer with cherry liqueur before adding the filling. If you're in a hurry but still want something impressive, use a good boxed chocolate cake mix and make it better by adding an extra teaspoon of vanilla and ¼ cup sour cream for richness. You can also turn this into cupcakes by taking out the centers, filling with cherry pie filling, then topping with whipped cream and a chocolate-covered cherry. For something more modern, try adding a thin layer of melted chocolate between the cake and cherry layers for extra chocolate punch.
Frequently Asked Questions
- → Is fresh cherry an option instead of pie filling?
Definitely! Just cook fresh cherries with some sugar and cornstarch to make a sweet and thick filling.
- → How can I evenly cut cake layers horizontally?
A sharp serrated knife works wonders. Gently spin your cake as you slice. A leveler is an optional but helpful tool.
- → Can I switch the whipped cream with another frosting?
Totally! Try using buttercream or cream cheese to give the cake a bold twist.
- → What’s the trick to keeping cake moist after assembling?
Wrap it well with plastic or seal it in an airtight box. Room temperature is fine for up to 2 days.
- → Is it possible to prepare this cake ahead of time?
Sure thing! Bake the cake layers a day early, wrap tightly, and assemble the next day for the best taste.
- → What type of cocoa powder should I use?
Go for unsweetened natural cocoa powder to get that deep chocolatey flavor.