
 Pin it
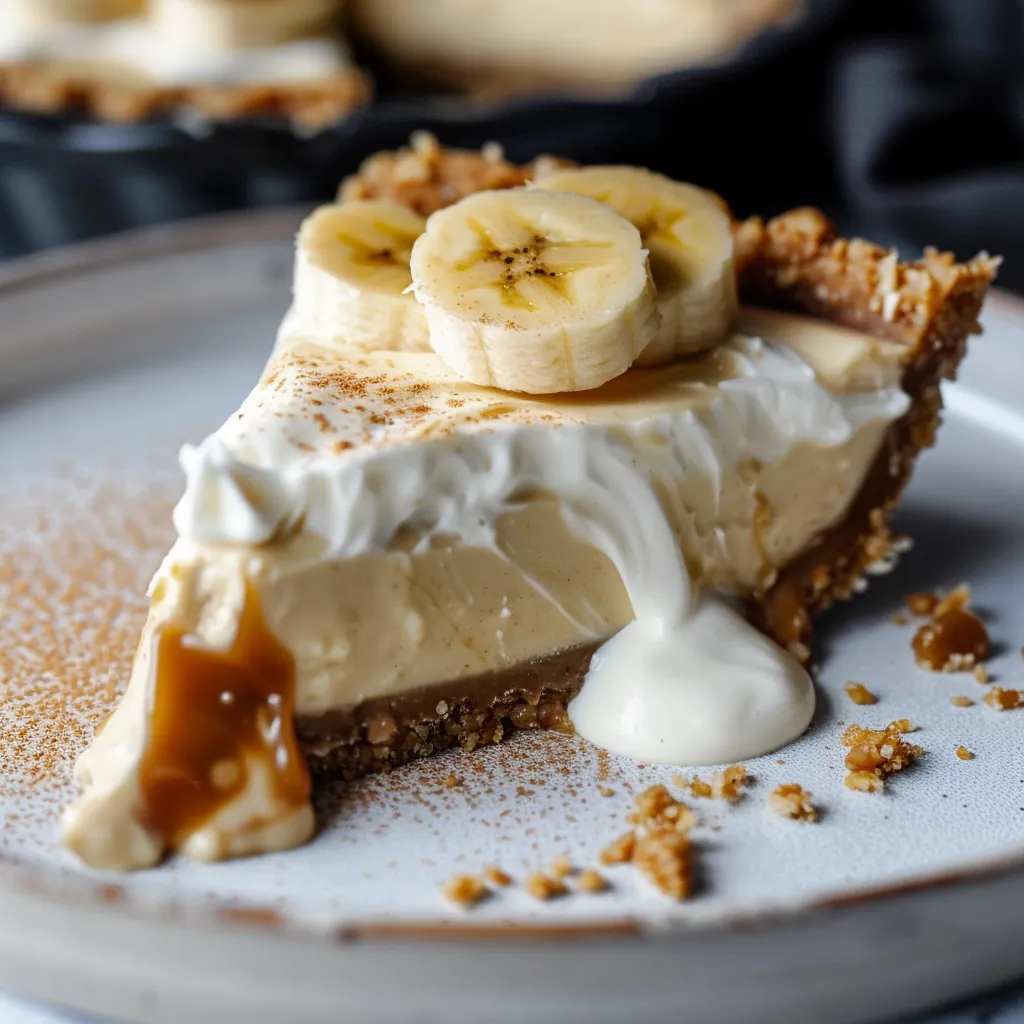
This raw banana cream pie is a tasty vegan treat that'll squash your sweet tooth cravings while keeping things totally raw and unbaked.
I first put this together during a crazy hot summer when I wanted something chilled without turning on the oven. Now, it's the go-to dessert at family get-togethers—even those who aren't into raw treats always grab a slice.
Ingredients
- Filling
- One big ripe banana brings that classic banana goodness
- Quarter cup maple syrup for natural sweetness
- Pinch of fine sea salt to pull all the flavors together
- Three tablespoons of almond milk or any other plant milk
- One and a quarter cups raw cashews, soaked and drained, for the creamy body
- Three tablespoons fresh lemon juice brightens everything up
- One teaspoon vanilla extract deepens the taste
- Third cup melted virgin coconut oil for a rich smooth texture
- Crust
- Twelve pitted Medjool dates (about a cup) work as the sweet binder
- One cup unsweetened shredded coconut for that hint of tropics
- One cup rolled oats keeps the crust sturdy with lots of fiber
- Pinch of fine sea salt for an extra pop
- One cup walnuts for crunch and loads of healthy fats
Step-By-Step Instructions
- Freezing:
- Pop your pie in the freezer, covered with foil or reusable wrap. Let it chill for at least 5 or 6 hours or even overnight. Give it 10 minutes out of the freezer before you try to cut or serve it.
- Make the filling:
- In a high-powered blender, toss in the soaked cashews, banana, coconut oil, maple syrup, lemon juice, vanilla, salt, and your plant milk. Start it slow, then crank to the highest setting till it's super smooth and creamy—think pudding vibe. If an air bubble shows up, stop and stir it down. Pour the finished filling over the crust and smooth it all out.
- Prepare the crust:
- In a food processor with the S-blade, hit up the oats and walnuts first till they're chunky. Next, toss in the coconut, dates, and sea salt. Blitz again till it sticks when you pinch it between your fingers. Crumble the mix in the lined pan. Press from the middle out and up the sides about two inches or so.
- Get your pan ready:
- Take a 9-inch pie pan and rub it with coconut oil. Line the bottom and sides with two strips of parchment, crossing them. This helps the pie come out clean later. Don't skip it—makes serving way easier.
Cashews totally work magic here—they go insanely creamy if you soak them first. The first time my in-laws had a slice, they never guessed it was completely raw and dairy-free.
 Pin it
Storing
Keep your pie chilling in a tightly closed container in the freezer for up to 2 weeks. Before slicing, let it sit out about 10 minutes so the texture goes from hard frozen to dreamy and creamy. Don't leave it out for over an hour though, or it'll get too soft and start to lose its shape.
Possible Swaps
If you wanna mix it up, swap the walnuts in the crust for pecans or almonds. Try filling it with other fruits like fresh mango or strawberries for a different feel. Or blend in a little raw cacao powder for an epic chocolate version.
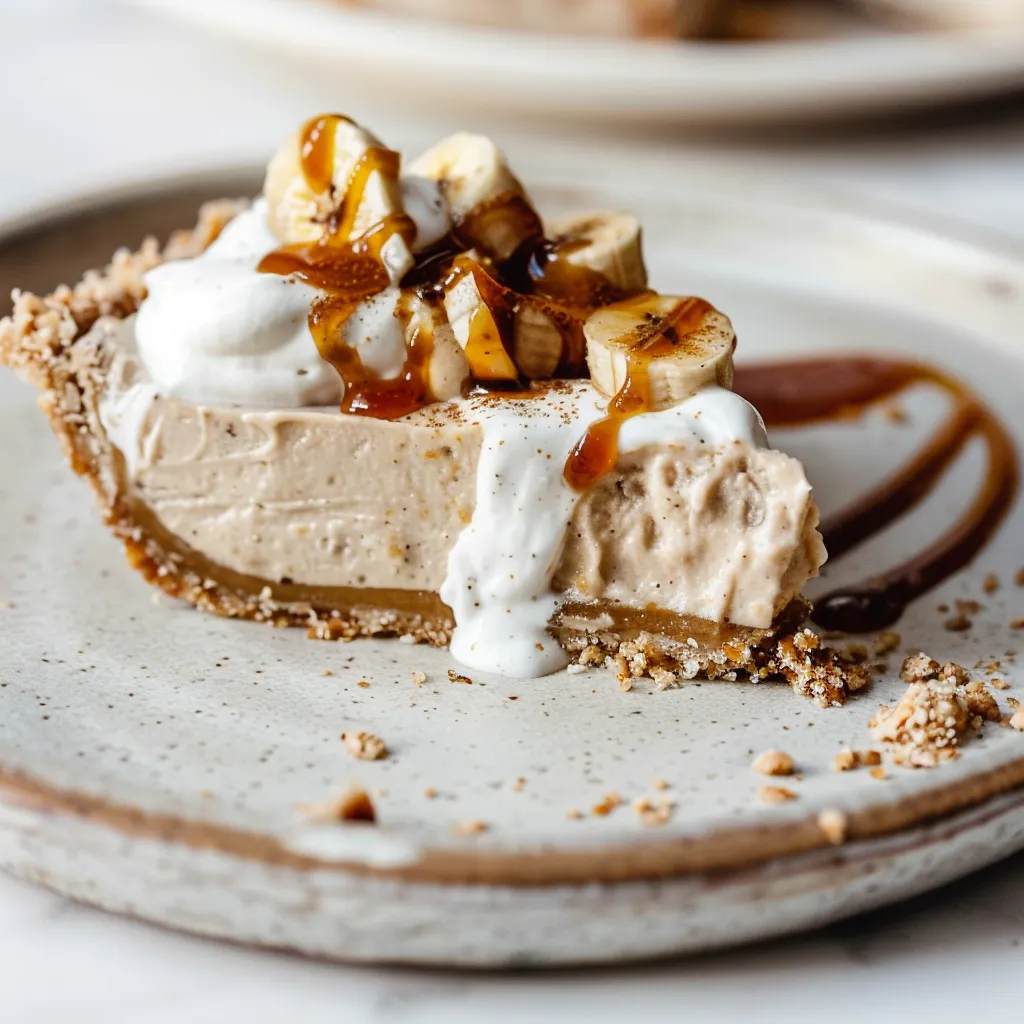
Extra Topping Ideas
Want to make this a real showstopper? Whip up some coconut whipped cream: just grab the thick top from a chilled can of coconut milk, beat it with maple syrup and a splash of vanilla. Or, make a simple caramel sauce by gently heating coconut cream and coconut sugar, then whisking in almond butter and a touch of vanilla. Those toppings take it way over the top.
Frequently Asked Questions
- → How do you prepare the crust for this tart?
To make the crust, combine nuts, oats, shredded coconut, dates, and a pinch of salt in a blender. Blend until the mixture sticks and press it into your tart pan firmly.
- → Can cashews be substituted in the filling?
Definitely! You can swap them with almonds or macadamia nuts, though cashews give the creamiest texture.
- → Should this dessert be frozen before serving?
Yes, freezing it for 5-6 hours or overnight is key so it sets properly for slicing and serving.
- → What’s the secret to perfect whipped coconut cream?
Chill a can of coconut milk overnight so the cream separates from the liquid. Use only the thick part, and whip it with maple syrup, vanilla, and a touch of salt for a fluffy result.
- → Why should parchment paper be used in the pan?
It makes removing the tart super easy. Just lift the tart out of the pan by grabbing the edges of the paper.
- → Can the caramel topping be made ahead of time?
Of course! Whip it up a day before, store it in the fridge, and gently warm it before spreading over the tart.