
 Pin it
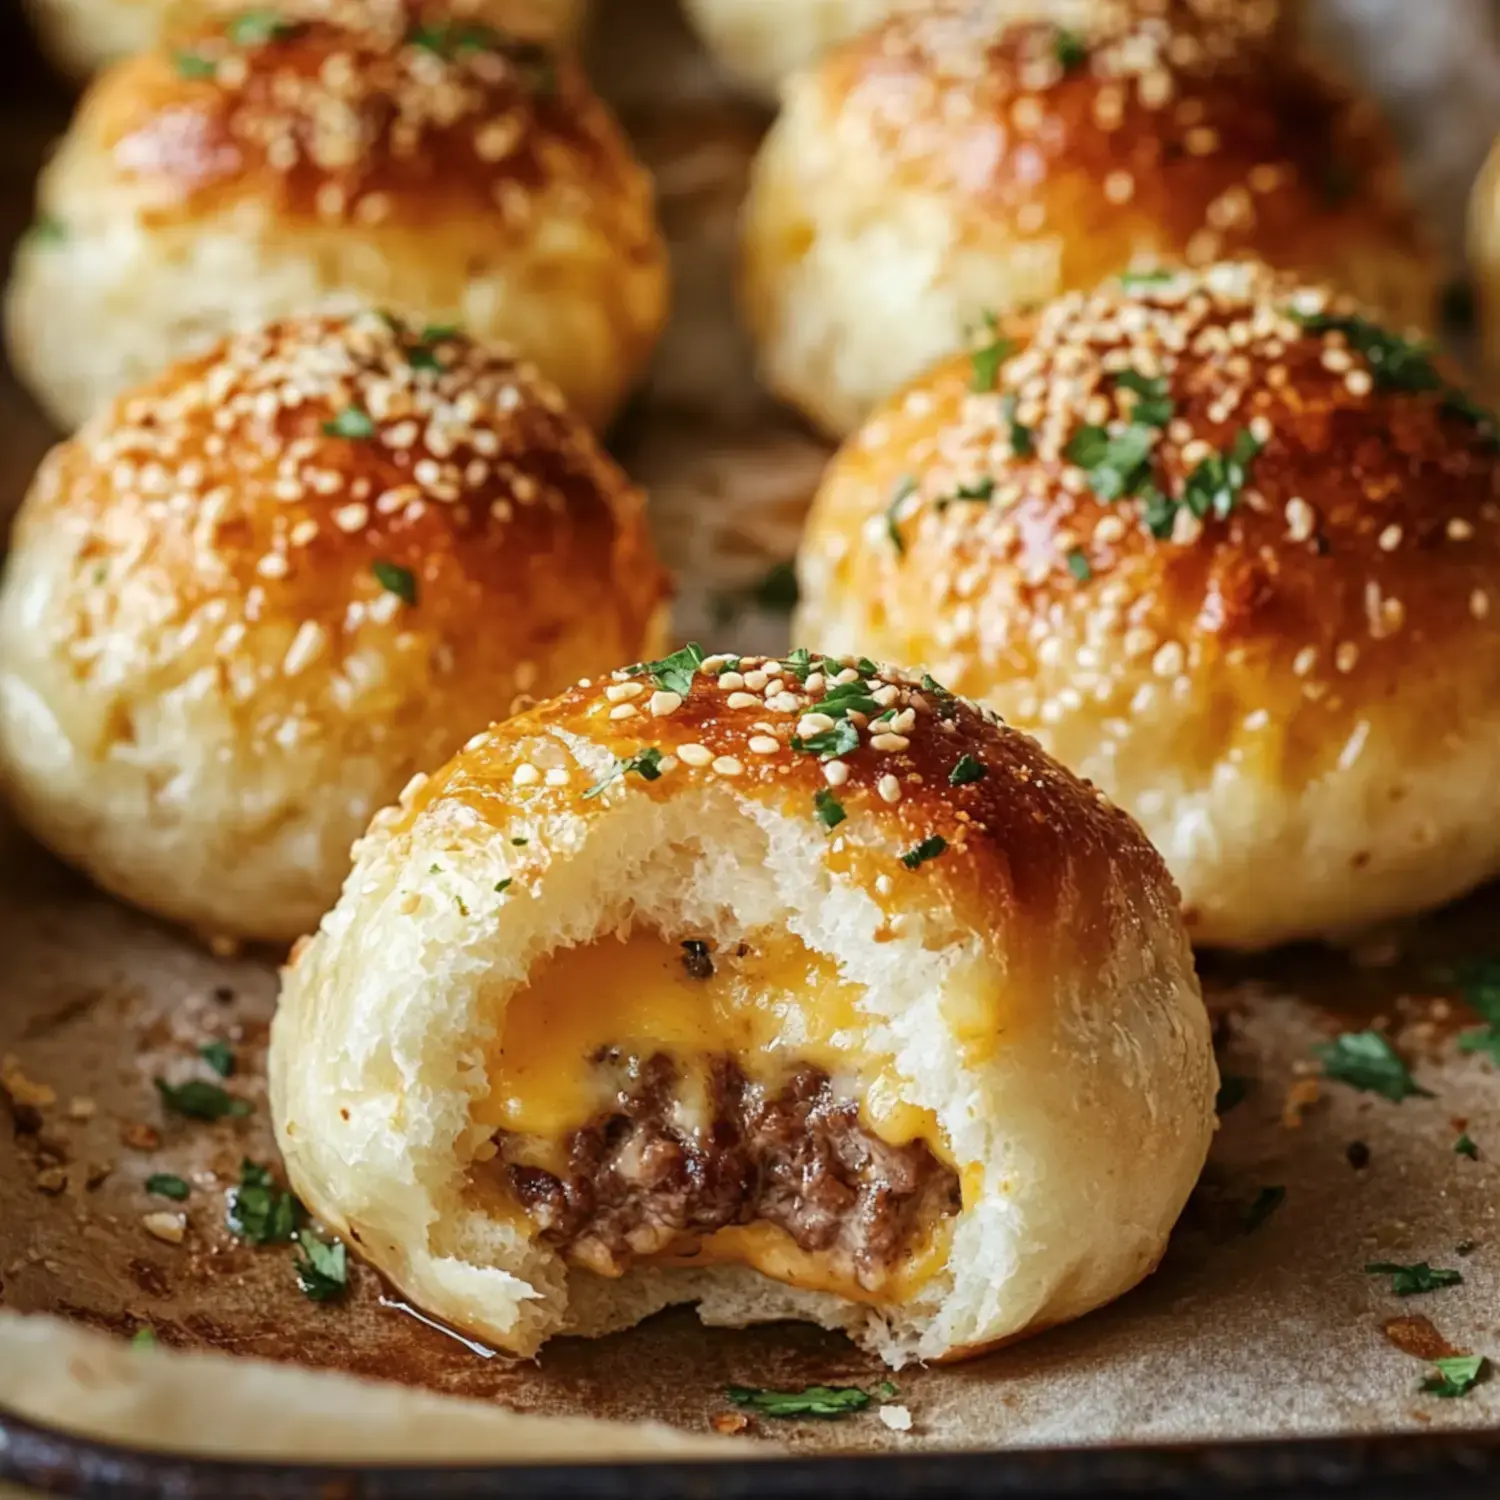
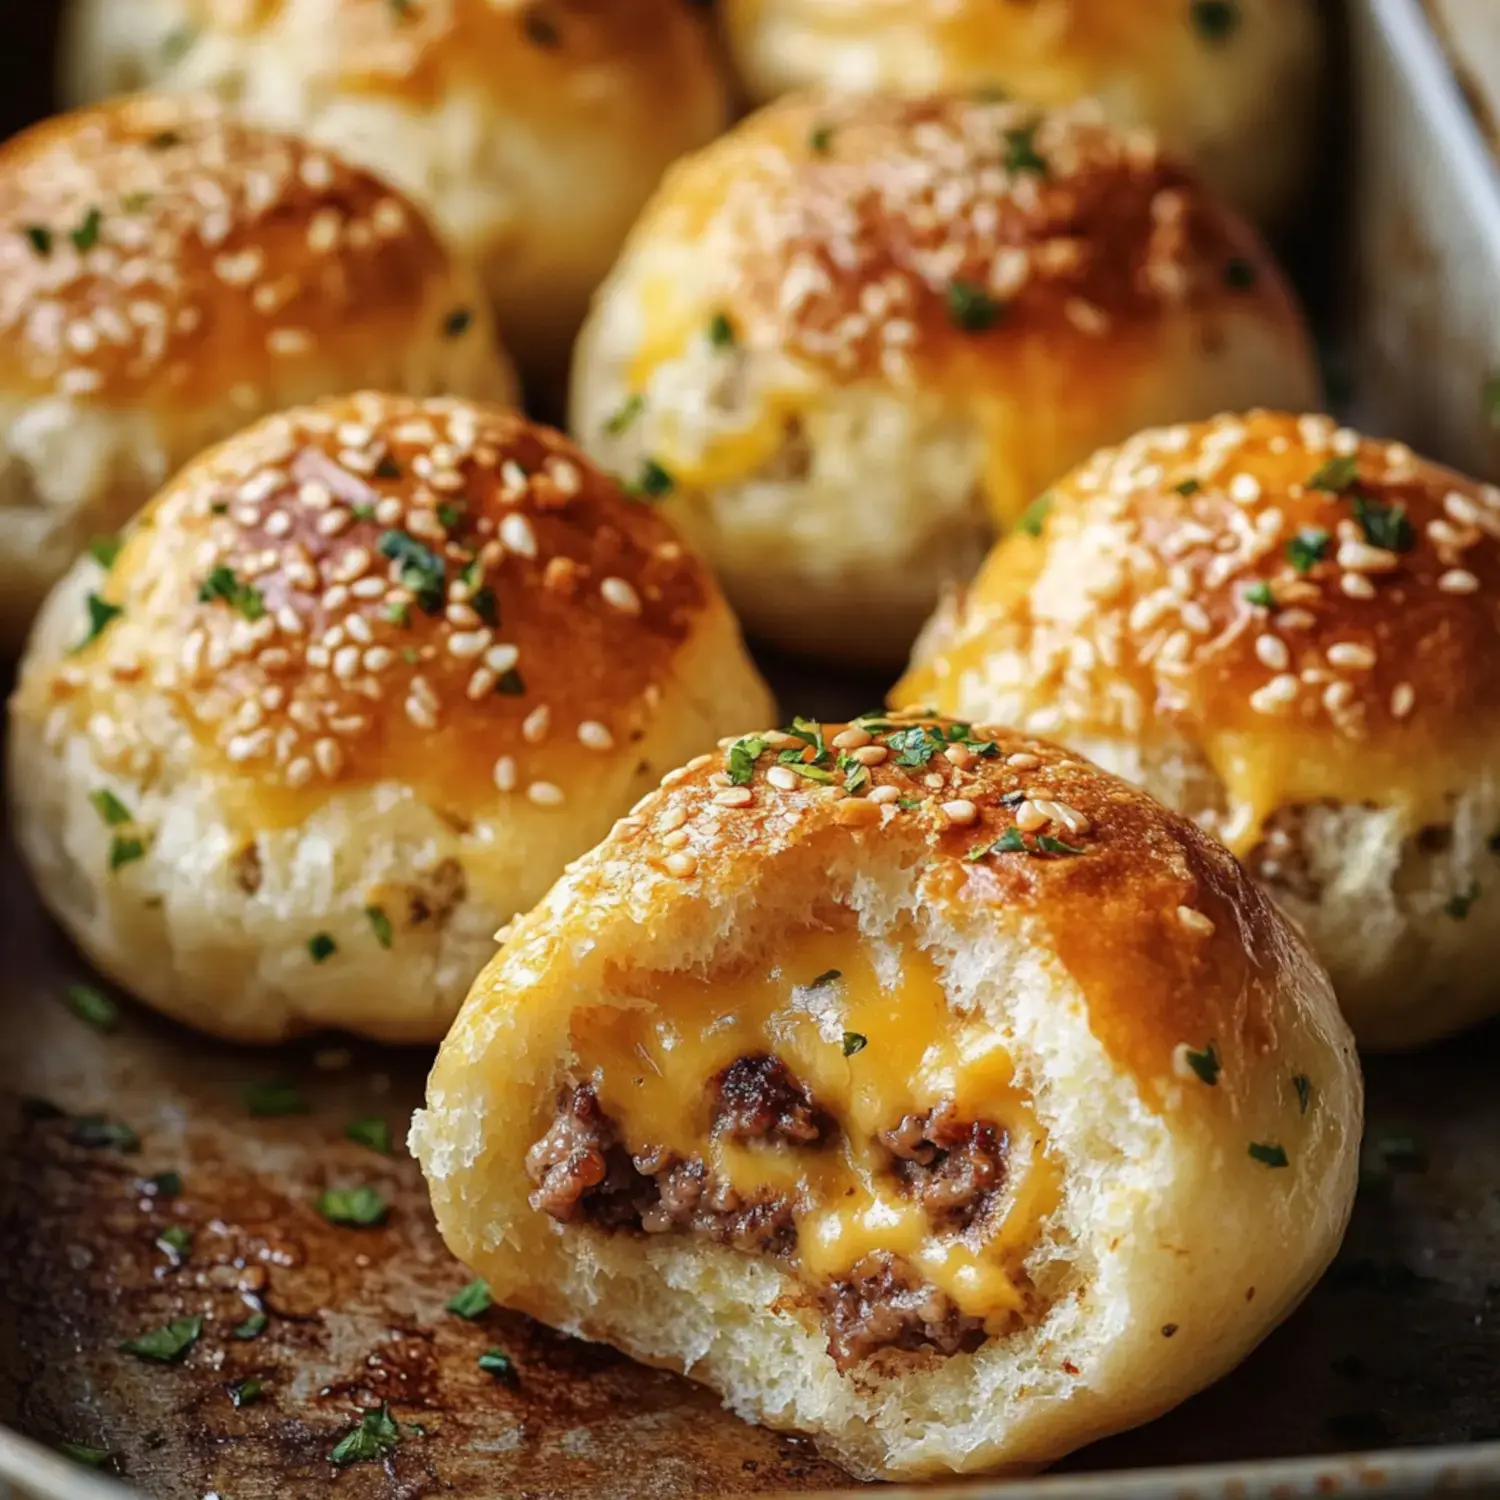
Gotta tell you about my go-to crowd-pleaser - these Bacon Cheese Garlic Bomb Bites! I whipped them up for a sports event get-together last season, and now my buddies can't stop talking about them. Picture all the good stuff from a cheeseburger, all tucked inside garlicky, golden dough! These tasty little packages are totally habit-forming - my friends always camp out near the table waiting for the oven timer to ding.
The Secret Behind Their Amazing Taste
You know those dishes that make everyone think you slaved away forever? This is definitely one! That mix of crunchy bacon, melting cheese, and the garlicky parmesan outer layer is just impossible to resist. They're so adaptable too - great for everything from football watch parties to quick family meals when you want something different!
All The Stuff You'll Need
- Beef: The 80/20 kind gives you the yummiest result!
- Bacon: Make it super crunchy - you won't regret it.
- Cheese: I always grab sharp cheddar, but try whatever you like!
- Garlic: We're using minced and powder - we're going all in.
- Dough: Pre-made biscuit stuff is your best friend for flawless results.
- Parmesan: Grab the fresh kind, not the stuff in the green can.
- Butter: Because garlic butter makes everything way better!
Let's Create Some Flavor Bombs
- Get That Bacon Ready!
- First thing, cook your bacon until it's nice and crispy, and keep some of that amazing fat - it's our flavor booster!
- Create The Foundation
- Cooking those onions and garlic in bacon drippings? So good! Your house will smell fantastic.
- Mix The Filling
- Combine that beef mixture with all our tasty add-ins - it's basically a cheeseburger in different form.
- Form The Bombs
- This part's actually fun! It's like making tiny food parcels filled with awesomeness.
- Add The Butter Mix
- Go heavy on the garlic butter - use more than you'd normally think to!
- Bake Them Up
- Now comes the tough part - waiting while they turn a beautiful golden color and your kitchen smells incredible.
Tricks I've Learned
I've made these so many times now and picked up some handy tricks! Don't stuff them too full - I know you'll want to, but please take my word for it. Make sure you seal those edges really well - you don't want cheese bursting out everywhere (I found out the hard way!). And with that garlic butter? Don't hold back - it creates this amazing crunchy outside.
Ways To Dish Them Up
I always set out different dips when I serve these - we love ranch, BBQ sauce, and ketchup at our place. For bigger gatherings, I put them on a wooden platter with small dishes of sauce - looks super fancy! Try sprinkling some fresh parsley over the top too - adds a nice bright color.
Storing Your Extras
If you actually have any left (hardly ever happens at my place!), they'll stay good in the fridge. Just warm them back up in the oven to get that crunch back. I usually make twice as many and freeze some before baking - they come in handy when people drop by unexpectedly or on busy evenings!
Change Things Up
You can switch these up so many ways! Sometimes I'll swap in ground turkey for something lighter, or throw in some jalapeños for extra kick. My friend who doesn't eat meat makes them with veggie ground and they turn out great! You can try all sorts of variations - just use whatever toppings you'd put on your favorite burger.
 Pin it
Frequently Asked Questions
- → Is it okay to prep these in advance?
The filling can be made earlier and kept cold. Assemble and bake them fresh for the best taste. Reheated baked ones also work!
- → What's the best dough to use?
Biscuit dough makes a thicker bread-like wrap, while crescent dough gives a lighter, flakier bite. Both are great options!
- → How do I keep the cheese inside?
Seal edges completely and place cheese at the center of the filling, avoiding the edges to prevent leaks.
- → Can I freeze these snacks?
Yes, let baked bombs cool, wrap each one, and freeze up to 3 months. Reheat straight from the freezer till warmed through.
- → What dips go with these?
Try ketchup, barbecue sauce, ranch, or garlic aioli. A mix of mayo and mustard makes a classic pairing too!