
 Pin it
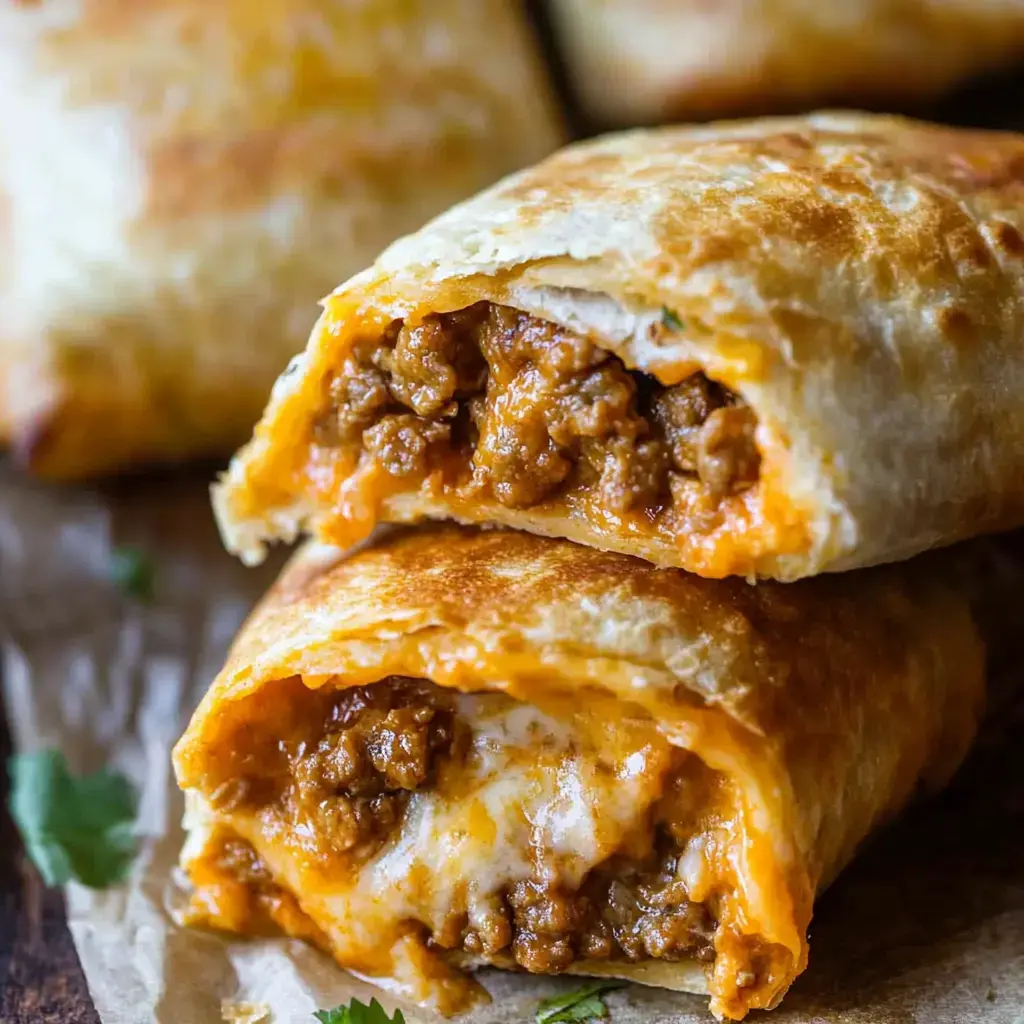
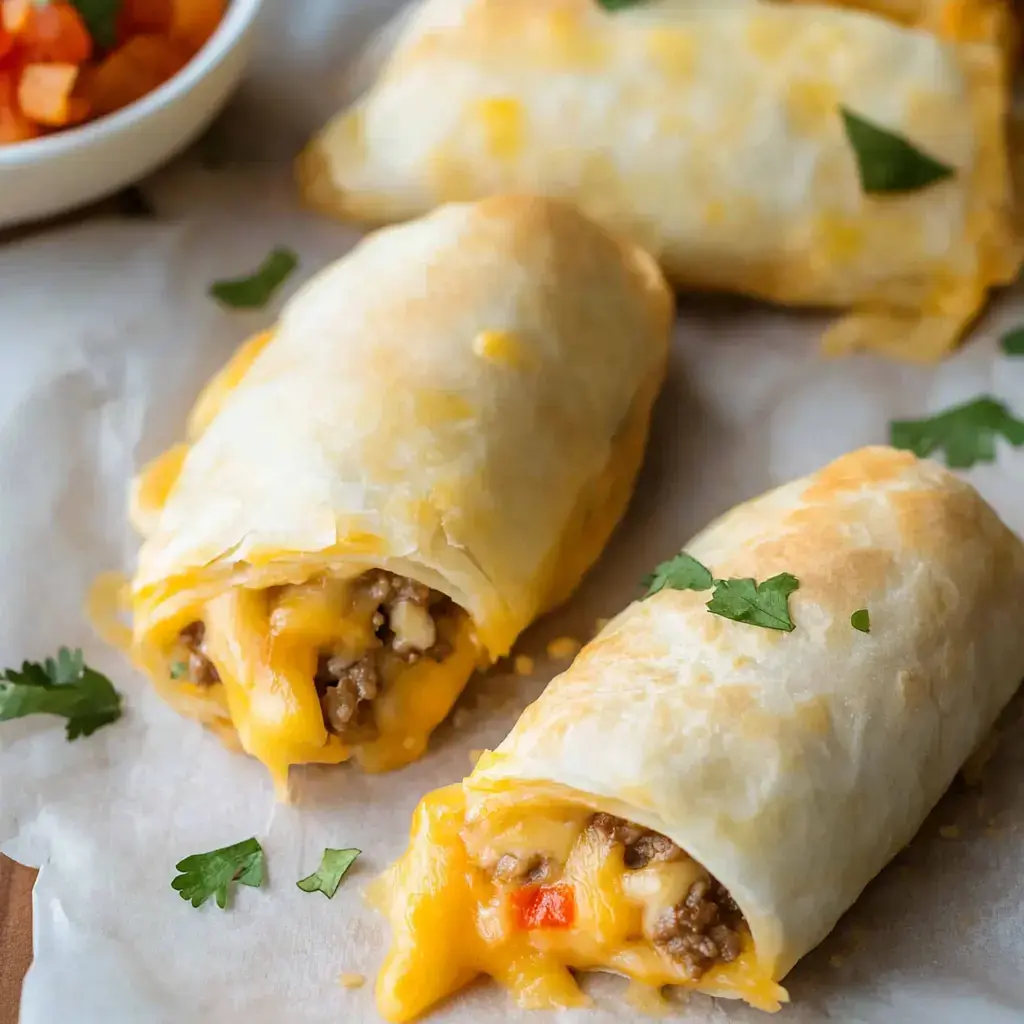
These crispy taco pockets wrap seasoned beef and gooey cheese in golden tortillas. They’re like a delicious mashup of your favorite taco and a pocket sandwich. Super easy and totally tasty every time.
Reasons You’ll Love This
Kids come back for more, and adults love these too. Change up the cheese, go spicy or keep it mellow. No falling-apart tacos to tidy up after. Make ahead, toss in the oven later, and you’re set.
Stuff You’ll Need
- Butter: For brushing so they get that good crunch
- Cheese: Grab a block of cheddar and shred it
- Soft Cheese: Let cream cheese warm to room temp
- Taco Mix: Store-bought packet is perfect
- Beef: Use regular ground beef for best results
- Salsa: Any brand or flavor you love
- Tortillas: Soft flour ones work great
- Toppings: Sour cream and some extra salsa
 Pin it
Easy Cheesy Taco Pockets
- Serve and check:
- Cut one in half and check the center is piping hot. Pass them around while they’re still toasty.
- Add those finishing touches:
- Wait about 5 minutes so you don’t burn your mouth. Pile on extra salsa, chill sour cream, fresh chopped tomatoes, or whatever else sounds tasty.
- Give them time in the oven:
- Pop your trays in for about 15 to 20 minutes. Check at 15—if they aren’t crusty and brown, let them go a few more.
- Butter them up:
- Melt your butter (30 seconds in a microwave, easy). Paint each pocket so every bit glistens.
- Get rolling:
- Grab the bottom and fold up over the filling, then tuck in both sides tightly. Roll up snug, then place seam-down on your lined tray. Keep going till they’re all filled.
- Build your assembly line:
- Set out the tortillas, drop a big spoon of cheese mixture in the center of each, then the beef, then sprinkle with cheddar.
- Mix it up:
- Stir cream cheese till it’s super smooth, add two or three scoops of salsa, and mix until combined and a light pink color shows up.
- Season that meat:
- Tip the cooked beef back in, add in the taco mix and splash of water—how much depends on the packet. Stir, then cook it around five minutes so it thickens.
- Brown up the beef:
- Toss meat into your big hot pan and, using a wooden spoon, break it up as it browns. Cook until you see no pink—usually 8–10 minutes. Drain all the grease out in a strainer.
- Prep the basics:
- Get your oven heating up to 350°. Cover a baking tray with foil. Grab your largest skillet for the meat.
Choose Great Stuff
Go for 80/20 ground beef—lower fat keeps the mess down. Check flour tortillas for ones that feel really fresh and soft (always look at the date). If you buy cheese by the block and shred it yourself, it’ll melt smoother. Set out cream cheese awhile so it’s nice and soft when it’s time to mix.
Nail Those Rolls
Zap tortillas for 20 seconds in the microwave under a damp paper towel—they get way easier to shape. Scoop filling about 2 inches up from the bottom edge. Spoon about three loads of meat and two of the cheese mix per pocket—any more and they’ll break open. Fold the bottom up and over the filling, pull gently to tighten. Turn in the edges about an inch, then keep rolling up tight. Ends popping open? Just stick in a toothpick until they finish baking.
Change Up Your Fillings
If you want heat, throw in a spoon of chopped jalapeños. Craving more veggies? Stir cooked peppers and onions into the meat as it cooks. Use rinsed, drained black beans for something extra awesome. Swap cheddar for pepper jack if you like a kick. Looking for something mild? Leave out the tomatoes when you’re mixing the cheese filling.
 Pin it
Kitchen Hacks Make Life Easier
Brown up extra beef when you do tacos—stash half in the freezer for a faster dinner next time. Put foil on your tray before you bake, makes clean-up way quicker. Grate cheese while your beef cooks so you don’t waste a minute. Leftover filling? Pile it on chips for nachos tomorrow. Use super soft butter for brushing—it spreads easier. Cheese oozes while baking? Don’t sweat it—those crispy bits are actually the best part.
How To Store and Warm Up
Hold off putting them in the fridge till they cool for half an hour. Wrap each in foil, then drop into a zip bag to keep them crisp. They’ll last fine in the fridge for about four days. Warm up in the oven at 350°—keep them in foil and bake 15–20 minutes. For max crisp, ditch the foil the last 5 minutes. Skip the microwave or they’ll go soggy. Freeze them wrapped up tight for up to 2 months. Bake straight from frozen for about 25–30 minutes.
Frequently Asked Questions
- → Is it possible to make these without meat?
Of course! Try using mashed black beans (2 cans), lentils (2 cups cooked), or a pack of veggie crumbles instead. Season them with taco spices (2 tablespoons per can of beans). Add some veggies like corn or diced peppers for variety, or even some cooked rice if you want. Just make sure it’s not too watery! Taste and adjust the seasoning before stuffing your tortillas.
- → Can I prep them ahead of time?
Yeah, you can get them ready a day early. Cook up your meat and assemble the pockets, but skip the baking. Wrap each one in plastic wrap and store them chilled in a container with a lid. When it’s time to eat, remove the wrap, pop them on a baking tray, and add 5-7 extra minutes in the oven since they’ll be cold. Brush them with oil if you want extra crunch!
- → Can I swap the flour tortillas for corn ones?
Yep! Just soften them first. Wrap corn tortillas in damp paper towels and microwave for 30 seconds to make them flexible. They’re smaller, so you’ll likely get 12 smaller pockets instead of 8 big ones. Brush the tortillas lightly with oil before filling, and don’t overstuff them to avoid breaking. Corn tortillas bake faster, so keep an eye on them!
- → How do I keep leftovers crispy?
They’re best eaten fresh! But if you’ve got leftovers, don’t microwave them—it’ll make them soggy. Reheat in the oven at 350°F either on a rack or tray for 5-7 minutes until they get crispy again. A toaster oven works great for just one or two! If they’re browning too fast but still cold inside, cover the tops with foil for the last couple of minutes. Adding a quick brush of oil will also make them crispier!
- → Any ideas for toppings?
Set up a toppings bar with fresh options like diced tomato, shredded lettuce, avocado chunks or guacamole, sour cream, extra cheese, pickled jalapeños, lime wedges, and chopped onions. Don’t forget hot sauce! For a party, keep everything easy to grab—cut stuff small and put sauces into squeeze bottles. Makes it fun and mess-free!
Conclusion
Can’t get enough? Next time, pile on some tortilla chips for loaded nachos with the same fixings. Or try rolling up enchiladas with a cheesy oven-baked sauce. Use the same meat and cheese stash—it’s quick and just as good!