
 Pin it
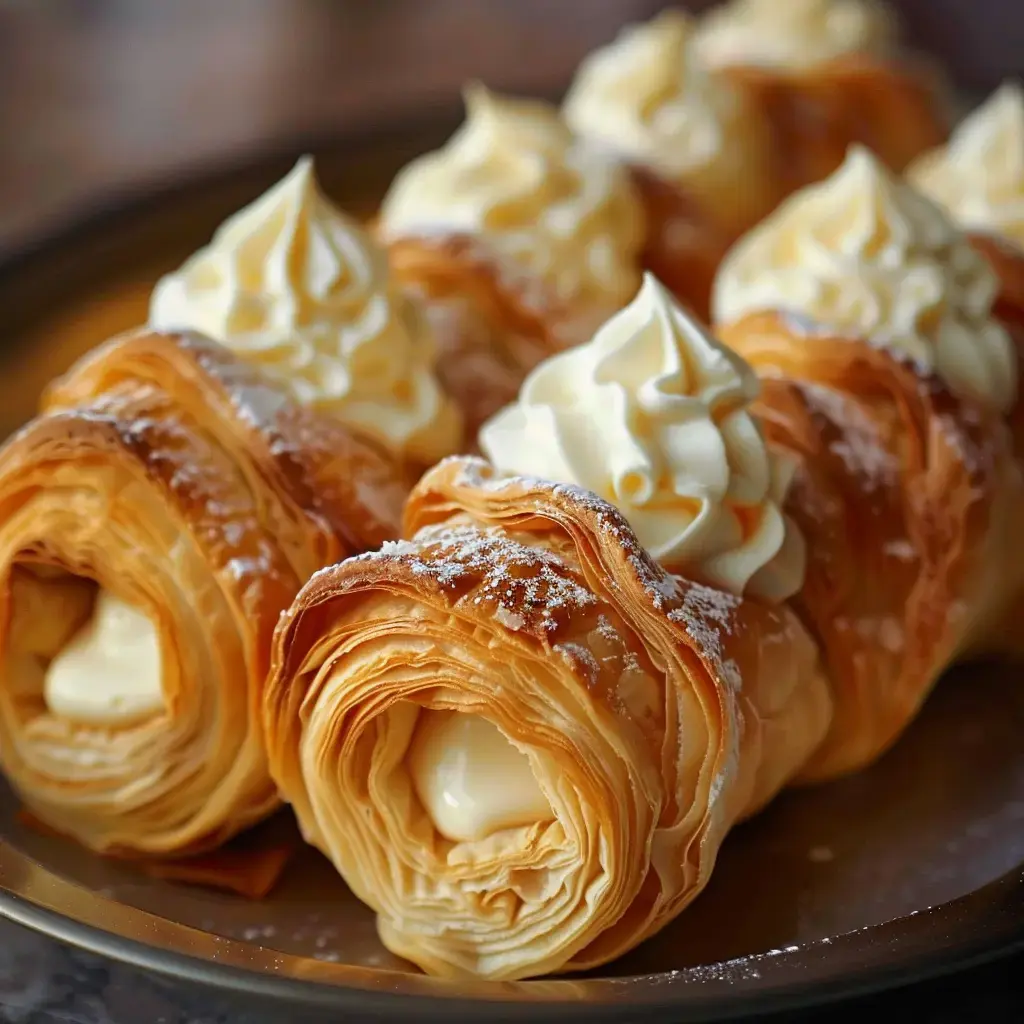
In my bakery, the flaky cream-filled cones have become a customer favorite. I came up with them when I was trying to find a new way to serve my homemade custard cream. The combo of crispy pastry with smooth vanilla cream makes my customers melt with joy. They've turned into the star attraction of my display case!
The joy of sweet treats
What makes these cones special is really the mix of different textures. In my kitchen, I make sure my puff pastry stays super crispy to play off the smoothness of my silky custard cream. I often have fun adding a drizzle of chocolate or some fruit sauce depending on what's in season.
My go-to ingredients
- For the cones: Quality all-butter puff pastry
- For my signature cream:
- 500 ml whole milk from my favorite farm
- 100 g light brown sugar
- 4 fresh egg yolks
- 50 g cornstarch
- 1 Madagascar vanilla pod
- 50 g lightly salted butter
The cone crafting process
- Getting started
- I heat my oven to 200°C and cut my dough into 3 cm strips on my lightly floured counter.
- Careful shaping
- I wrap the strips around my cone molds, making sure the dough overlaps so it won't open while baking.
- Perfect baking
- I place my cones on a tray lined with baking paper and let them turn golden for 15-20 minutes until they're nice and crispy.
My velvety custard filling
- Flavor infusion
- I warm the milk with my split and scraped vanilla pod.
- Gentle mixing
- I whisk the yolks with sugar until pale then stir in the cornstarch.
- Watchful cooking
- I slowly pour the hot milk over my egg mixture while whisking then put everything back on the heat until it thickens.
- Silky finish
- Off the heat I add my butter, cover with plastic wrap touching the surface and pop it in the fridge.
The final assembly
- Tasty filling
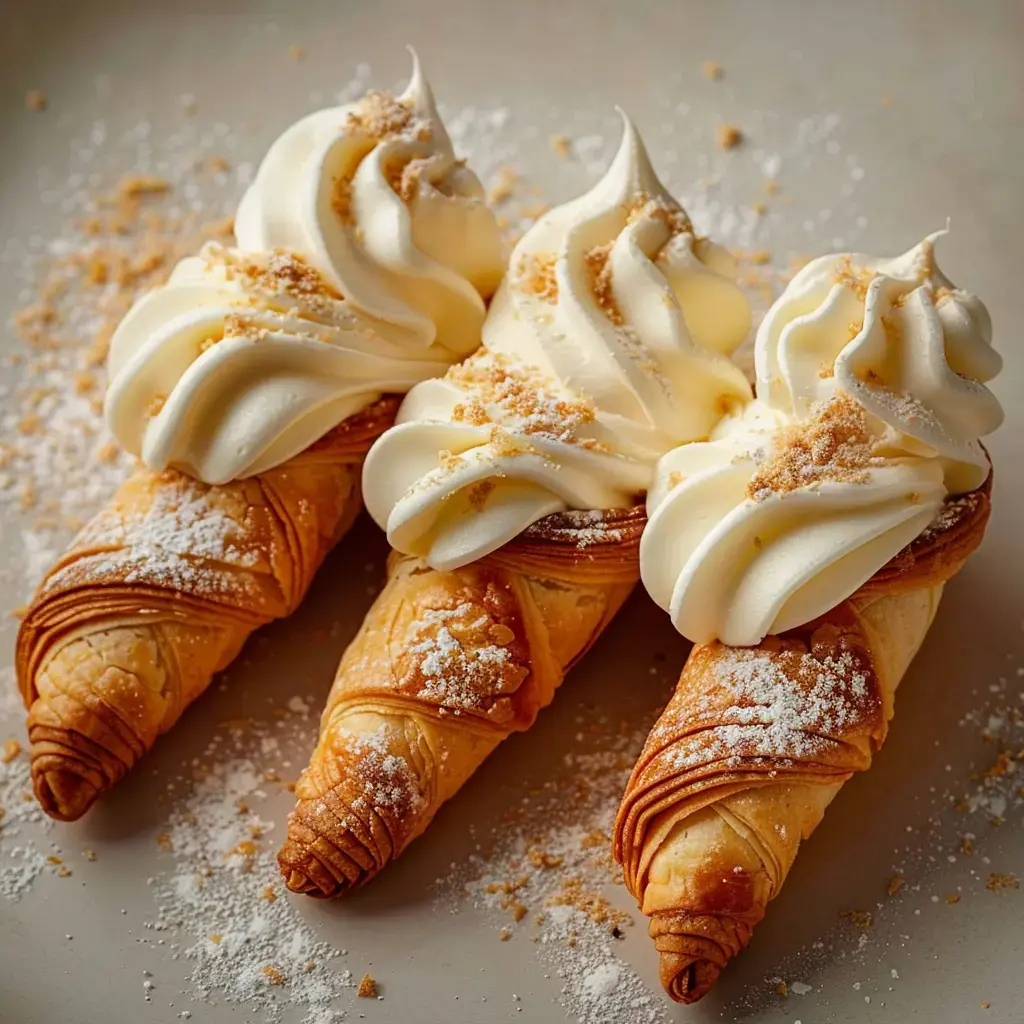
- Once everything's properly cooled, I fill my cones using a piping bag loaded with vanilla cream.
- Serving time
- I serve them right away to enjoy the full effect of the crispy-creamy contrast.
 Pin it
My little tricks
I always make sure my dough overlaps well so the cones stay intact. My cream needs to be completely cold before filling, that's key. And for my sweet-toothed customers, I sometimes add a touch of caramel or some fresh fruit on top.
Frequently Asked Questions
- → Comment garder les cornets bien fermés pendant la cuisson ?
- Chevauchez légèrement les bandes de pâte et humidifiez les bords pour qu'ils collent bien ensemble.
- → Peut-on préparer les cornets à l'avance ?
- Préparez les cornets vides 1 ou 2 jours avant et conservez-les dans une boîte hermétique. Remplissez-les juste avant de servir pour qu'ils restent croquants.
- → Astuces pour une crème lisse sans grumeaux ?
- Mélangez sans arrêt en chauffant et tamisez la fécule avant son ajout. Chauffez le lait doucement pour éviter tout choc thermique.
- → Quelle méthode pour remplir facilement les cornets ?
- Prenez une poche à douille fine, remplissez à partir du bas et montez doucement en tirant la douille.
- → Combien de temps peut-on garder les cornets fourrés ?
- Consommez-les sous 2 à 3 heures après le remplissage pour éviter que la pâte devienne molle avec la crème.