
 Pin it
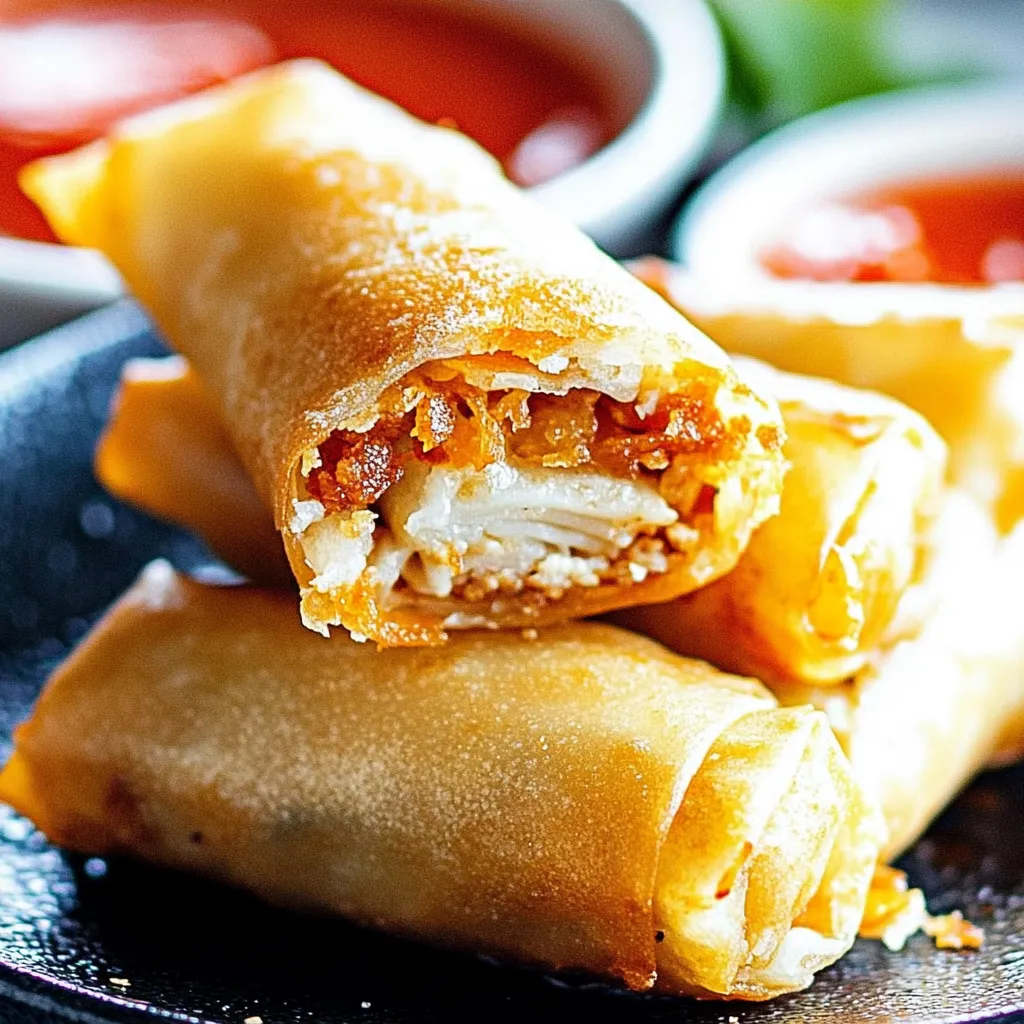
These DIY chicken spring rolls boast a lightly crunchy exterior wrapped around soft shredded chicken and crisp veggies. Each bite gives you that perfect mix of snap and flavor that's way better than takeout versions.
When we hosted friends last week, these rolls were gone in minutes. Everyone hung around the kitchen, drawn by the amazing smell of the chicken and veggie mix, waiting impatiently for the next batch to come out of the fryer.
Essential Ingredient Breakdown
- Chicken: Go with newly cooked or leftover breast meat, shredded finely. If cooking fresh, slightly undercook it since it'll finish cooking while frying.
- Cabbage: Pick out solid white cabbage with snappy leaves and bright, pale centers.
- Wrappers: Stick with standard wheat egg roll wrappers instead of rice paper. They should feel supple and fresh.
- Vegetables: Go for sturdy carrots with bright color. Cut everything into same-sized thin strips.
- Oil: Use any mild cooking oil that won't burn easily, like vegetable or canola oil.
Putting It All Together
- Get Your Filling Ready:
- Break chicken into tiny, uniform bits. Stir well with cabbage strips and carrot matchsticks so everything's evenly mixed throughout.
- Working With Wrappers:
- Lay wrapper like a diamond. Cover the rest with a wet towel so they don't dry out. Wrappers need to be bendy but not soaked.
- Wrapping Technique:
- Put two spoonfuls of filling just below the middle. Fold the bottom point up and over, giving a gentle tug to snug it up. Tuck side points in to make an envelope shape.
- Closing It Up:
- Keep rolling upward with steady pressure. Dab water on the final edge so nothing leaks out during cooking.
 Pin it
My grandma always taught me that getting the tightness just right matters most - too slack and they'll turn soggy, too tight and they'll pop open while they're frying.
Cooking Know-How
Keep oil right at 350°F. Cook 3-4 rolls at once for about 3-4 minutes on each side until they turn a nice golden color.
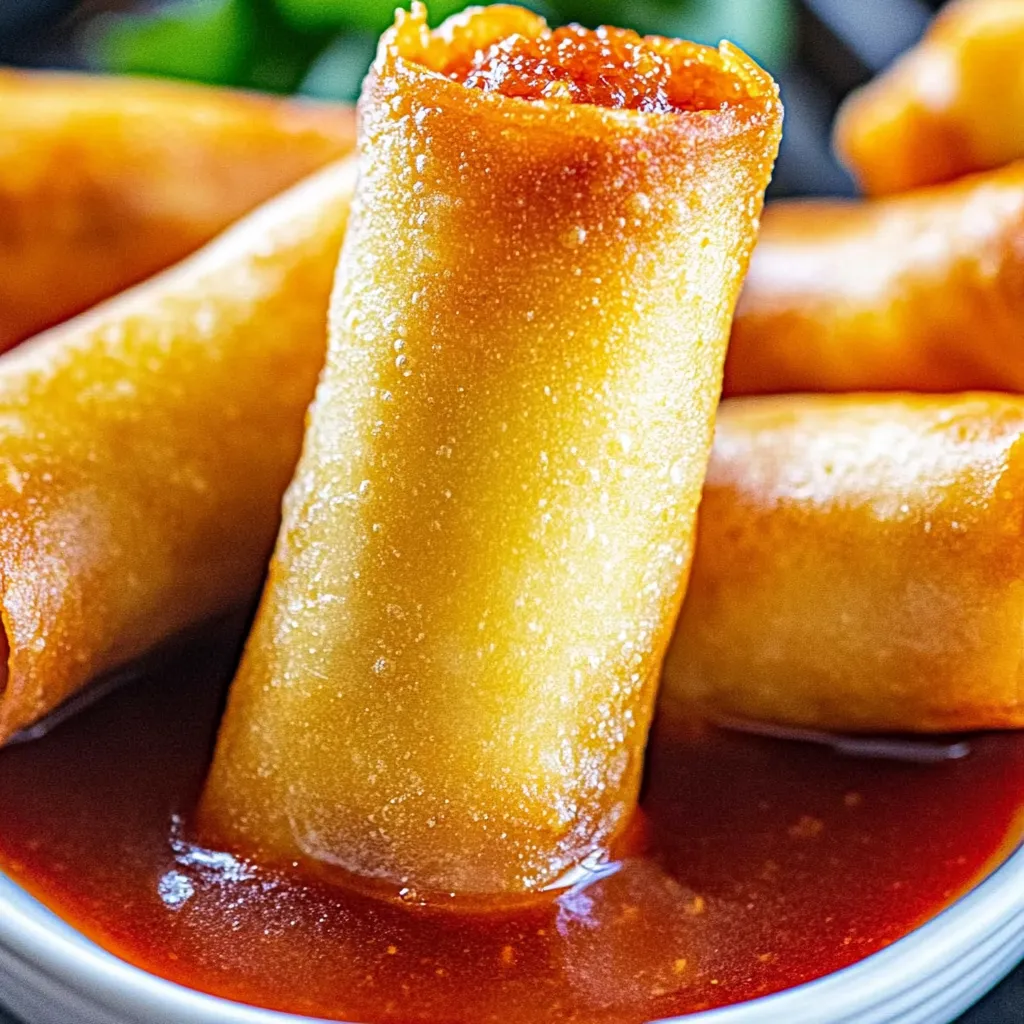
Serving Suggestions
Put them out hot and crispy on a nice plate with several dipping sauces. Cut them at an angle if you're serving them as starters.
Mix It Up
Feel free to switch up your veggie mix or try different spices. Throwing in some water chestnuts adds a great crunch.
Keeping Leftovers
Keep uncooked rolls in the fridge with parchment paper between them. Bring back the crunch of cooked rolls using your oven or air fryer.
 Pin it
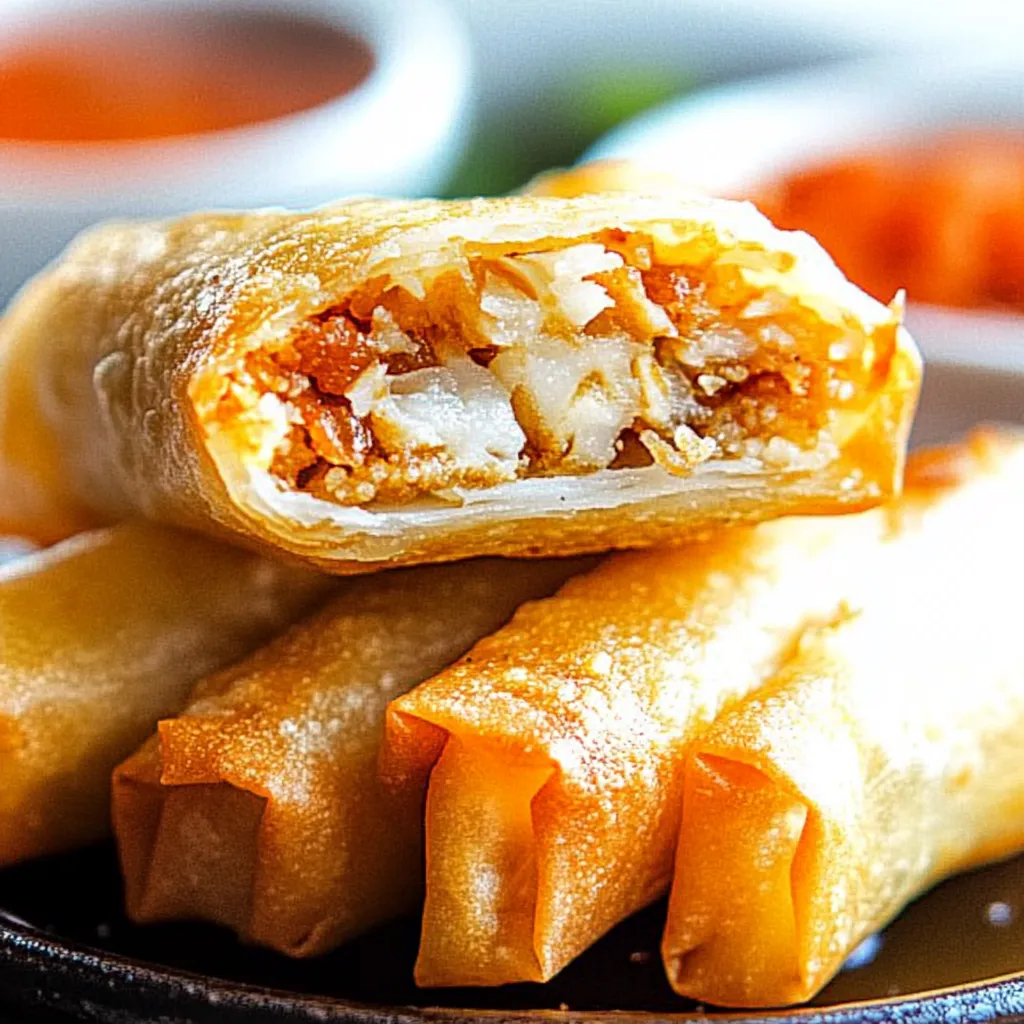
After lots of trial and error with this dish, I've found that getting your prep work and technique down pat makes all the difference. Once you nail these basics, you'll make spring rolls at home that put restaurants to shame.
Frequently Asked Questions
- → Can I get these ready earlier?
- You bet! Prep the filling in advance but fry the rolls fresh when you're ready to enjoy for that signature crunch.
- → How do I bake instead of fry?
- Super simple! Brush them lightly with oil and bake at 400°F. Flip them halfway through the 15-20 minute bake time for even crispiness.
- → Can they go in the freezer?
- Yes! Lay them uncooked on a tray, freeze until firm, then move to a freezer-safe bag. Cook straight from frozen—just give them a bit longer in the pan.
- → What other fillings work?
- Shrimp, tofu, or pork are great swaps if chicken’s not your thing. Go with what you love!
- → Why do they pop open when frying?
- Seal the edges tightly, keep the stuffing minimal, and roll gently to leave room inside for steam to escape.