
 Pin it
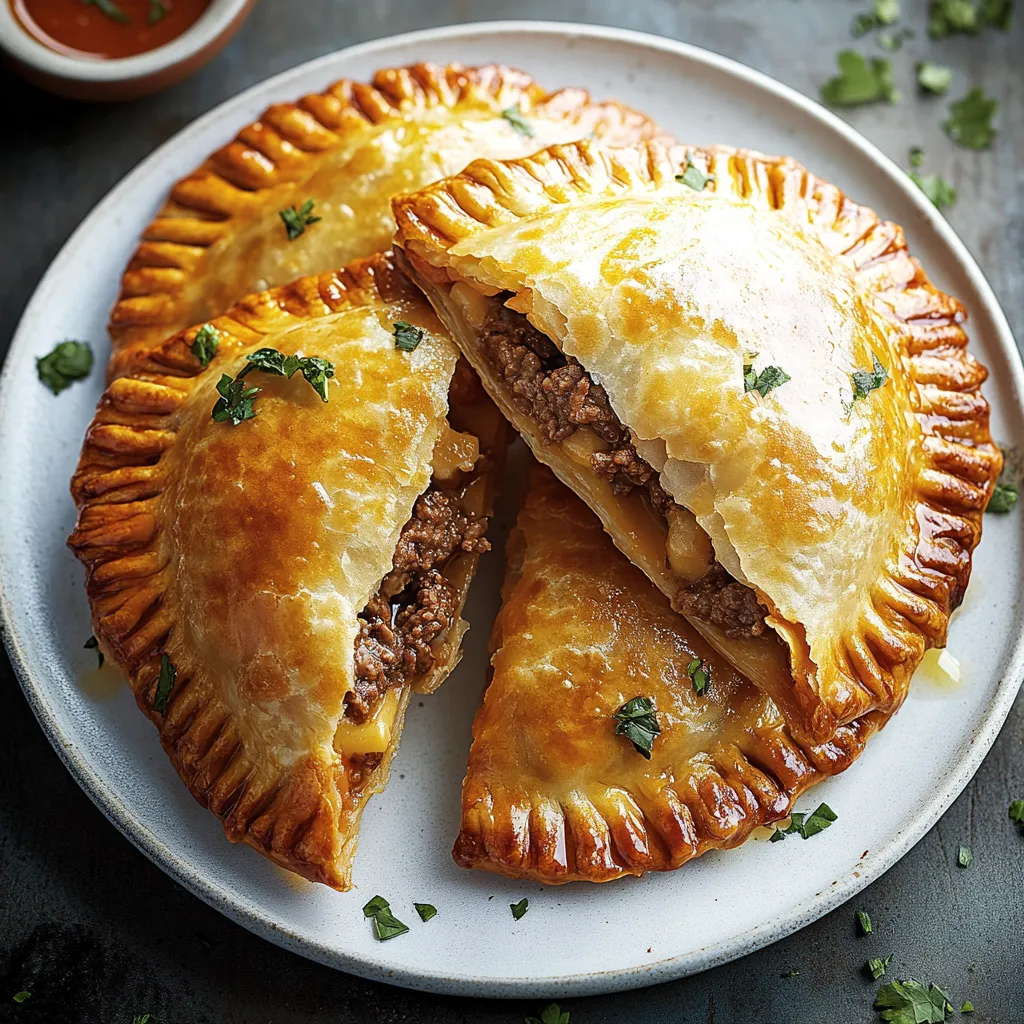
Whip up amazing South American flavors at your place with these mouthwatering empanadas that mix perfectly spiced beef and melty cheese all wrapped in a crispy, buttery shell. This family favorite has been tweaked over many years, creating little pockets of deliciousness that bring folks together. What's great about these handheld treats is you can bake or fry them, so they work in any kitchen while keeping their genuine taste. Every bite takes you from the crunchy outside straight to the rich, tasty filling inside.
While wandering through South America, I picked up empanada-making skills from neighborhood families who shared their age-old methods. Just pinching those edges and watching them turn golden makes me think of busy kitchens and family dinners. Whenever I cook these up, the smell of seasoned beef and gooey cheese turns my kitchen into one of those welcoming spots.
Key Ingredients
- Ground beef: A good mix of meat and fat keeps your filling juicy and tasty. Go for 80/20 to get the best flavor and texture
- Fresh garlic and onions: These build a tasty base that flows through the whole filling. Chop them super small so they spread out evenly
- Classic spices: Newly ground cumin and real smoked paprika add depth and warmth to every mouthful
- Top-notch melting cheese: Brings creaminess and that awesome stretchy pull. Try sharp cheddar for bold taste or mozzarella for maximum stretch
- Chilled, unsalted butter: Makes those flaky layers in your dough. Fancy European butter works really well here
Step-by-Step Cooking Guide
- Start with Awesome Dough:
- Keep everything super cold before you begin. Cut your cold butter into tiny, same-sized chunks for better mixing. Rub butter into flour with your fingertips until it looks like rough sand. Slowly add ice-cold water, watching for when the dough just comes together. Wrap it tight and cool it for 30 minutes to rest the dough and firm up the butter.
- Make a Tasty Filling:
- Get your pan nice and hot before cooking. Cook onions until they're clear and smell good. Toss in garlic just until you can smell it, so it won't burn. Cook beef in smaller amounts if needed so it browns instead of steams. Add seasonings bit by bit, tasting as you go. Let filling cool completely so the cheese doesn't melt too soon.
- Put It All Together:
- Roll your dough on a lightly floured counter to 1/8 inch thick. Cut circles using smooth, even pressure for nice edges. Put filling a bit off-center so folding is easier. Brush edges with beaten egg for a good seal. Pinch edges using the traditional rope style or press with a fork. Place them on parchment with room between each one.
- Nail the Baking:
- Heat your oven fully with a baking sheet inside. Brush your finished empanadas with beaten egg for a golden look. Keep an eye on them during the last few minutes so they don't get too brown. Look for steam coming out, which means the filling is hot.
 Pin it
Frying Know-How
Get oil to just the right temp before you start. Cook in tiny batches so the oil stays hot. Look for that golden brown color. Put them on paper towels on a cooling rack to drain.
Making It A Complete Meal
Mix up fresh chimichurri while empanadas are cooking. Put them on a nice plate with different dips. Add some fresh herbs and lemon slices. Serve them right away when the cheese is perfectly melty.
 Pin it
My grandma always told me the trick to amazing empanadas is how patient you are. After trying for years, I've found she was totally right - rushing any part messes up how they turn out.
After making tons of batches and spending years getting this recipe just right, I've learned that paying attention to these little things makes empanadas that not only taste authentic but also make people happy. You can serve them for a casual family dinner or fancy party snacks, and these little hand pies bring all the warmth and tradition of Latin American cooking into your kitchen. The mix of crispy shell, savory filling, and gooey cheese makes every bite a real treat.
Frequently Asked Questions
- → Can I prep the dough earlier?
- Sure, it lasts 2 days in the fridge or up to 3 months frozen. Thaw in the fridge before you use it.
- → How do I seal the edges properly?
- Brush the edges with egg wash, fold gently, and press the edge firmly with a fork. This stops the filling from spilling out.
- → Can I freeze them before baking?
- Absolutely! Freeze them flat on a baking sheet, then move them to a freezer bag. Bake frozen, adding 5-7 extra minutes.
- → What’s a good beef alternative?
- You can swap in ground turkey, chicken, or pork. For vegetarian twists, try lentils, beans, or plant-based meat options.
- → Why did my dough split when rolling?
- Cracks happen if the dough’s too cold or dry. Let it soften for a minute, or sprinkle in a bit of water and knead.